FOR ALL AGES
If you’re a fan of bath bombs and love cupcakes, why not pamper yourself to the best of both worlds?
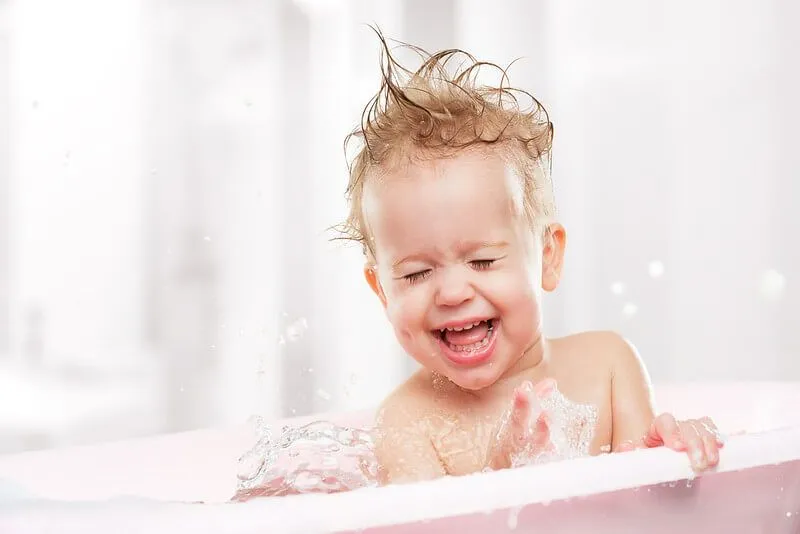
Children (and adults!) love relaxing in lush, bubble baths and it’s even better when they’re unique. Novelty bath bombs have become more popular, with different ‘culinary’ creations, sizes and fragrances, making bath times more exciting.
So what are bath bombs? Well, they are exactly that! The solid balls are designed to ‘explode’ by fizzing and foaming as they are dropped into the bathwater. Thanks to its main ingredients of baking soda and citric acid, these help to create the fizzing reaction, creating those soft, velvety bubbles. Depending on the size and shape of the bath delight, you will only need to use a little piece to create huge bubbles and save the rest for future bath times.
Not only do bath bombs make an attractive addition to our baths, but fills the room with a heavenly fragrance. It also has the added benefit of being non-toxic, compared to the majority of shop-bought bubbles that are loaded with harmful chemicals. Home-made bath bombs are easy to make, cheap and a fun craft project for children 8 years and over (with adult supervision!).
Follow this simple guide to making yummy-looking, cupcake bath bombs that are the perfect bath time treat.
Baking soda (300g)
Citric acid (100g)
Colouring - can be food, cosmetic or soap liquid colours. Or powders. (200g)
Fragrance or essential oil of your choice (10g)
White melt or pour soap base (200g) for whipped soap frosting
A large mixing bowl
Kitchen scales
Small saucepan
A spray water bottle (optional)
Electric mixer
Cupcake soap moulds
Paper cupcake cases
A piping bag (optional)
1. First, mix the bicarbonate of soda and the citric acid in the bowl. Ensure you mix thoroughly until you have a consistent texture.
2. Add in drops of liquid food or cosmetic/soap colouring to make the exact shade you want. Mix in quickly to avoid it fizzing up in the bowl. There is also the option of powder colouring that does not add moisture.
3. Now it’s time to make it smell heavenly! Measure your fragrance or essential oil of your choice. Bear in mind, if you choose a citrus oil it may cause the mixture to fizz but this can be avoided by continuously mixing.
4. Spray a little water during your mixing task to get the right texture. Be careful not to add too much water. You’ll need just enough for the mixture to hold firmly together when lightly squeezed.
5. Get your cupcake moulds and compress the mixture firmly into each mould. Leave a slightly raised or dome shape at the top to resemble a real cupcake!
6. Get your timer out and leave to dry for 30-40 minutes.
7. Once dry, take them out of the mould and place each into a cupcake case, leaving space for the all-important ‘icing’.
1. In the saucepan, melt your soap base over low-medium heat.
2. Get your electric whisk to whisk into a light texture until it becomes smooth like shaving cream. If you want to thicken it, you can use an emulsifier or dissolve salt into it.
3. You can add a few drops of essential oils but this is optional.
4. Before it sets completely, spoon your airy ‘icing’ onto the tops of each cupcake. If you want to adventurous, you can use an icing pipe to apply it onto your cupcake tops. If you want to decorate your cupcake ‘toppings’, put some cosmetic glitter in a pepper shaker and shake a layer over it before it sets. You can also experiment with pretty decoration moulds for various shapes, sprinkles, flower petals or coloured ‘noodles’.
5. Allow it to cool and set.
And there you have your perfect cupcake bath bombs, ready to create soothing baths with!
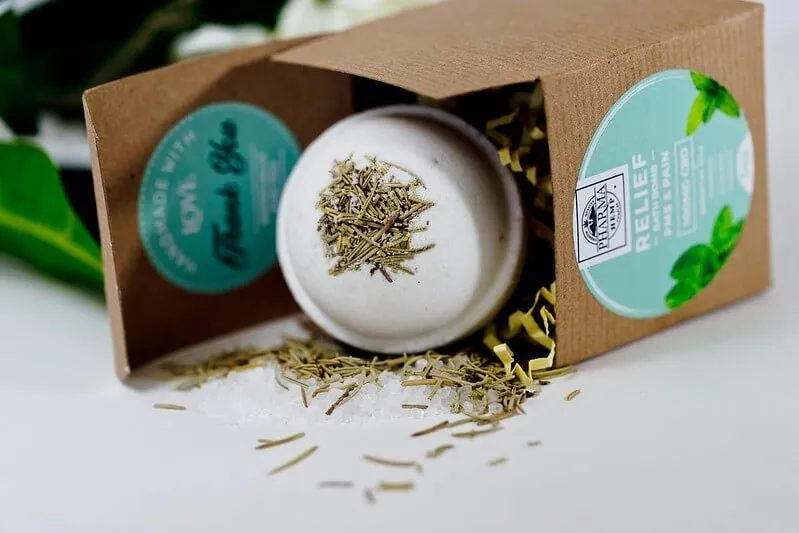
Cupcake bath bombs can make beautiful gifts. Place your ‘cupcakes’ in lovely gift boxes or better still, one with a clear cover that makes them even more convincing!
If your bath bomb starts crumbling, don’t worry! This is likely due to a lack of moisture in the mixture. If your mixture is too dry, try adding more water or more oil to moisten it and then let them sit again to dry out.
Don’t use too much essential oil in your recipe. This can cause the bath bombs to remain too soft and not harden properly.
Storing your home-made cupcake bath bombs is equally important. Wrap in plastic wrap before you store in a dry, dark cool place. Try not to expose your bath bombs to extreme temperatures like a steamy bathroom or direct sunlight. This can affect the consistency causing it to dry out or worse still, lose its fizz!
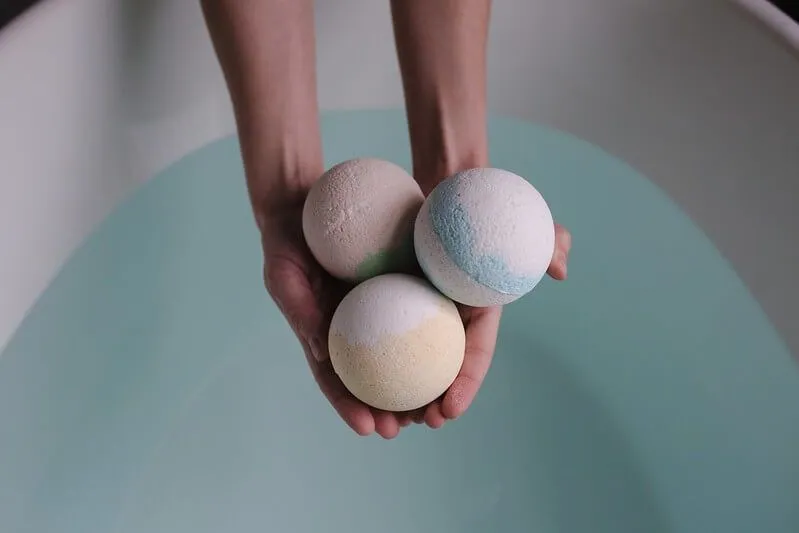
Just like our food storage, bath bomb ingredients also come with an expiry date. The average shelf life span is recommended six months before it starts losing its effectiveness.
Witch hazel helps the essential oils bind together to the bombs and also provides a strong fragrance.
After a day with active children, a lavender essential oil in bath bombs creates a calming effect and helps relax the mind and body. An ideal way to prepare the little ones for bedtime!
Read The Disclaimer
At Kidadl we pride ourselves on offering families original ideas to make the most of time spent together at home or out and about, wherever you are in the world. We strive to recommend the very best things that are suggested by our community and are things we would do ourselves - our aim is to be the trusted friend to parents.
We try our very best, but cannot guarantee perfection. We will always aim to give you accurate information at the date of publication - however, information does change, so it’s important you do your own research, double-check and make the decision that is right for your family.
Kidadl provides inspiration to entertain and educate your children. We recognise that not all activities and ideas are appropriate and suitable for all children and families or in all circumstances. Our recommended activities are based on age but these are a guide. We recommend that these ideas are used as inspiration, that ideas are undertaken with appropriate adult supervision, and that each adult uses their own discretion and knowledge of their children to consider the safety and suitability.
Kidadl cannot accept liability for the execution of these ideas, and parental supervision is advised at all times, as safety is paramount. Anyone using the information provided by Kidadl does so at their own risk and we can not accept liability if things go wrong.
Kidadl is independent and to make our service free to you the reader we are supported by advertising.
We hope you love our recommendations for products and services! What we suggest is selected independently by the Kidadl team. If you purchase using the buy now button we may earn a small commission. This does not influence our choices. Please note: prices are correct and items are available at the time the article was published.
Kidadl has a number of affiliate partners that we work with including Amazon. Please note that Kidadl is a participant in the Amazon Services LLC Associates Program, an affiliate advertising program designed to provide a means for sites to earn advertising fees by advertising and linking to amazon.
We also link to other websites, but are not responsible for their content.
Was this article helpful?


Browse Category


We’ll send you tons of inspiration to help you find a hidden gem in your local area or plan a big day out.


Check your inbox for your latest news from us. You have subscribed to:
Remember that you can always manage your preferences or unsubscribe through the link at the foot of each newsletter.