FOR ALL AGES
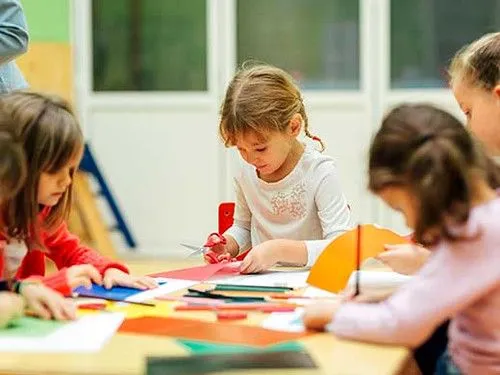
The shops have shut during lockdown at the moment, which can make it difficult to get out to buy birthday cards for friends and family - but with just a little bit of effort it's possible to make your own unique, homemade birthday cards instead. A great activity to get the kids involved with - making birthday cards is a fun arts and crafts activity whilst you're in isolation at home. Even if you don't have a birthday coming up, this is a great moment to make a batch of homemade cards that you can use throughout the year.
If you are wondering how to make birthday cards, then the possibilities are endless - however, to make it a little easier, we have chosen some of our favourite DIY birthday card ideas to get you started.
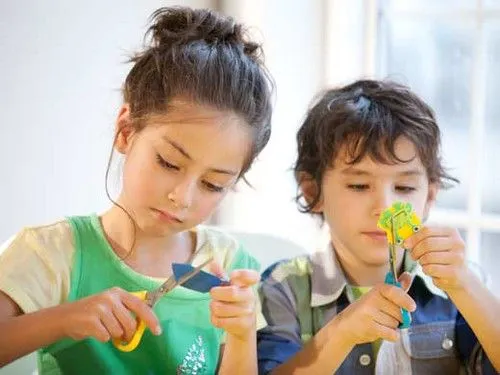
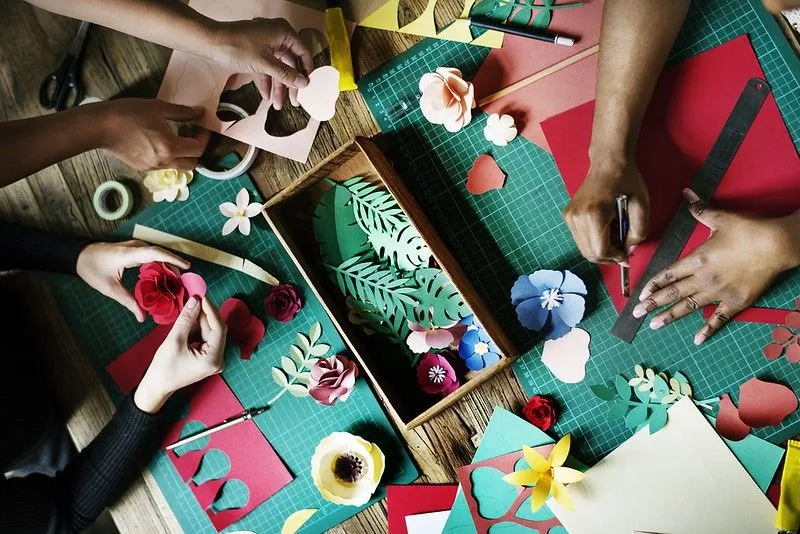
Using just a few simple materials from your art and craft box, you can make a huge range of cards. Decorate your cards with drawing made by your children or with painted hand-prints - create mini masterpieces, or engineer your own handmade pop-up design. You will need a selection of plain, coloured card for the card itself, but after that, you can use what you already have in the house to make beautiful birthday cards that the recipient is sure to love.

It can be difficult to know where to start when you begin making DIY birthday cards, so use this list to inspire your design:
- Balloons
- Cakes and candles
- Presents and bows
- Rainbows
- Heart shapes
- Flowers
- Dogs, cats, butterflies, birds - or any animal
- Favourite characters from books, cartoons, films
- Favourite games or sports team
- Coloured paper
- Scraps of wrapping paper
- PVA glue and glitter
- Printed photographs
- Images cut out from magazines
- String and ribbons
- Coloured pencils and pens
- Washi tape
- Stickers
- Other small art and craft materials like pom-poms, feathers and buttons
Using only paints and a black pen, you can create a cute, colourful card that is both quick and easy to make. Once your blank card has been prepared, simply paint horizontal lines of colour - one on top of the other - until you have a square or rectangle made up of rainbow coloured stripes. Once dry, take the black pen and draw birthday candles onto the top layer. Use the yellow paint to add a 'flame' at the top of each candle. Write 'Happy Birthday' on the front of the card, or personalise the design by adding the recipient's name. Follow the instructions in this video by K Werner Design, which also gives a couple more options for the striped design...
If you have a box of spare buttons, why not use them to make birthday cards for your friends and family? Use thicker card as the base for these designs, because the buttons will be too heavy to use on thinner card or paper. Also, you can sew the buttons onto the card, but it is easier and cleaner to glue them on.
To make a 'bunch of balloons', find buttons that are different sizes and colours. Glue the buttons onto the front of the card, arranging them into an oval or circle shape at the centre of the card. To turn the buttons into 'balloons', simply draw a 'string' coming from each button - gathering each string at the bottom, finishing with a bow. You can draw the strings on the card using a pencil or pen - or you can even glue string or ribbon onto the card for a more 3D design.
There are many other birthday card designs that use buttons: why not glue buttons onto the card in the shape of a heart, the letter of the recipient's first name - or their new age? For a cute daisy design, cut flower shapes out of white paper, then glue a button (yellow, if you have it) into the centre of each one. Push the 'petals' up around the button, then add a dot of glue on the back of the flower, where the button is. Glue a single daisy at the centre of the card for a simple yet effective design - or glue lots of smaller daisies all over the card for a more fun birthday card.
DIY birthday cards can be made of anything you have lying around the house - and one great place to start is with wrapping paper. This paper often has a fun or colourful pattern, which is a great base for making a personalised birthday card. Try to pick a wrapping paper design that suits the recipient's interests - whether that's dinosaurs, cats or sparkly things. Cut a rectangle of wrapping paper to glue to the front of your card, then add the recipient's name and a birthday message - or decorate with stickers, glitter or cut outs from magazines.
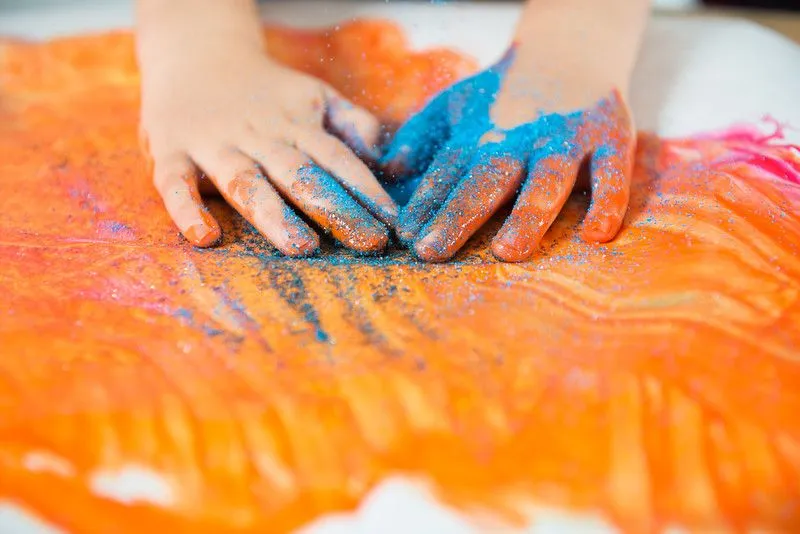
Glitter is great for decorating DIY birthday cards - adding sparkle and fun to any design. Why not draw a star in pencil on your card, then paint PVA glue inside the pencil line and sprinkle with different coloured glitters? Or draw a flower on your card, and make the petals glittery? Or you could cut out lots of balloon shapes on different coloured cards, covering each one with lots of glitter - glue these onto your card, adding string to each balloon to make a 'bunch'.
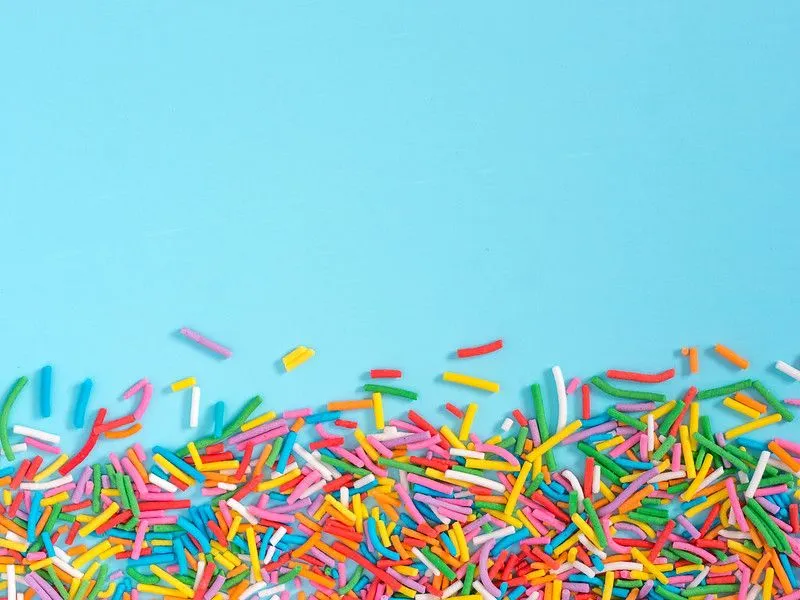
If you don't have any glitter at home, then cake sprinkles are a great alternative. Sprinkles add eye catching colour to your card designs, and they can be used in the same way as glitter - just glue some PVA glue onto your card, add the sprinkles, and shake off the excess when dry.
Washi tape has become popular with art and craft lovers, and because they come decorated with colours and patterns, they are particularly great for handmade birthday cards. There are lots of ways to use washi tape in your birthday card designs, but one of the simplest and most effective, is to cut equal lengths of tape from different rolls, layering them one on top of the other in the centre of your card. Once you have made a block of different colours and patterns (around 5 or 6 layers) - simply glue on a bow at the top, and you have a cute DIY birthday card, finished in minutes. The Craft Blog by Trimcraft has a 1-minute long instructional video showing you how to make 3 different card designs using washi tape.
What You'll Need:
- Card
- Scissors
- Glue
- Pencil and ruler
How to Make a Pop-Up Card: Fold an A4 piece of card in half. Starting around 5 cm from the edge, make a mark along the folded edge at 3 cm intervals. At the top (where you have drawn the first mark) draw a line that measures 3 cm long. At the mark beneath that one, draw a line that is 4 cm, then one that measures 5 cm, then 6 cm, 7 cm and 8 cm. Then, using scissors, carefully cut along these lines - and fold each of the strips back to make a folded line. Open the card up, and fold the cuts inwards to make a tiered, pop-up cake. Decorate the cake to add colour and pattern, as well as gluing on some paper 'candles' on the top tier. Once you have finished decorating the inside of the pop-up card, fold it shut, and glue it into another piece of folded A4 card. Follow CraftCorner's video for more detailed instructions for making a homemade pop-up card.
If you want a little more help and guidance, then the White House Crafts offers a free, printable template for making a cute pom-pom birthday card. Follow the link to access their printable card template, and for more detailed instructions.
Read The Disclaimer
At Kidadl we pride ourselves on offering families original ideas to make the most of time spent together at home or out and about, wherever you are in the world. We strive to recommend the very best things that are suggested by our community and are things we would do ourselves - our aim is to be the trusted friend to parents.
We try our very best, but cannot guarantee perfection. We will always aim to give you accurate information at the date of publication - however, information does change, so it’s important you do your own research, double-check and make the decision that is right for your family.
Kidadl provides inspiration to entertain and educate your children. We recognise that not all activities and ideas are appropriate and suitable for all children and families or in all circumstances. Our recommended activities are based on age but these are a guide. We recommend that these ideas are used as inspiration, that ideas are undertaken with appropriate adult supervision, and that each adult uses their own discretion and knowledge of their children to consider the safety and suitability.
Kidadl cannot accept liability for the execution of these ideas, and parental supervision is advised at all times, as safety is paramount. Anyone using the information provided by Kidadl does so at their own risk and we can not accept liability if things go wrong.
Kidadl is independent and to make our service free to you the reader we are supported by advertising.
We hope you love our recommendations for products and services! What we suggest is selected independently by the Kidadl team. If you purchase using the buy now button we may earn a small commission. This does not influence our choices. Please note: prices are correct and items are available at the time the article was published.
Kidadl has a number of affiliate partners that we work with including Amazon. Please note that Kidadl is a participant in the Amazon Services LLC Associates Program, an affiliate advertising program designed to provide a means for sites to earn advertising fees by advertising and linking to amazon.
We also link to other websites, but are not responsible for their content.
Was this article helpful?



Browse Category


We’ll send you tons of inspiration to help you find a hidden gem in your local area or plan a big day out.


Check your inbox for your latest news from us. You have subscribed to:
Remember that you can always manage your preferences or unsubscribe through the link at the foot of each newsletter.