Arts & Crafts
Learn more
Reading & Writing
Learn more
Math & Logic
Learn more
Sports & Active
Learn more
Music & Dance
Learn more
Social & Community
Learn more
Mindful & Reflective
Learn more
Outdoor & Nature
Learn more
FOR ALL AGES
Homemade card making is not as hard as you might think, and has a personal touch that is harder to find with alternative shop-bought options.
Creating a pop-up birthday card is a fun and imaginative way to wish your loved ones a happy birthday, and it's something the kids will love making with you! Homemade cards are such a memorable thing to design, and can also be a gift by themselves.
Even if parents need to assist with some of the trickier elements of this pop-up design, kids will have great fun decorating, colouring and designing the card, especially at the end when they see the cake pop when they open the card! With our simple step by step guide, you'll have your pop-up card ready in no time. And remember this cake card is not limited to just birthdays, but can be tailored to suit any special occasion. Take a read below to discover how you can make your very own unique and memorable pop-up card!
Our helpful step by step guide will show you how to create your pop up cake birthday card in a simple and easy way. We recommend adult supervision during this creative activity.
You will need:
-A6 paper/card (of whatever colour you choose!)
-A5 White paper or card
-Different coloured paper or card (or patterned paper and card, whatever you prefer)
-Washi tape (this also comes in so many playful patterns and designs too)
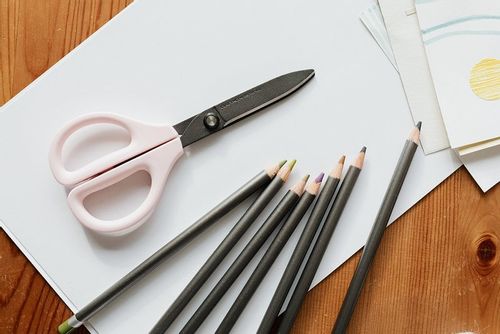
-Scissors
-Glue stick
-Coloured pens for decoration
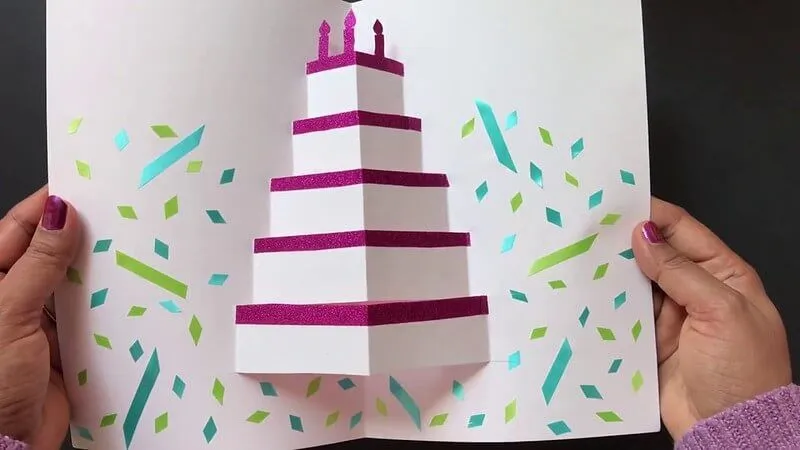
Image © CraftCorner
Start with your 'candles' for the top of the cake (this makes it easier to determine the measurements for the rest of the card). Draw them out in whichever shape you prefer and cut them out to have them ready.
Cut your A5 white card so that when it's put in the centre of your A6 card it leaves a nice border around the edge. This is why we recommend having a contrasting and complimentary colour for your A6 card for an extra fancy design!
Fold this in half.
Line your cut out candles with the folded paper to measure the top and bottom of the cake shape. The bottom should be half the length of the card. Divide it into 3 and create 4 small incisions within the space. These should have 2 long cuts (5cm), one medium (3 cm) and one small (2cm) approximately.
Fold along these incisions to create a crease. These will form the tiers of your cake and will create an easy pop when opened.
Glue your white paper within the coloured card but only around the edges but still making it secure.
Now it's decoration time!

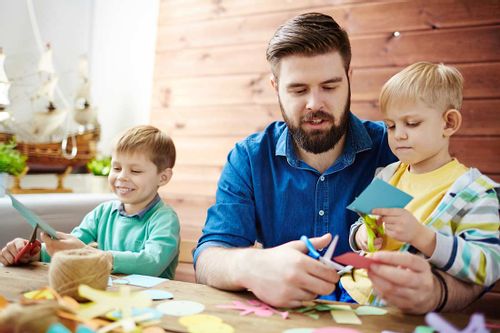
Decorating the cake is perhaps the most exciting part of this handmade craft and something that all children can get involved with! Glitter glue, pens, sequins and even glued down confetti are all amazing ways to give your cake card a bit of pizzazz. For extra customisation, why not add the name of the recipient on to the design! This really is a craft project that the whole family can enjoy, with beautiful results.

The Kidadl Team is made up of people from different walks of life, from different families and backgrounds, each with unique experiences and nuggets of wisdom to share with you. From lino cutting to surfing to children’s mental health, their hobbies and interests range far and wide. They are passionate about turning your everyday moments into memories and bringing you inspiring ideas to have fun with your family.
Read The Disclaimer
At Kidadl we pride ourselves on offering families original ideas to make the most of time spent together at home or out and about, wherever you are in the world. We strive to recommend the very best things that are suggested by our community and are things we would do ourselves - our aim is to be the trusted friend to parents.
We try our very best, but cannot guarantee perfection. We will always aim to give you accurate information at the date of publication - however, information does change, so it’s important you do your own research, double-check and make the decision that is right for your family.
Kidadl provides inspiration to entertain and educate your children. We recognise that not all activities and ideas are appropriate and suitable for all children and families or in all circumstances. Our recommended activities are based on age but these are a guide. We recommend that these ideas are used as inspiration, that ideas are undertaken with appropriate adult supervision, and that each adult uses their own discretion and knowledge of their children to consider the safety and suitability.
Kidadl cannot accept liability for the execution of these ideas, and parental supervision is advised at all times, as safety is paramount. Anyone using the information provided by Kidadl does so at their own risk and we can not accept liability if things go wrong.
Kidadl is independent and to make our service free to you the reader we are supported by advertising.
We hope you love our recommendations for products and services! What we suggest is selected independently by the Kidadl team. If you purchase using the buy now button we may earn a small commission. This does not influence our choices. Please note: prices are correct and items are available at the time the article was published.
Kidadl has a number of affiliate partners that we work with including Amazon. Please note that Kidadl is a participant in the Amazon Services LLC Associates Program, an affiliate advertising program designed to provide a means for sites to earn advertising fees by advertising and linking to amazon.
We also link to other websites, but are not responsible for their content.
Was this article helpful?
Get inspiration for education!
Subscribe for virtual tools, STEM-inspired play, creative tips and more

Browse Category
·
September 06, 2021


We’ll send you tons of inspiration to help you find a hidden gem in your local area or plan a big day out.


Check your inbox for your latest news from us. You have subscribed to:
Remember that you can always manage your preferences or unsubscribe through the link at the foot of each newsletter.