Arts & Crafts
Learn more
Reading & Writing
Learn more
Math & Logic
Learn more
Sports & Active
Learn more
Music & Dance
Learn more
Social & Community
Learn more
Mindful & Reflective
Learn more
Outdoor & Nature
Learn more
FOR ALL AGES
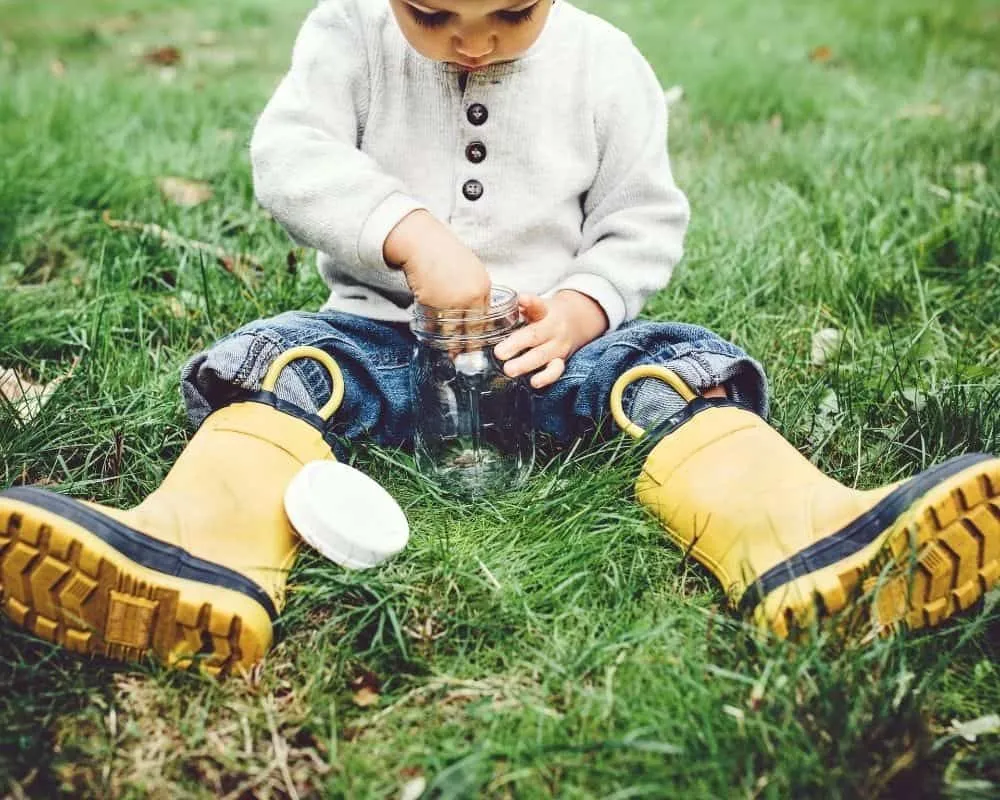
Quick and easy to make, Sensory Bottles will provide your kids with hours of fun sensory play - best of all they are mess-free!
Sensory bottles are great for enhancing learning, allowing your kids to safely explore new colours, shapes and sounds all through the clear window of a bottle. They can be used at home as part of sensory play, can help to promote calmness and are great for occupying kids on long car journeys.
You don't need a long list of materials to make them, most of the items you’ll probably have in your cupboards at home. Here’s a rundown of what you’ll need to get started:
Clear Plastic Bottles
Food Colouring
Glitter Glue
Vegetable Oil
Rice or Lentils
Glitter, Sequins, Pom Poms, Cotton Wool Balls, Sand, Shells, Beads
Kidadl’s Top Tips for the Perfect DIY Sensory Bottle:
- Use clear plastic bottles with a wide top so you have plenty of space to add in your goodies
- Use super glue to secure the lids as hot glue doesn’t adhere well to plastic
- For babies and toddlers try using smaller bottles
- Only use a small amount of food colouring in your sensory bottles otherwise the water will be too dark to see what’s inside
- Make sure you leave a little space at the top of your bottles
- If you're using rice to fill your bottles why not dye the rice first so it's bright and colourful making it even more captivating for the kids. It’s so simple to do, watch this video tutorial by Powerful Mothering for a step-by-step guide
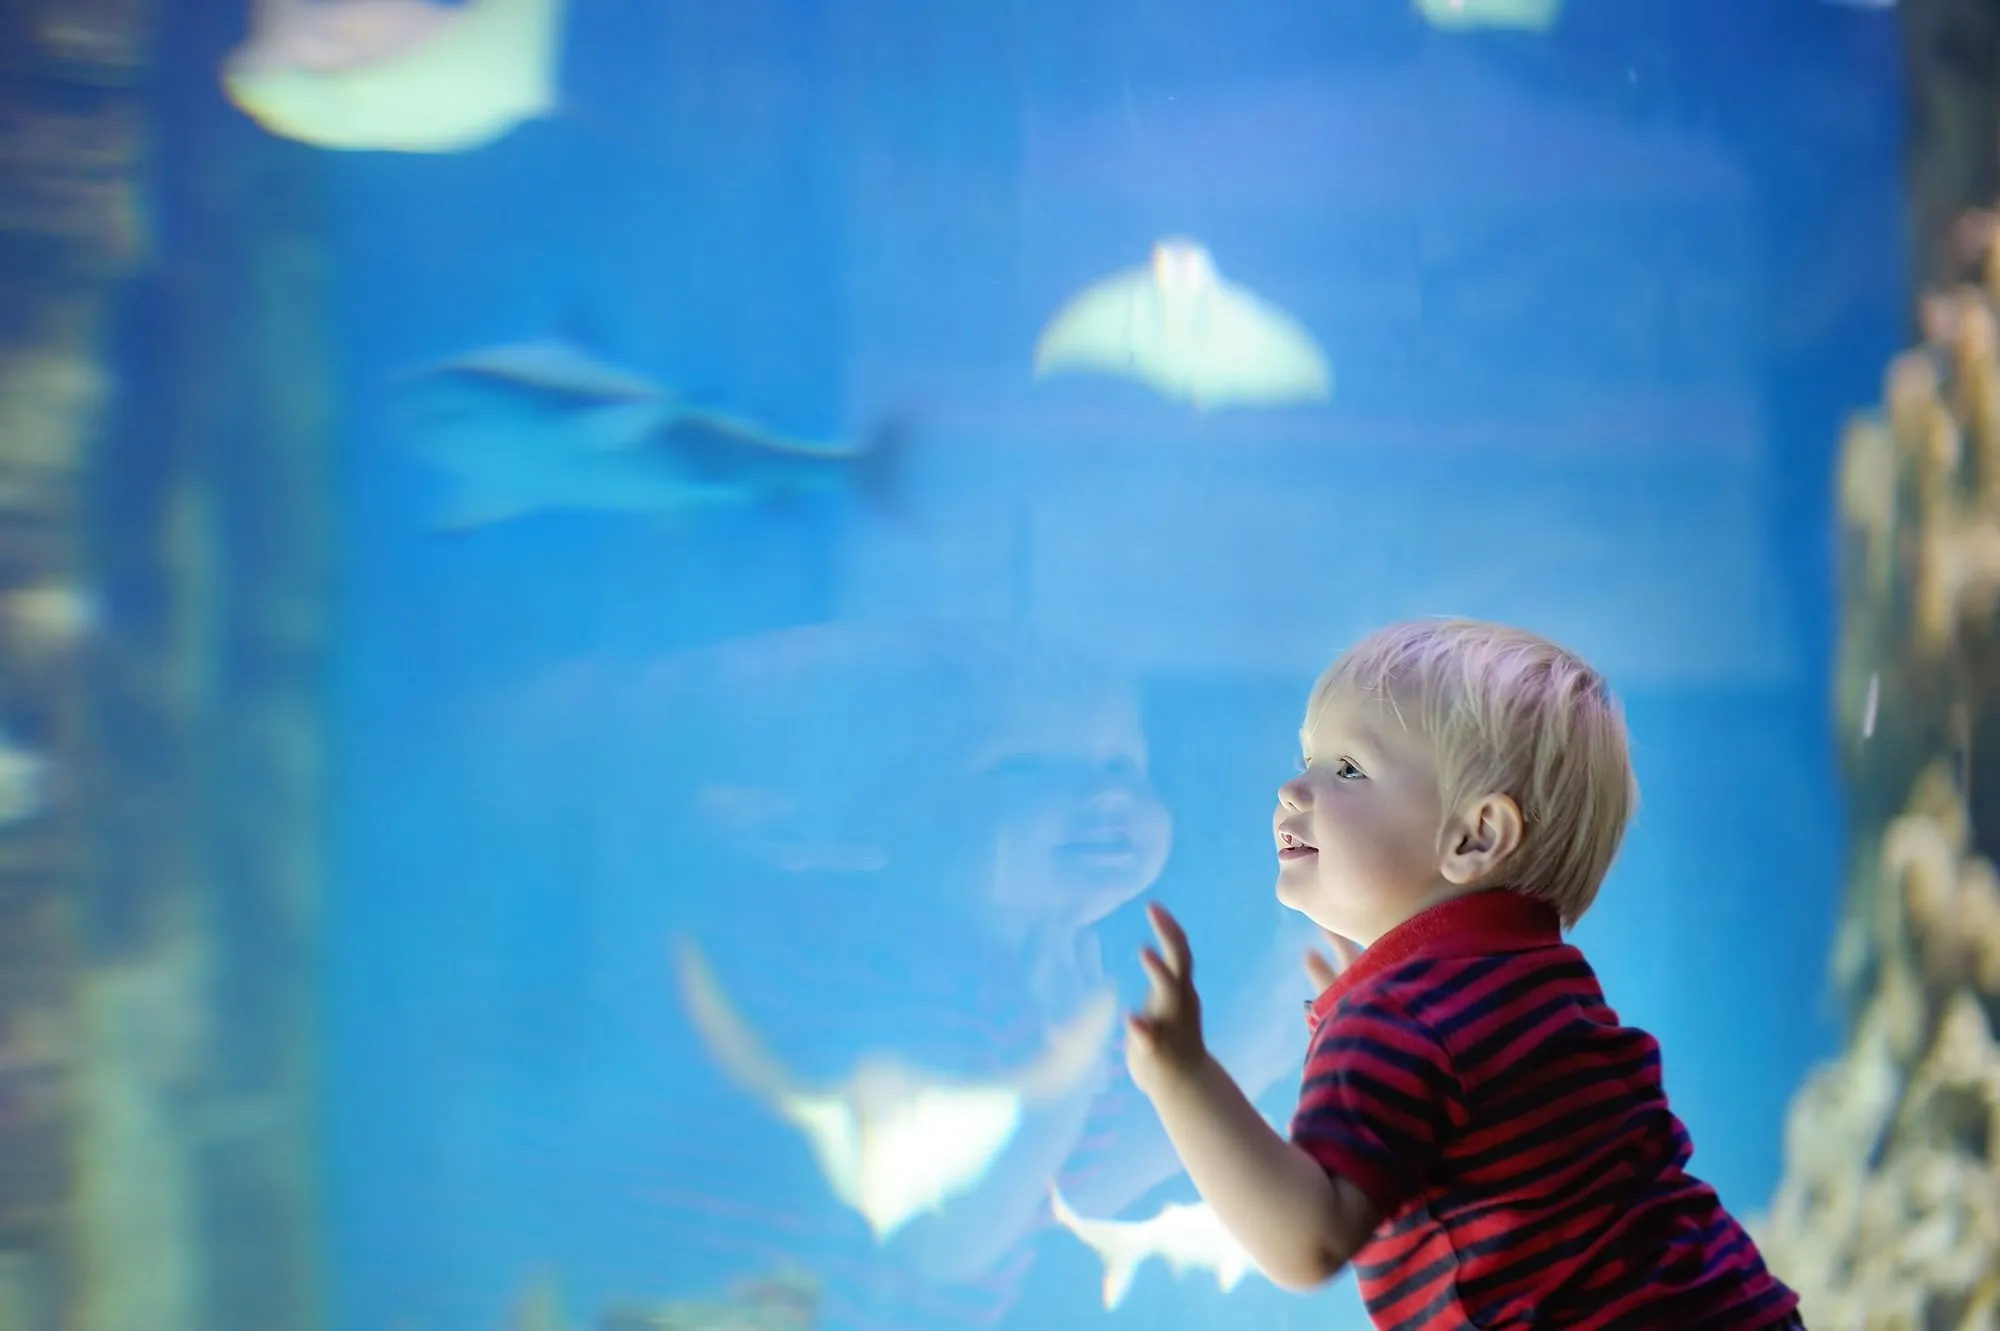
Create your very own mini aquarium for your kids to explore the wonders of the ocean and its sea life. They'll love shaking their aquariums, causing waves and trying to spot out the sea life.
You’ll need:
Empty Plastic Bottle
Sand
Small Shells
Water
Small Ocean Animal Toys
Blue Food Colouring
How to make your sensory bottle:
1. Pour some sand into your sensory bottle- about 1/4 of the way up
2. Fill your bottle with waterKids can help by carefully adding the shells and a drop of blue food colouring
3. Add your ocean toys into your aquariumUse super glue to secure the lid- make sure this has completely dried before you let your little ones play
4. Your mini aquarium sensory bottle is ready to explore!
Kids will love this DIY sensory bottle, great for mess-free sensory play and a great tool for calming down little minds.
You’ll need:
Empty Plastic Bottle
Water
Food Colouring
Vegetable Oil
How to make your sensory bottle:
1. Add a small amount of water to your bottle- less than an inch
2. Add a couple of drops of food colouring
3. Fill your bottle nearly to the top with the vegetable oil
4. Use super glue to secure the lid- make sure this has completely dried before you let your little ones play
5. Let the bubbles settle to the bottom
6. Your DIY lava lamp is ready- give it a shake and watch the bubbles settle!

Calm-down bottles are great for relaxing and calming the minds of little ones. You can use these for fun sensory play, as an alternative to time-out or to diffuse a tantrum. Let your child whizz it around and sit and watch the glitter settle to the bottom.
You’ll need:
Empty Plastic Bottle
Warm Water
60ml Glitter Glue
3 Drops of Gel Food Colouring
60g-80g Glitter
How to make your calming sensory bottle:
1. Add warm water to your bottle until it reaches about a third of the way up
2. Add the glitter glue and give it a good stir until it’s all combined
3. Add your gel food colouring
4. Pour in your glitter
5. Give it a good stir and pour in some more water leaving a small gap at the top so it has room to move
6. Your calming glitter bottle is ready!
Help your kids to learn about the weather with these fun weather themed sensory bottles.
You’ll need:
- Sunshine sensory bottle - yellow pom poms and water
- Cloud sensory bottle - white pom poms or cotton wool and water
- Rain sensory bottle - use water with a drop of blue food colouring, blue beads, blue pom poms and water
- Snow sensory bottle - use white pom poms or cotton wool balls, water, white glitter, snowflake sequins or shapes.
How to make your sensory bottle:
1. Simply add the water to your bottle then add the required materials to make each bottle
2. Secure the lid with superglue-make sure this has dried before you start to play
Set up this mini science experiment and make your very own tornado in a bottle. This DIY sensory bottle is guaranteed to engage and entertain the kids.
You'll need:
A clear plastic bottle
1 tsp of washing up liquid
1 tsp of vinegar
Optional extras:
Glitter
Food Colouring - you'll only need a few drops or the water will be too dark and you'll struggle to see your tornado
How to make your tornado in a bottle:
1. Simply fill your bottle almost to the top with water
2. Add your washing up liquid and vinegar
3. If you’re adding glitter and/or food colouring add this in now
4. Secure the lid with superglue
5. You’re all set to whizz up your tornado! Simply hold one hand on the top of your bottle and one at the bottom then swirl the bottle for about five seconds. Place the bottle down and watch your tornado appear!
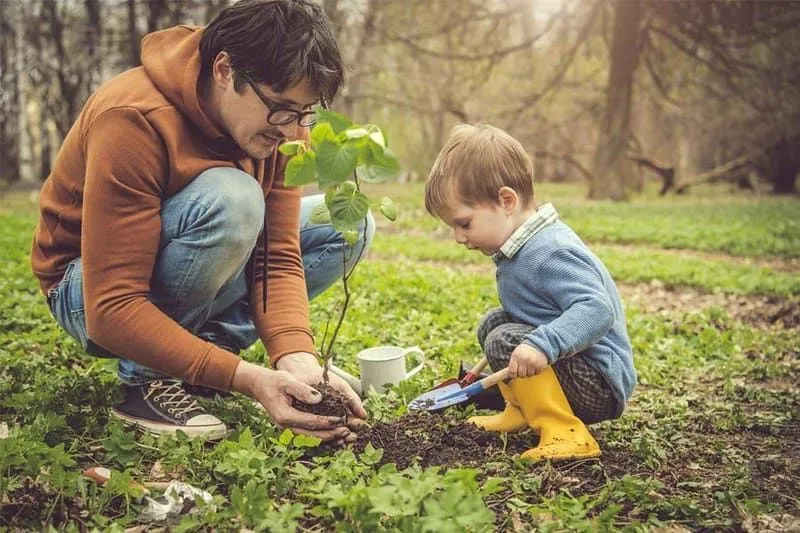
Create your own Nature Sensory Bottle, a perfect way for babies and toddlers to safely explore nature. Next time you're in the garden or out on a walk collect some leaves, flowers, twigs to complete your discovery bottle.
You’ll need:
A Wide Top Plastic Bottle
A Collection of Leaves, Plants, Twigs and Flowers
Water
How to make your sensory bottle:
1. Simply fill your bottle almost to the top with water
2. Add your flowers, leaves and twigs to your sensory bottle
3. Use super glue to secure the lid- make sure this has completely dried before you let your little ones play
4. Your nature sensory bottle is ready!
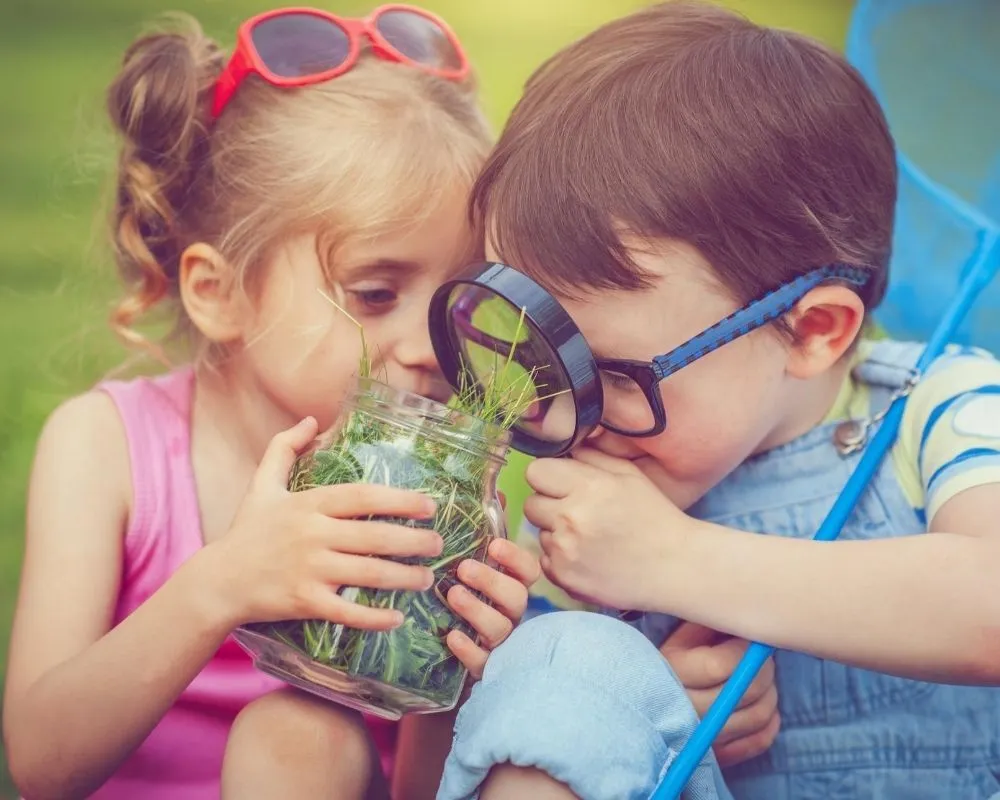
Make some I-SPY DIY sensory bottles to help with early learning or just for fun. The idea is that you fill your bottle with rice, lentils or pasta then add items for the kids to search for by shaking and turning the bottle. You could use small coloured letters to help teach phonics, numbers, shapes or small toys of different colours.
You’ll need:
A wide-top plastic bottle
Rice or lentils
Your chosen filling
How to make your I-SPY sensory bottles:
1. Simply add your chosen materials to the bottle
2. Fill 3/4 of the bottle with rice or Lentils
3. Your DIY I-SPY sensory bottle is ready!
- Cut-up tin foil
- Brightly coloured pipe-cleaners
- A handful of brightly coloured Pom-poms
- Make noisy sensory bottles without water using rice, buttons, beads or lentils
- Try out new themes; Frozen inspired, Dinosaurs, Butterflies, Cars, Bugs, Lego
Once you've made a couple of DIY Sensory Bottles you'll get a good idea of what works and what doesn't; then let your imaginations run wild.
An outdoor pursuits person at heart, raised in the East Midlands countryside, Sarah now lives in Surrey with her two daughters aged 3 and 9. She loves to travel and spend her days outdoors finding new and exciting places to explore with her girls. If she’s not outdoors then you’ll likely find her at home baking, crafting, gardening as well as exercising to keep fit.
Read The Disclaimer
At Kidadl we pride ourselves on offering families original ideas to make the most of time spent together at home or out and about, wherever you are in the world. We strive to recommend the very best things that are suggested by our community and are things we would do ourselves - our aim is to be the trusted friend to parents.
We try our very best, but cannot guarantee perfection. We will always aim to give you accurate information at the date of publication - however, information does change, so it’s important you do your own research, double-check and make the decision that is right for your family.
Kidadl provides inspiration to entertain and educate your children. We recognise that not all activities and ideas are appropriate and suitable for all children and families or in all circumstances. Our recommended activities are based on age but these are a guide. We recommend that these ideas are used as inspiration, that ideas are undertaken with appropriate adult supervision, and that each adult uses their own discretion and knowledge of their children to consider the safety and suitability.
Kidadl cannot accept liability for the execution of these ideas, and parental supervision is advised at all times, as safety is paramount. Anyone using the information provided by Kidadl does so at their own risk and we can not accept liability if things go wrong.
Kidadl is independent and to make our service free to you the reader we are supported by advertising.
We hope you love our recommendations for products and services! What we suggest is selected independently by the Kidadl team. If you purchase using the buy now button we may earn a small commission. This does not influence our choices. Please note: prices are correct and items are available at the time the article was published.
Kidadl has a number of affiliate partners that we work with including Amazon. Please note that Kidadl is a participant in the Amazon Services LLC Associates Program, an affiliate advertising program designed to provide a means for sites to earn advertising fees by advertising and linking to amazon.
We also link to other websites, but are not responsible for their content.
Was this article helpful?
Get inspiration for education!
Subscribe for virtual tools, STEM-inspired play, creative tips and more
Browse Category
·
September 06, 2021


We’ll send you tons of inspiration to help you find a hidden gem in your local area or plan a big day out.

Check your inbox for your latest news from us. You have subscribed to:
Remember that you can always manage your preferences or unsubscribe through the link at the foot of each newsletter.