Arts & Crafts
Learn more
Reading & Writing
Learn more
Math & Logic
Learn more
Sports & Active
Learn more
Music & Dance
Learn more
Social & Community
Learn more
Mindful & Reflective
Learn more
Outdoor & Nature
Learn more
FOR ALL AGES
And relax… Throughout these stressful times, it’s super important that both kids and grown-ups alike take moments to focus on self-care and relaxation! And what better way to get zen than by making your very own homemade bath bombs? Not only is it a super fun and simple DIY that both you and your kids can have a blast making but it is also a lovely treat that you can look forward to - who doesn’t love the excitement of a fizzing bath bomb? Keep reading to find out how you can make really simple bath bombs at home, plus, ideas on how to customise them! Plus, if you're putting in the work to make your own bath bombs, why not treat the family to an entire DIY spa day - check out our top ideas here.
You’ll need: baking soda, cream of tartar (can be found in the baking aisle of most supermarkets!), essential oils, silicone moulds or ice cube trays, bowl for mixing, spoon, water in a spray bottle and food colouring
To make your DIY bath bombs, it’s super easy! Firstly grab 160g of baking soda, 130g of cream of tartar, and pour into a large bowl.
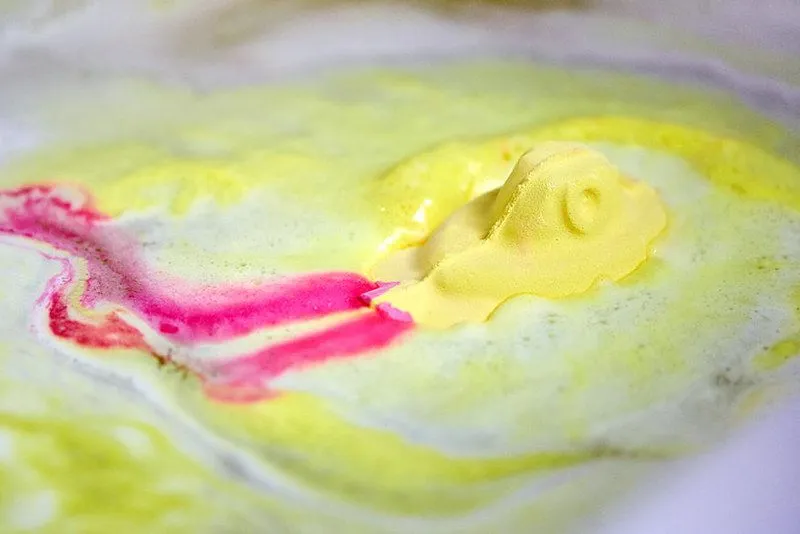
Then add a few drops of your chosen essential oil and a few drops of food colouring until you have the colour you want - don’t worry if it still looks quite powdery at this point, persevere with the mixing!
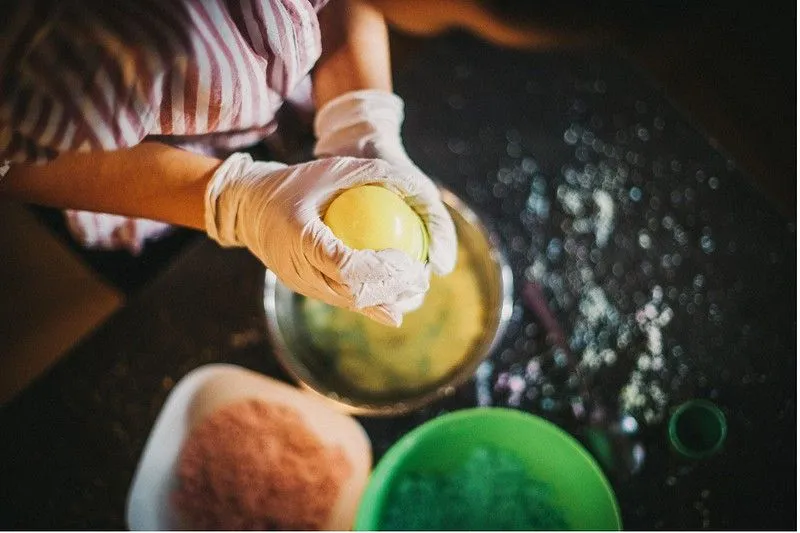
Afterwards, using a bottle with a spray cap (you can use an old cleaning bottle that has been washed out and cleaned or even an empty makeup spray bottle that has been thoroughly cleaned) spray your powdery mixture 2-3 times. Watch as the mixture begins to sizzle and react as the bicarbonate of soda reacts with the water!
Begin to gently mix it and as it becomes more solid, it should have the texture of wet sand. When you can indent your finger into the mixture onto the spoon and it leaves a little fingerprint mould behind without crumbling too much, then it’s ready. If not, add a few more sprays of water, mixing it after each spray until you reach the desired consistency.
Then you're ready to fill your moulds - silicone moulds work best as it makes it super easy for your bath bombs to slide out, plus you can get some epic shapes on Amazon! However, ice cube trays will work as well. Pack your moulds with the bath bomb mixture, ensuring to press down super hard keeping it compact and tight.
Finally, leave them to dry for around 1-2 days until they are fully hard and then remove gently and you’re ready to go!
You’ll need: baking soda, citric acid, cornflour, coconut or olive oil, essential oil of your choice, food colouring, 2 bowls for mixing, a whisk and plastic moulds
To get making your super fizzy citric acid bath bombs, measure 100g of baking soda, 50g of citric acid and 25g of cornflour and whisk in a bowl until combined.
Then measure 2 tablespoons of your chosen base oil, ½ a teaspoon of your chosen essential oil and a few droplets of food colouring, pour into a separate bowl and mix, combining the oil with the colouring until fully mixed.
Now, super slowly, pour the oil mixture into the powder bowl with the dry ingredients, making sure to whisk between each addition.
Once the oil mixture is added, add a few drops of water and whisk again - watch out for the chemical reaction!
Once the mixture starts to clump in your hand when held together it’s ready. If it’s still looking a little powdery, add more droplets of water as you see fit, making sure to whisk between each addition.
Now you’re ready to fill your moulds, we recommend silicone mould trays but you could always use empty yoghurt pots or if you’ve got any easter egg packaging left over - why not make a big egg-shaped bath bomb? Pack your mixture tightly, ensuring to smooth the top down with a teaspoon.
Then leave them to set and dry for 2-4 hours before carefully removing from the moulds!
You’re all set, run your bath and get fizzy!
One of the best things about making your own bath bombs is that you can completely customise them to your liking! We’ve listed the top 3 ways of customising that are super easy but can have such a lovely effect and make for cool alternatives to your standard bath bombs. Or if you know someone who could do with a little more zen in their life, why not customise them their very own set of bath bombs to drop at their doorstep? Plus, they make super nice gifts!
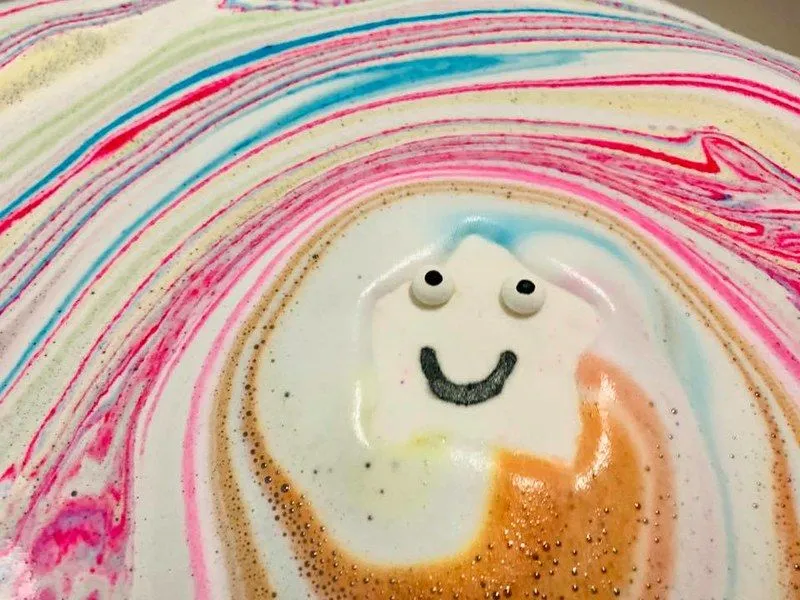
Go glitter crazy! Why not add a little sparkle to your homemade bath bombs? There are plenty of skin-safe pigments and shimmer online that are made for cosmetic purposes and won’t leave stains in your bathtub! If you’ve got a range of glitters, why not attempt a tie-dye bath bomb design, swirling the different colours amongst the mixture, creating an awesome effect. If you do decide to spice your bath bomb up with glitter, ensure to add a little pinch at a time mixing it in just before you add the liquid components. It’s bound to leave your skin super sparkly and glowy the next day!
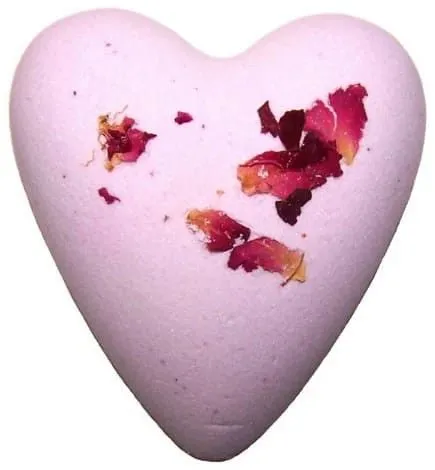
Get outside and grab some flowers! On your daily walks if you happen to pass any pretty flowers, why not grab a few and put them in your bath bombs? Or perhaps you’ve got some roses growing in your garden - why not use a few of those gorgeous red petals and place them in your bath bombs? The smaller the petals are the better! Ensure not to overload your mixture with them, you might even have to tear them up into smaller pieces - the effect is so beautiful!
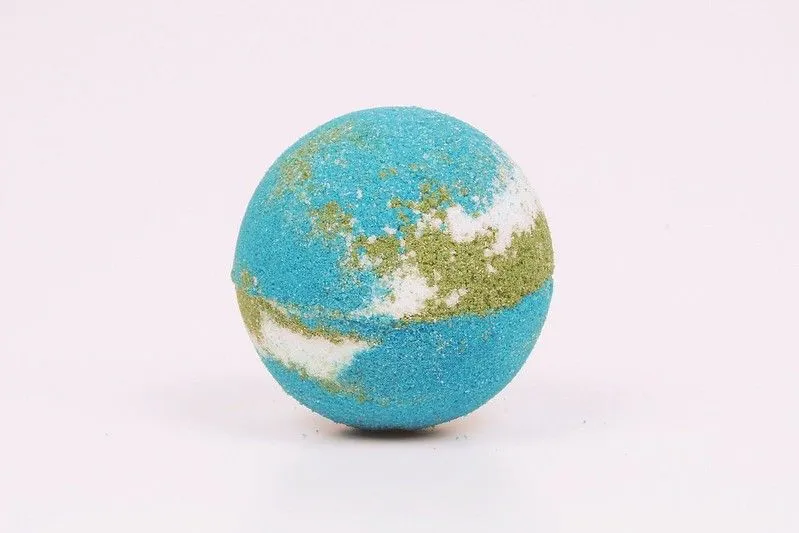
Go colourful and smelly! If you’ve got more than one colour of food colouring why not make all different colour bath bombs? Or if you’re feeling super creative, get mixing and create your own shades of colour! Another great way to change things up a little is through using different essential oils and creating different smells. Lavender, lemon and rose are our top favourites for super calming scents but there’s so many to choose from - the possibilities are endless!
If you're on the hunt for more calming activities, especially for your little ones, take a read of our top 12 calming activities for under 5s here.

Ellie is a keen Londoner, thespian and foodie! She's the oldest of three and loves taking her younger siblings, aged nine and fourteen, on adventures to the theatre and food markets, trying new foods and dabbling in the world of musical theatre. Some of her favourite spots include Primrose Hill and the Natural History Museum, not to mention the ever-changing Spitalfields Market.
Read The Disclaimer
At Kidadl we pride ourselves on offering families original ideas to make the most of time spent together at home or out and about, wherever you are in the world. We strive to recommend the very best things that are suggested by our community and are things we would do ourselves - our aim is to be the trusted friend to parents.
We try our very best, but cannot guarantee perfection. We will always aim to give you accurate information at the date of publication - however, information does change, so it’s important you do your own research, double-check and make the decision that is right for your family.
Kidadl provides inspiration to entertain and educate your children. We recognise that not all activities and ideas are appropriate and suitable for all children and families or in all circumstances. Our recommended activities are based on age but these are a guide. We recommend that these ideas are used as inspiration, that ideas are undertaken with appropriate adult supervision, and that each adult uses their own discretion and knowledge of their children to consider the safety and suitability.
Kidadl cannot accept liability for the execution of these ideas, and parental supervision is advised at all times, as safety is paramount. Anyone using the information provided by Kidadl does so at their own risk and we can not accept liability if things go wrong.
Kidadl is independent and to make our service free to you the reader we are supported by advertising.
We hope you love our recommendations for products and services! What we suggest is selected independently by the Kidadl team. If you purchase using the buy now button we may earn a small commission. This does not influence our choices. Please note: prices are correct and items are available at the time the article was published.
Kidadl has a number of affiliate partners that we work with including Amazon. Please note that Kidadl is a participant in the Amazon Services LLC Associates Program, an affiliate advertising program designed to provide a means for sites to earn advertising fees by advertising and linking to amazon.
We also link to other websites, but are not responsible for their content.
Was this article helpful?
Get inspiration for education!
Subscribe for virtual tools, STEM-inspired play, creative tips and more


Browse Category
·
September 06, 2021


We’ll send you tons of inspiration to help you find a hidden gem in your local area or plan a big day out.


Check your inbox for your latest news from us. You have subscribed to:
Remember that you can always manage your preferences or unsubscribe through the link at the foot of each newsletter.