Arts & Crafts
Learn more
Reading & Writing
Learn more
Math & Logic
Learn more
Sports & Active
Learn more
Music & Dance
Learn more
Social & Community
Learn more
Mindful & Reflective
Learn more
Outdoor & Nature
Learn more
FOR ALL AGES
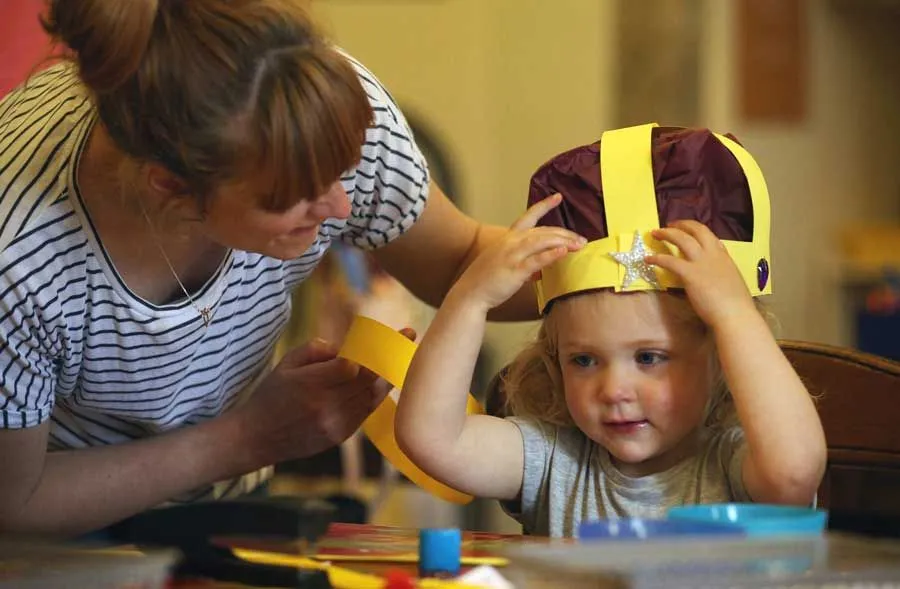
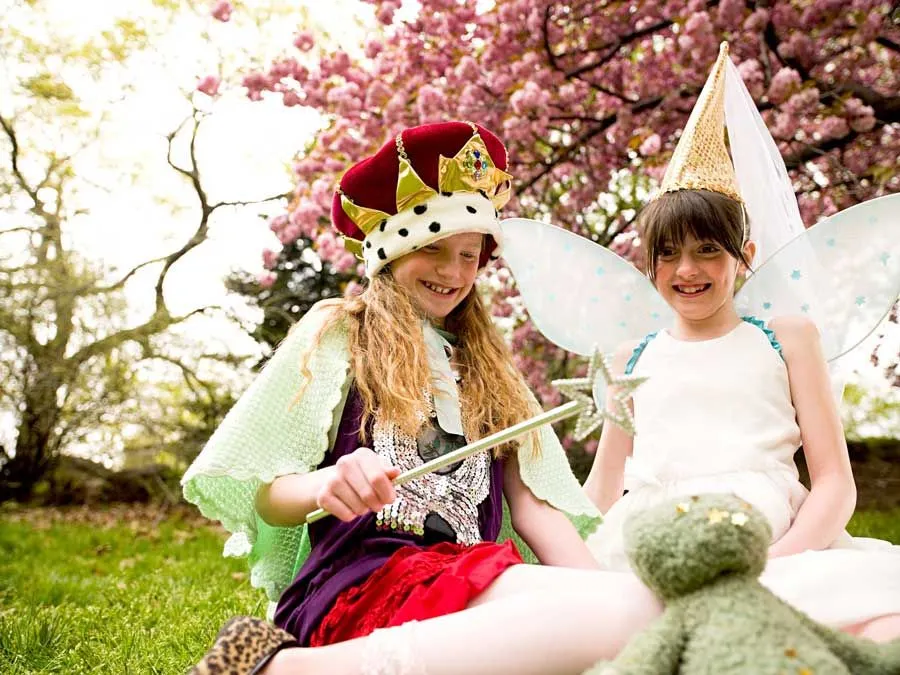
This year the Queen's birthday celebration is on Saturday 13th June, so why not celebrate by making paper crowns to wear for the day?
Making paper crowns is a fun craft activity, and the kids can carry on wearing their creations way beyond the Queen's birthday celebrations, as they make a great addition to any fancy dress box. By using materials that you already have at home - like paper, cardboard, paints, glitter and fabric - let the kids get creative, coming up with fun ideas for their own royal crown.
We have gathered together some of the best ideas for paper crowns, including lots of printable templates to use - as well as plenty of other ideas to get you inspired.
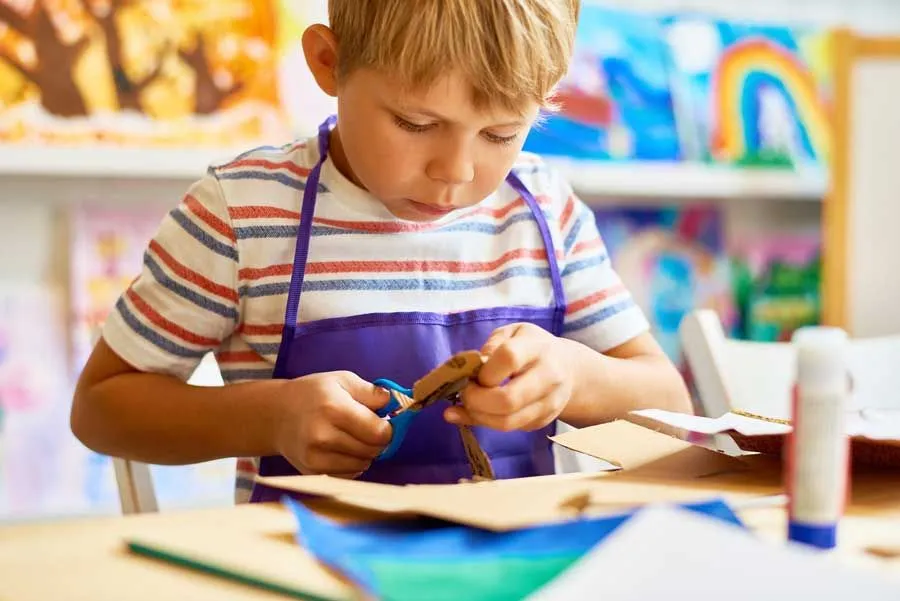
A staple of the dressing up box, this paper crown is easy to make and fun to decorate. Start by cutting a strip of cardboard around 10 cm wide, that is long enough to go around your child's head - plus 2-3 cm for overlap (you may need to staple two pieces together for this). Next, cut a piece of wrapping paper or coloured paper that is the same length as the cardboard, but make it slightly wider - around 15cm - and then glue the paper to the cardboard, lining the bottom edges up.
Once dry, cut a zig-zag pattern in the top of the wrapping paper/coloured paper - making sure not to cut into the cardboard behind it. It is much easier for kids to decorate their crown whilst it is flat - so hand over the zig-zag paper and let them use their imaginations to personalise their designs. Use pens, pencils and paints to add colour, and glue on sequins, glitter and stickers for a touch of sparkle. Once the paper crown has been finished, make a ring by pulling the two sides together and stapling in place.
What you'll need:
- Thin cardboard - an old cereal box works well for this
- Coloured paper or wrapping paper
- Scissors
- Glue
- Stapler
- Paint, crayons, pens - plus glitter and stickers to decorate

Red Ted Art has an amazing template for a real, royal crown. Decorated with diamonds and jewels, this crown looks exactly like the one the Queen wears - but don't worry, it's easier to make than it looks. Start by printing out the free template, which can be found here - and then follow the step by step tutorial on their website, or follow their video tutorial on YouTube. Younger kids will love colouring in the template, handing it over to an adult be cut out and assembled - whereas older children will have fun working out how to put the crown together, learning to follow the instructions to create their own amazing paper crown.
What you'll need:
- Free printable template
- Colouring pencils, pens or paints
- Scissors
- Hole punch
- Glue/tape
- A split pin
If your child is interested in learning origami, then an origami crown is a great place to start. A fun craft project for beginners, you can use origami paper to make your crown, but if you don't have any, then wrapping paper or any other coloured paper works just as well.
Although the crown is simple to make, it is more suited to older children, as the shapes need to be neatly folded and carefully assembled. Making this paper crown will teach your children a new skill and will improve their attention to detail - and if they really enjoy the challenge, there are plenty more origami crafts to learn.
Learn to make a pretty, dainty origami crown that is topped with tiny hearts, by watching Nenda Milaswati's easy-to-follow video tutorial. All you will need is some origami paper, wrapping paper or coloured paper, which has been cut into 8 x 8 cm and 2 x 8 cm pieces.
For a big, pointy crown that has a cool striped pattern, follow Arslan Art's video tutorial - all you will need is some paper in two different colours and a glue stick.
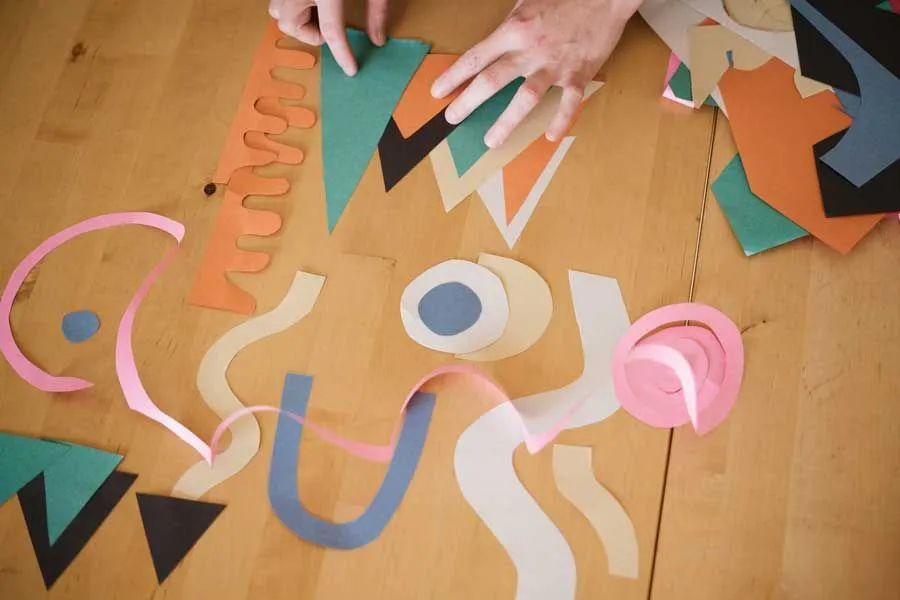
First Palette has templates for lots of different paper crowns - whether you prefer a Disney princess tiara, a traditional royal pattern or a pointy party crown. Simply choose your favourite template and print it out, then cut around the outlines and glue together the separate pieces. Decorate the template using arts and crafts materials like glitter, stickers, buttons, paints, pens and pencils. Glue on sparkly beads, ribbons, pom-poms and shapes cut out of paper - or try printing the template on patterned paper for a more colourful crown.
Perfect for toddlers and young children, making a crown from a paper plate is extremely quick and easy - and best of all, it doesn't require a template or any complicated cutting out. To make the crown, simply fold the plate in half and cut it through the middle - making sure not to cut the outside rim. Once you have one cut, unfold the plate and make another cut to form an 'X' shape, then cut diagonally to create 8 triangles. After that, it's the kids' turn - simply fold the triangles upwards to form the crown, and then get decorating.
Decorate the paper crown with paint, glitter and sequins - or whatever you have to hand - and try using 'sticky paint' so that kids don't have to wait for their crowns to dry before glueing on sequins and other decorations.
Sticky glue is a great craft hack for younger or more impatient kids, and it is extremely simple to make - just pour some PVA glue into a dish or container and add a few drops of paint. Older kids who are willing to wait, can paint their crown first, coming back to it later to glue on the decorations.
Not exactly a paper crown, but if you have some spare fabric in the house - or a piece of felt in the art and crafts box, then why not use it to make a simple, no-sew crown for the fancy dress box?
To create a crown, cut a zig-zag line along one side of the fabric - leaving the other edge straight. Use ribbon or yarn to secure the crown at the back, and then decorate the fabric however you like. Younger children who can't yet use a needle and thread can glue sequins, buttons and ribbons onto the fabric - whilst older children who want to learn or practice their sewing skills can decorate their crown by sewing on shapes cut out of different fabrics, as well as buttons, beads and sequins. For more details and tips for making a no-sew crown, watch the video tutorial by Let's Do Something Crafty.

Godmother to two little girls, Rosanna enjoys finding ways to entertain her goddaughters with games, cooking and – best of all - arts and crafts. Having studied Fine Art, Rosanna uses her creativity to make colourful, fun and educational art and craft projects that are perfect for kids of all ages. Full of ideas for homemade cards and handcrafted gifts, toys and decorations – Rosanna also has a knack for finding child-friendly cultural activities and fun places for kids to blow off steam.
Read The Disclaimer
At Kidadl we pride ourselves on offering families original ideas to make the most of time spent together at home or out and about, wherever you are in the world. We strive to recommend the very best things that are suggested by our community and are things we would do ourselves - our aim is to be the trusted friend to parents.
We try our very best, but cannot guarantee perfection. We will always aim to give you accurate information at the date of publication - however, information does change, so it’s important you do your own research, double-check and make the decision that is right for your family.
Kidadl provides inspiration to entertain and educate your children. We recognise that not all activities and ideas are appropriate and suitable for all children and families or in all circumstances. Our recommended activities are based on age but these are a guide. We recommend that these ideas are used as inspiration, that ideas are undertaken with appropriate adult supervision, and that each adult uses their own discretion and knowledge of their children to consider the safety and suitability.
Kidadl cannot accept liability for the execution of these ideas, and parental supervision is advised at all times, as safety is paramount. Anyone using the information provided by Kidadl does so at their own risk and we can not accept liability if things go wrong.
Kidadl is independent and to make our service free to you the reader we are supported by advertising.
We hope you love our recommendations for products and services! What we suggest is selected independently by the Kidadl team. If you purchase using the buy now button we may earn a small commission. This does not influence our choices. Please note: prices are correct and items are available at the time the article was published.
Kidadl has a number of affiliate partners that we work with including Amazon. Please note that Kidadl is a participant in the Amazon Services LLC Associates Program, an affiliate advertising program designed to provide a means for sites to earn advertising fees by advertising and linking to amazon.
We also link to other websites, but are not responsible for their content.
Was this article helpful?
Get inspiration for education!
Subscribe for virtual tools, STEM-inspired play, creative tips and more


Browse Category
·
September 06, 2021


We’ll send you tons of inspiration to help you find a hidden gem in your local area or plan a big day out.


Check your inbox for your latest news from us. You have subscribed to:
Remember that you can always manage your preferences or unsubscribe through the link at the foot of each newsletter.