Arts & Crafts
Learn more
Reading & Writing
Learn more
Math & Logic
Learn more
Sports & Active
Learn more
Music & Dance
Learn more
Social & Community
Learn more
Mindful & Reflective
Learn more
Outdoor & Nature
Learn more
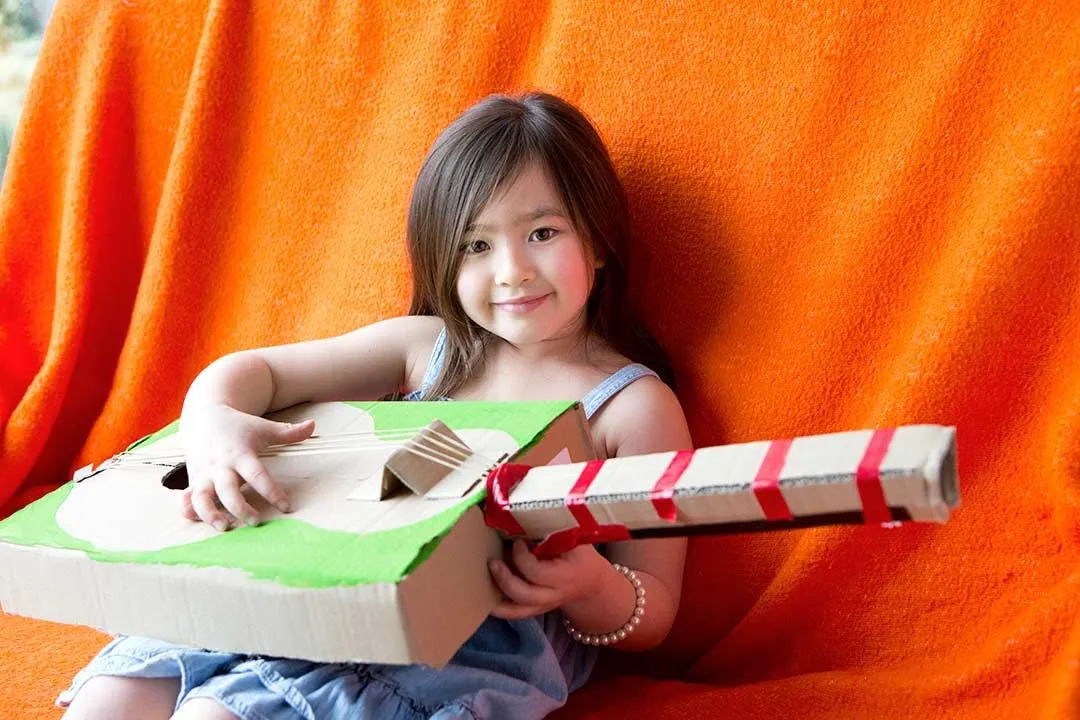
FOR AGES 12 MONTHS TO 4 YEARS
Children love to make noise - little children doubly so. Encourage them to make music instead of noise and they'll have loads of fun - and your ears will get a bit of a rest! DIY musical instruments fulfil several purposes. You can help little ones develop their fine motor skills while they are learning how to make the instruments, they can get artistic by colouring and painting them, and touching and playing the musical instruments will help their sensory development, Who knows - encouraging your preschooler to have fun with a homemade musical instrument could nurture a lifelong love of being musical and making music. Here are eight ideas on how to make a musical instrument kids will love to play with. If you want some music to play along with, check out Kidadl's Playlists for lockdown, and you can find more craft ideas for little ones here.
Apparently, rainsticks were invented by the Aztecs, and then the idea spread to Central and South America. Now, these homemade musical instruments are loved by preschoolers around the world.
To make your own you will need kitchen towel inner roll, cooking foil, rice, sticky tape, a wooden spoon, broom handle or similar (for making a spiral) and some coloured paper. A funnel would be useful.
Take a piece of foil about 10in (25cm) long. Roll it into a stick-shape and then wrap around your broom handle to create a spiral. Tear off another piece of foil around 7in (18cm) and roll into a tighter, thinner stick. Twist this around the broom handle to make a tighter spiral. Then fit it inside the bigger spiral.
Place the end of the paper roll tube on the paper and trace around it. Then draw a circle around that, about 2cm bigger. Take your scissors and snip around the edges of each circle, up to the inner circle. Take a circle and cover one end of the tube, then use the sticky tape to stick the snipped edges around the edges of the tube to create a seal.
Put in your foil spirals, and add some dry rice to the tube (about quarter of a cup). Seal up the other end of the tube with the paper and sticky tape.
Wrap the tube in some coloured paper or wrapping paper and then your children can decorate it as they wish. Timeto make music!
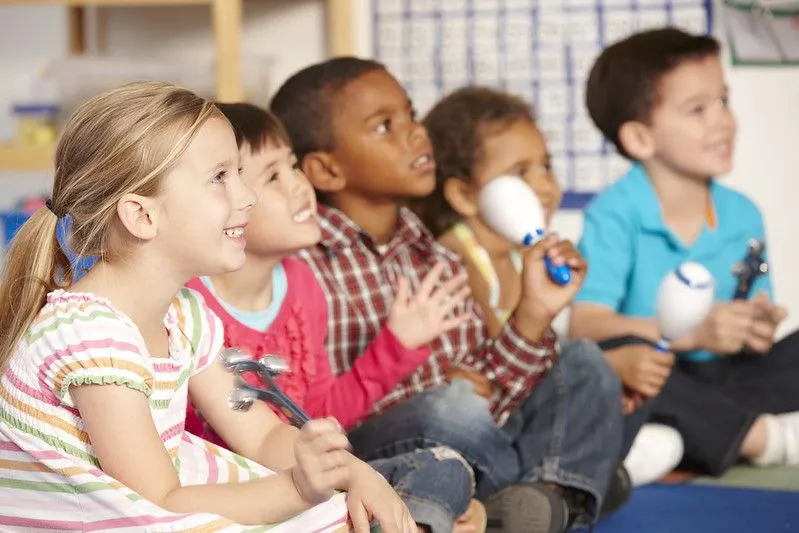
When it comes to musical instruments homemade Maracas or shakers are great fun to use - they make any dance twice as much fun and are easy to make.
You will need some plastic eggs leftover from Easter (the type that can be split in two), some dried beans, rice or pasta, sticky tape - and two large serving or cooking spoons.
Open the eggs, fill one half with your dried material and join together with the empty half. Tape around the middle to stop them coming apart mid-shake (you will regret it if you don't do this!). Next, take the two large spoons, and fit them together, with the bowl of each spoon holding the egg. Tape the spoons together, so the egg stays put and the handles stay together. Now you can shake your maracas - just like Penny in Dirty Dancing...
If you don't have plastic eggs, you could use some small plastic bottles and tape kitchen rolls inners to them for the handles. Decorate your homemade instruments as much as you want!
Here's a handy DIY instrument craft for all those toilet rolls. Get the kids to make these with some waxed paper (the sort you use for baking), a rubber band, a sharp pencil or something else for poking holes, and some paints or markers for decorating.
Cover one end of the toilet roll tube with the wax paper and tie it in place with a rubber band. Make a hole in the side of the tube using a sharp pencil, skewer or similar (you may have to do this for little ones to avoid accidents). Then decorate your homemade musical kazoo.
Once it's dry you're ready to get playing - to get a sound, hum into the paper. Then experiment with some different sounds, such as doo, too, rrr, doo, brr and so on.
If you want some inspiration this rendition of the Star Wars music is amazing!
Add the sound of sleigh bells with these easy-to-make DIY musical jingle sticks. You will need some bells (we had to raid the Christmas decorations for some sleigh bell tree ornaments. Choose larger bells to avoid any choking risk), a stick from the garden or from your daily walk, some ribbon or scraps of fabric and some string or rubber bands to tie on the bells.
To start, you will want to make some strips of fabric. Cut into lengths about 1in (2.5cm wide) and about 5in (12 cm long). Then start tying the strips of fabric and ribbon along the top three-quarters of the stick (leaving a bare 'handle'). every couple of strips or so, tie on a bell. Keep going until the stick is covered up to the 'handle' and you're done.

Who doesn't love to bang a drum? Encourage your kids to make drums of all shapes and sizes until you have a whole drum kit if you like.
You will need empty cans, cartons and jars, plastic bags, balloons or fabric pieces, string, elastic or large rubber bands, sticky tape, paper, paints, stickers, washi tape and markers for decorating. You'll also need some drumsticks - they could be pencils, chopsticks, wooden spoons, or sticks from the garden.
Decorate your containers first. Cover with wrapping paper, stickers, coloured paper, foam shapes - whatever they like. Next, you need to make the drum skin. Cut the end off a balloon and pull it over the container to create a tight skin. Alternatively, cut a circle out of a plastic bag or piece of fabric. It needs to be bigger than the end of your container. Pull it taut over the open end of the container, tie in place with a rubber band, elastic or string. You're ready to get playing! Choose different sizes and shapes to get different sounds. You could even make some cymbals from old CDs. They won't sound the same but little ones will like 'crashing' them together.
The washboard is an old-fashioned instrument beloved of old skiffle bands and retro musicians. You're not likely to find them outside of a museum or antique shop nowadays, but you can recreate the effect using a water bottle.
You will need an empty, clear small water bottle that has ridges (this is very important!), some poster or acrylic paint and a chopstick, long pencil, or similar.
To decorate the bottle, we are going to paint the inside. Simply pour in some paint and swirl it around the inside of the bottle. Put the lid on while you do this or you might find the rest of your house/child decorated as well! That is all you need to do - the waterbottle washboard is ready to go!.
To play, hold the bottle with the cap end facing away from you, and rub the pencil or chopstick up and down along the ridges. Encourage them to play with some sort of rhythm to extend their learning.
You'll need to delve into the Christmas ornaments again for this fun homemade take on an old favourite.
You'll need some bells, some string or wool, paper or styrofoam plates, stickers, paints or markers for decoration. To make the holes use a hole punch if you have one, or a skewer, sharp pencil or toothpick (obviously little ones will need help and supervision with this).
Take two paper plates (if they are quite flimsy paper plates you might want to double them up to make the tambourine a bit sturdier). Punch holes around the rim about an inch apart. Place the plates together, with the upper sides facing, so they form a dome shape on each side. Take some lengths of string or wool and tie them together at each punch hole. Next, take some more string or wool and tie on the bells at each hole, so that they sit on the outside edge of the tambourine. Decorate the plates with colourful painted patterns, stickers, foam shapes or whatever takes your fancy, then jingle away! If you are short on plates or bells, instead of using two plates, fold one plate in half to make a half-moon shape, and then follow the same instructions. Let the music begin!
Save your bottle tops from your next back garden barbecue to make these fun and easy DIY musical instruments.
You will need, two bottle tops for each castanet, some strong cardboard from a box, strong PVA glue, googly eyes and paint.
Cut out a strip of cardboard a little wider than your bottle top and about 8in (20cm) long. Glue a bottle top to each end, with the flat top facing upwards. Fold the cardboard in half so that the bottle tops clack together. Paint the top of the cardboard so that it looks like a crocodile, and add two googly eyes, Your bottle top, crocodile castanets are ready. Olé!

Mum of one teenage boy, near Leighton Buzzard, Beds. Born and raised in the Home Counties, Naomi has explored much of London, along with Beds, Herts and Bucks, with her son and husband. When she’s not driving to various skateparks around the UK, Naomi loves finding somewhere new to explore or a new activity they can all try.
Read The Disclaimer
At Kidadl we pride ourselves on offering families original ideas to make the most of time spent together at home or out and about, wherever you are in the world. We strive to recommend the very best things that are suggested by our community and are things we would do ourselves - our aim is to be the trusted friend to parents.
We try our very best, but cannot guarantee perfection. We will always aim to give you accurate information at the date of publication - however, information does change, so it’s important you do your own research, double-check and make the decision that is right for your family.
Kidadl provides inspiration to entertain and educate your children. We recognise that not all activities and ideas are appropriate and suitable for all children and families or in all circumstances. Our recommended activities are based on age but these are a guide. We recommend that these ideas are used as inspiration, that ideas are undertaken with appropriate adult supervision, and that each adult uses their own discretion and knowledge of their children to consider the safety and suitability.
Kidadl cannot accept liability for the execution of these ideas, and parental supervision is advised at all times, as safety is paramount. Anyone using the information provided by Kidadl does so at their own risk and we can not accept liability if things go wrong.
Kidadl is independent and to make our service free to you the reader we are supported by advertising.
We hope you love our recommendations for products and services! What we suggest is selected independently by the Kidadl team. If you purchase using the buy now button we may earn a small commission. This does not influence our choices. Please note: prices are correct and items are available at the time the article was published.
Kidadl has a number of affiliate partners that we work with including Amazon. Please note that Kidadl is a participant in the Amazon Services LLC Associates Program, an affiliate advertising program designed to provide a means for sites to earn advertising fees by advertising and linking to amazon.
We also link to other websites, but are not responsible for their content.
Was this article helpful?
Get inspiration for education!
Subscribe for virtual tools, STEM-inspired play, creative tips and more


Browse Category
·
September 06, 2021


We’ll send you tons of inspiration to help you find a hidden gem in your local area or plan a big day out.


Check your inbox for your latest news from us. You have subscribed to:
Remember that you can always manage your preferences or unsubscribe through the link at the foot of each newsletter.