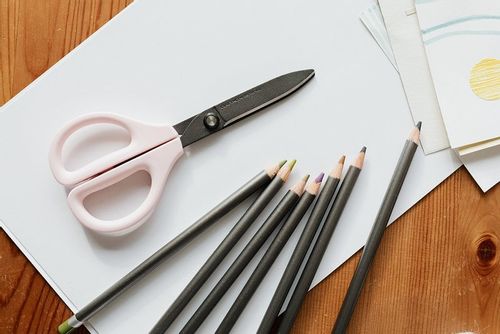
Arts & Crafts
Learn more
Reading & Writing
Learn more
Math & Logic
Learn more
Sports & Active
Learn more
Music & Dance
Learn more
Social & Community
Learn more
Mindful & Reflective
Learn more
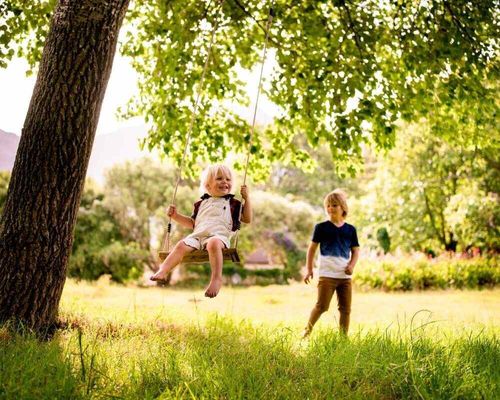
Outdoor & Nature
Learn more
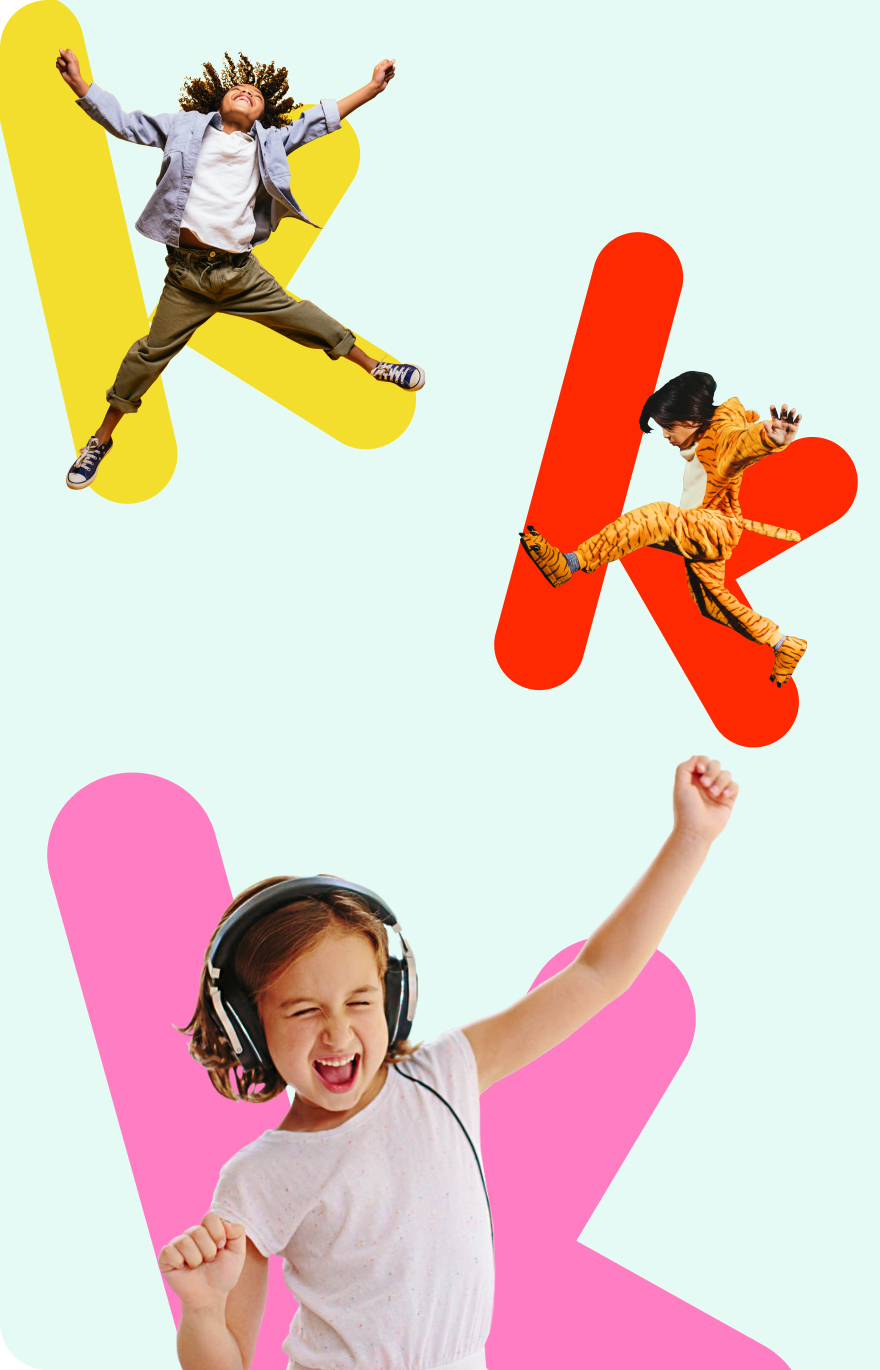
FOR ALL AGES
Image © freepik, under a Creative Commons license.
Let's cut to the chase; getting imaginative with paper mache is an awful lot of fun.
If your children love creating creatures, our simple steps will show you how to make papier mache animals suitable for kids of any age. Be prepared; making paper mache sculptures can get rather messy but, let's be honest, that's part of the enjoyment!
Papier mâché originated in China, where it was used to make helmets over two thousand years ago. Commonly referred to as paper mache in the UK, the creative art form involves soaking paper strips in paste and then placing them over a base or mould. It’s really easy to make your own paper mache paste, or wallpaper paste is a great alternative. Once the paper mache sculpture is dry, it can be painted, decorated, and even finished with a coat of varnish. Making paper mache animals is a great way to channel energy and creativity, and will give your kids a real sense of achievement.
What You Need:
1 mug of plain flour.
1 mug of warm water.
Cold water.
Method:
1. Sieve the flour into a large mixing bowl.
2. Add the warm water and mix until well combined.
3. Stir in cold water, a bit at a time, until you have a smooth paste.
What You Need:
Newspaper.
Warm water.
A few tablespoons of salt.
A few tablespoons of glue.
Method:
1. Tear the newspaper into tiny bits and put in a large bowl.
2. Add just enough warm water to cover the newspaper. Leave to soak overnight.
3. Use your hands to knead and mix the newspaper until it feels similar to oatmeal. Remove as many lumps as possible; you may need to add a little more water and leave it to soak for a bit longer.
4. Once the texture is smooth, add a few tablespoons of salt and mix with your hands.
5. Squeeze out any excess water and mix in a few tablespoons of glue.
6. You can either use the paper mache clay immediately or store it in an airtight bowl in the fridge for up to three days.

Image © Bru-nO, under a Creative Commons license.
Ages: 3+
What You Need:
Newspaper.
Papier mache paste.
Paper mache clay.
PVA glue.
Anything else you want to use to decorate your dragon.
Method:
1. Shape the body of your dragon out of bubble wrap. Secure it with Sellotape.
2. Now, use bubble wrap to make a long thin tail, with a point at the end. Bend the tail and use Sellotape to keep it in place.
3. Next, make a head and neck shape. Don’t worry if your shapes aren’t perfect at this stage.
4. Use the bubble wrap to foam four dragon legs. Make them thick at the top, and then long and thin. Use Sellotape to put bends in them for the knees and feet.
5. Stick all the bits of your dragon together with Sellotape.
6. Cover your dragon with layers of paper mache until you are happy with the shape. Leave to dry.
7. Shape spines from paper mache clay. Wait for them to dry, then glue to your dragon’s back.
8. Paint, decorate, and stick on the wiggle eyes to bring your dragon to life.
Ages: 3+ (with parental help).
What You Need:
Newspaper.
Sellotape.
Papier mache paste.
Two pipe cleaners.
Glue pen or liquid glue.
Paints.
Paintbrushes.
Method:
1. Make the shape of the butterfly’s body by scrunching up a sheet of newspaper and securing it with Sellotape.
2. Dip newspaper strips in papier mache paste and use them to cover the butterfly body. Leave overnight to dry.
3. Cut butterfly wings out of cardboard and attach to the butterfly body with glue.
4. An adult must now use something sharp to make two holes at the top of the body for the pipe cleaners to fit in.
5. Put a drop of glue onto the ends of the pipe cleaners and slot into the holes to make the butterfly’s antennae. Hold in position for a couple of seconds until the glue dries, then curl the tops of the antennae.
6. Make your butterfly beautiful with paint. You could also use glitter, stickers, or other decoration.
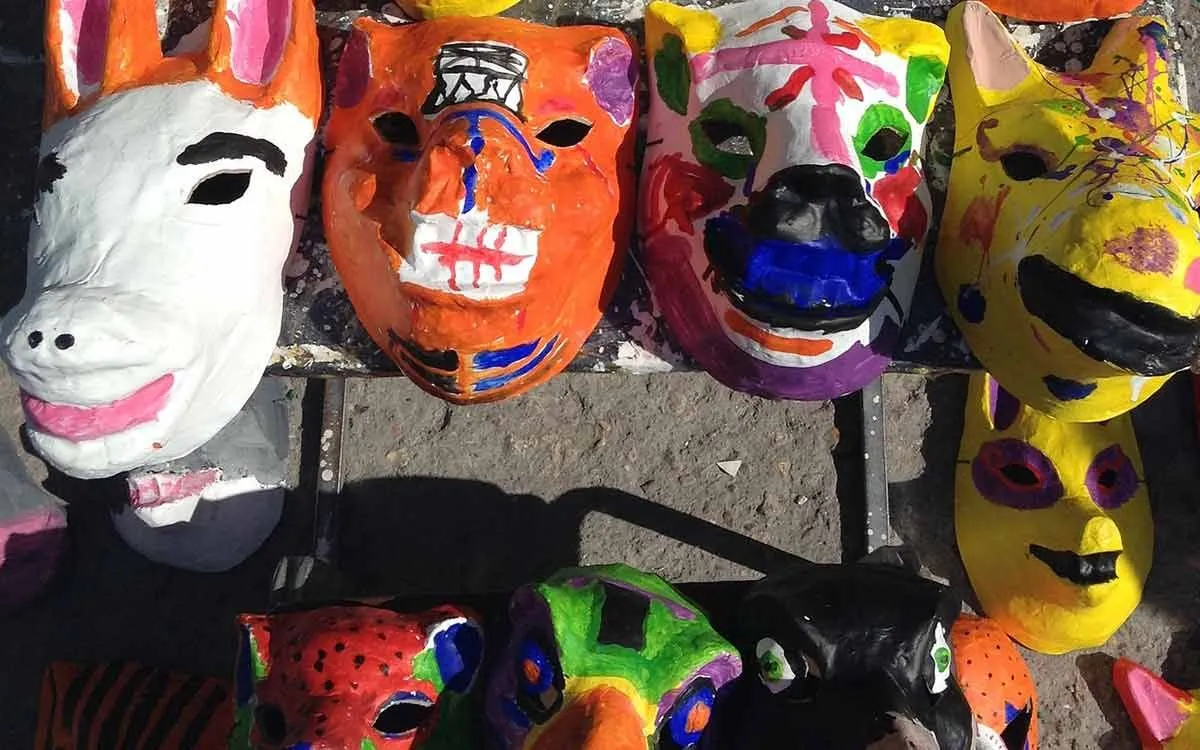
Image © izako77, under a Creative Commons license.
Ages: 3+
What You Need:
Newspaper.
Papier mache paste.
Cardboard.
Paints.
Paintbrushes.
Method:
1. Pick an animal! This method can be used for all paper mache animals. Heads of animals such as foxes, cats, and dogs are good ones to start with.
2. Use crumpled newspaper and masking tape to build the basic shape of your animal head.
3. Cover with a layer of paper mache and leave to dry.
4. Cut ears out of cardboard and use masking tape to attach them to the animal head.
5. Cover with more paper mache.
6. If you’re feeling adventurous once your paper mache animal head is completely dry, you can add in features of the face, such as eyes, eyebrows, or nostrils, using extra paper mache.
7. Then paint, decorate, and marvel at your creation!
Ages: 8+
What You Need:
Newspaper.
Masking tape.
Papier mache paste.
Paper mache clay.
Cardboard.
Scissors.
Paints.
Paintbrushes.
Method:
1. Firstly, you need to create an armature pattern; this is a framework around which your model will be built. There are lots of armature patterns of dogs available to print, or you can hand draw your own.
2. Use the pattern to cut your armature out of cardboard.
3. Stuff crumpled up newspaper into plastic bags and attach to the armature with masking tape to create the 3D shape of your dog. You may need a bit of patience with this step, but it doesn’t need to be perfect.
4. Cover the armature in paper mache strips and leave to dry.
5. Now cover your dog in a layer of paper mache clay, then use the clay to sculpt the features of your dog.
6. Leave to dry, then paint and decorate your perfect pup.

Image © dab306, under a Creative Commons license.
Ages: 9+ (with parental supervision).
What You Need:
Wire.
Wire cutters.
Newspaper.
Papier mache paste.
Paints.
Paintbrushes.
Method:
1. Bend a piece of wire into a U shape to create the two front legs, then repeat to make the back legs.
2. Cut two pieces of wire slightly longer than you want the length of the cow's body to be. Use them to join the legs together at either side; twist the wire around the legs to secure.
3. Use a piece of wire to secure the front legs together. Do the same with the back legs.
4. To make the cow’s neck, twist a piece of wire onto the top to the front legs.
5. Make a head shape out of a piece of wire and secure to the end of the neck.
6. Wrap small papier mache strips around the pieces of wires, so that only the wires are covered and the structure is still hollow. Leave to dry.
7. Wrap larger paper mache strips around the structure so that it is no longer hollow. Leave to dry.
8. Paint, and be proud of your hard work.

Sarah Blake lives in Lancashire and has been a writer for over 20 years. A self-confessed gym bunny and yogi, Sarah loves all things fitness and wellness, and can usually be found wearing lycra. Sarah loves family time and all things fun, but hates anything that involves getting cold!
Read The Disclaimer
At Kidadl we pride ourselves on offering families original ideas to make the most of time spent together at home or out and about, wherever you are in the world. We strive to recommend the very best things that are suggested by our community and are things we would do ourselves - our aim is to be the trusted friend to parents.
We try our very best, but cannot guarantee perfection. We will always aim to give you accurate information at the date of publication - however, information does change, so it’s important you do your own research, double-check and make the decision that is right for your family.
Kidadl provides inspiration to entertain and educate your children. We recognise that not all activities and ideas are appropriate and suitable for all children and families or in all circumstances. Our recommended activities are based on age but these are a guide. We recommend that these ideas are used as inspiration, that ideas are undertaken with appropriate adult supervision, and that each adult uses their own discretion and knowledge of their children to consider the safety and suitability.
Kidadl cannot accept liability for the execution of these ideas, and parental supervision is advised at all times, as safety is paramount. Anyone using the information provided by Kidadl does so at their own risk and we can not accept liability if things go wrong.
Kidadl is independent and to make our service free to you the reader we are supported by advertising.
We hope you love our recommendations for products and services! What we suggest is selected independently by the Kidadl team. If you purchase using the buy now button we may earn a small commission. This does not influence our choices. Please note: prices are correct and items are available at the time the article was published.
Kidadl has a number of affiliate partners that we work with including Amazon. Please note that Kidadl is a participant in the Amazon Services LLC Associates Program, an affiliate advertising program designed to provide a means for sites to earn advertising fees by advertising and linking to amazon.
We also link to other websites, but are not responsible for their content.
Was this article helpful?
Get inspiration for education!
Subscribe for virtual tools, STEM-inspired play, creative tips and more
Browse Category
·
September 06, 2021


We’ll send you tons of inspiration to help you find a hidden gem in your local area or plan a big day out.

Check your inbox for your latest news from us. You have subscribed to:
Remember that you can always manage your preferences or unsubscribe through the link at the foot of each newsletter.