Arts & Crafts
Learn more
Reading & Writing
Learn more
Math & Logic
Learn more
Sports & Active
Learn more
Music & Dance
Learn more
Social & Community
Learn more
Mindful & Reflective
Learn more
Outdoor & Nature
Learn more
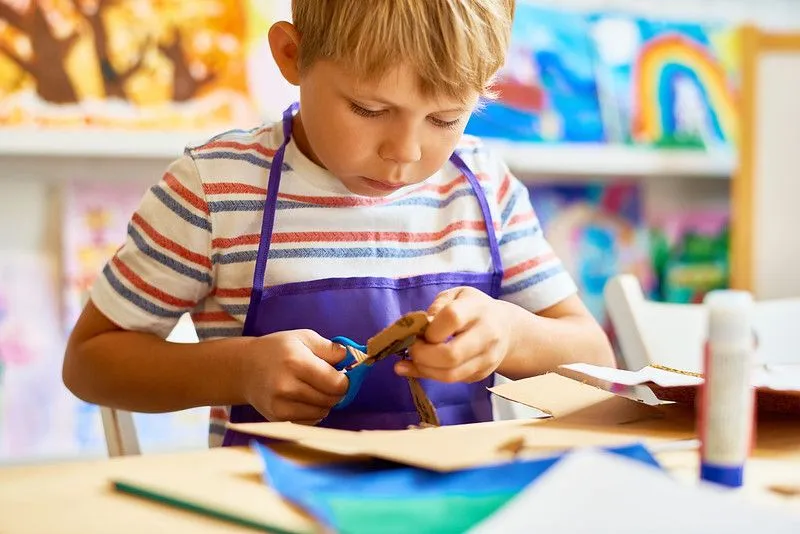
FOR ALL AGES
While staying inside, it's easy to run out of ideas to keep the kids occupied. That's why we've come up with a range of fun upcycling craft ideas for the children to get stuck into! Unlike regular crafts, upcycling involved recycling things you most likely already own, and transforming them into beautiful decorations, toys, artworks and much more. This list of upcycling projects includes something for children of every age, and are guaranteed to add a little creative fun to your week!
Suitable for ages: 2+
You will need: 6 empty tins, paint (preferably acrylic), craft materials for decorating, and a tennis ball.
First, make sure your tins are completely clean and dry. Next, mix together paints and get creative! We recommend painting a flat colour all around the outside of the can, then filling in decorations afterwards. You could try adding googly eyes to make animal friends, or paint some bowling stripes on. Lastly, place the tins in a pyramid shape, and take turns seeing who can throw the ball and knock them all down!
Suitable for: all ages
You will need: Cardboard loo rolls, scissors, poster paints, and paper.
First take your toilet roll and, using your scissors, begin cutting straight lines around 1cm apart, about 2/3 of the way up the roll. The aim is to go for a 'fringe' effect. Once you have cut all around the roll, hold the roll cut side down, and lightly press on a surface so the flaps bend outwards slightly. Next, get the kids to choose their paints and pour them out onto a plate (Top tip: multicoloured paints next to each other works really well for this!). Now, the kids can dip their rolls into the paint, press them on to paper, and watch as 'flowers' appear on the page!
Suitable for ages: 4+
You will need: Old plain bowls, acrylic craft paint, and acrylic varnish.
With this activity, you can use any old plain bowls you have lying around. Simply use your acrylic paint and brushes and design your own bowls! Once complete, place into a cold oven, turn up to 220 degrees and bake for 40 minutes. When cool, apply one or two coats of acrylic varnish and there you have it- creative trinket bowls that will last for years to come!
Suitable for ages: 3-8
You will need: Empty cereal boxes/packaging, scissors, a pencil, and a pen.
First, cut out the part of the box you would like to use for your puzzle. Next, take your pencil and divide up your box into 'puzzle pieces'. Don't worry, you don't need to bother with an interlocking design- simply squares will do, as long as they can be placed back together. Larger pieces will make an easier puzzle, and would be great for younger kids, while smaller pieces will make it a little more challenging. Now, cut along the lines you drew with your pencil and your puzzle is complete! Kids will have a fabulous time playing with puzzles of their favourite cereals!
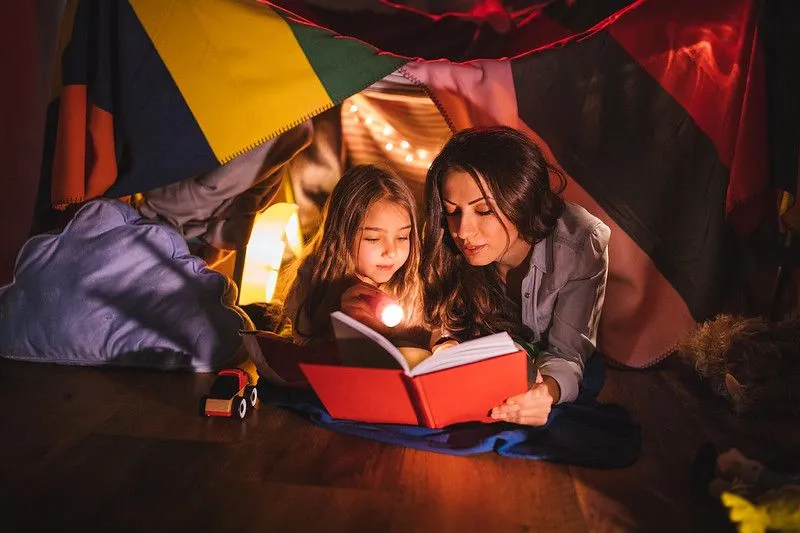
Suitable for: All Ages
When it comes to easy fun activities for kids, you can't go wrong with a fort. Simply grab an old cardboard box, some blankets and let the kids' imaginations do the rest! Fill it up with pillows and cushions, string some fairy lights around and invite all their toys to tea! You can even take the upcycling theme to the next level, and let the kids decorate the outside of their new fort- will it be castle, den, or perhaps a pirate ship?
Suitable for ages: 5-10
You will need: A balloon, old newspapers, PVA glue, water, string, lots of sweets, and art supplies for decorating
First blow up your balloon and tie. Mix together 2 parts water to one part glue in a bowl. Now rip your newspaper into strips, and, dipping it into your glue mixture, begin to cover the balloon, making sure to leave a hole at the top to put the sweets in. Repeat this step until the whole balloon is covered, then repeat for another layer. Let dry overnight, pop the balloon inside and remove. Now the kids can paint their piñata and decorate to their heart's content! When finished, fill it up with sweeties, attach the string and find somewhere to hang it up. Grab a stick or baseball bat, and the kids can all take it in turn to whack the piñata until the candy falls out!
Suitable for ages: 5+
You will need: Two empty tin cans, string, and a hammer and nail
This first step requires a grown up - take your cans and, using your hammer and nail, carefully punch a whole in the centre of each base. Next, tie a knot in the end of your string and thread it through the bottom. Do the same with the other end of the string and other tin, tie another knot and cut the excess string. Now pull the string very tight and hold the tin up to your mouth while your partner holds it to their ear - when you talk they should be able to hear you!
Top tip: If you can't hear, try pulling the string extra tight - this helps to carry the sound vibrations better.
Suitable for ages: 3+
You will need: An empty egg carton, googly eyes, paints and art materials.
First, cut your egg box up so that each egg holder is separated. Now, simply turn them over and paint whatever colour you like. There are so many animals you could make using this technique, but we think bugs work really well for all ages! You can add wings using cut up paper, and paint on designs to make bumblebees, lady birds, or beetles! This easy DIY is a great way to keep the kids busy for a couple of hours.
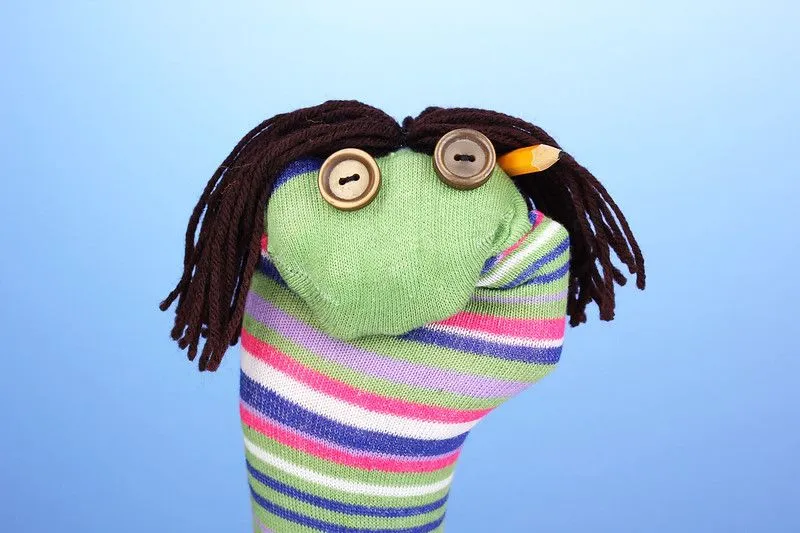
Suitable for ages: 4+
You will need: A sock, googly eyes or buttons, glue, and craft materials for decoration.
All you need to do for this project is take your sock of choice, pop it on to your hand, and glue on some googly eyes. Then get creative and add a mouth, hair, ears, a nose, or any other parts you can think of to make your sock pal come to life.
Suitable for ages: 3+
You will need: Empty yoghurt containers, acrylic paint, brushes and tape.
First, make sure your pots are clean and dry. Now, take your tape and lay small pieces in different areas of the pot. Try cutting out shapes of the tape or layering pieces on top of each other. Now, paint over the entire pot, using whatever designs you like! Once dry, peel off the tape to reveal your designs. You can now fill your new plant pots with soil and plant seeds, or transfer existing plants!
Suitable for: All ages
You will need: Clear plastic yoghurt pot lids, paint, string, scissors, and PVA glue.
First, pick your paint colours and pour out onto a plate. Mix each colour with PVA glue, about 50% each. Now, taking it in turns for each colour, create swirls and star designs on the lids. Leave to dry, then use a pin or scissors to make a small hole in the top of the lid. Attach the string, and now you can hang your beautiful suncatchers up by the window and watch the colourful light stream through!
Suitable for ages: 4+
You will need: Empty jars, tealights, tissue paper, scissors and glue.
First, take your tissue paper and cut into shapes. Try geometric shapes for a stained-glass effect, or maybe wavy shapes for an underwater scene. Next, brush some glue on to your tissue paper and stick on to the outside of the jar. Continue this until you are happy with your design, and let dry. Now, pop a tealight inside and carefully light it. Turn off the lights and enjoy your fab design!
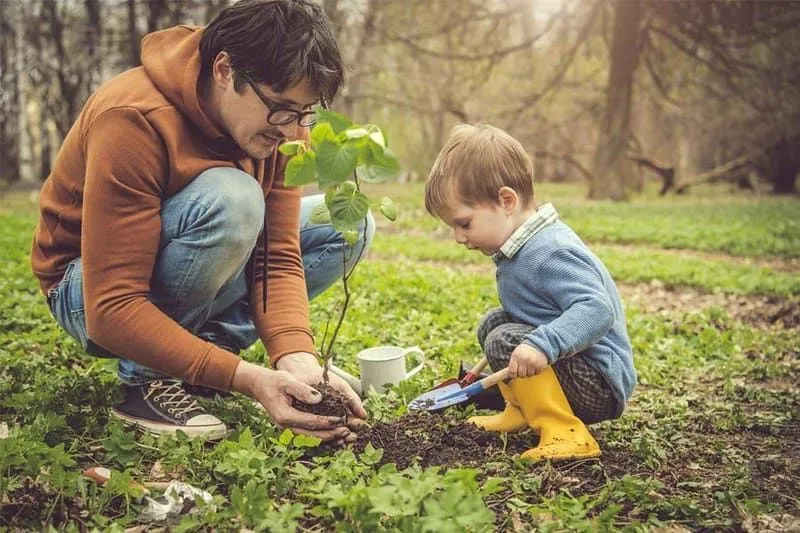
Suitable for ages: 3+
You will need: A large plastic bottle (labels removed), an old pencil, scissors, bird feed, and string.
First make two holes about 2/3 down the bottle, and insert the pencil so it is horizontal, and about 2cm is poking out of the bottle to make a bird perch. Add another hole a few inches above the perch for the bird to eat through, then two small holes at the top to hang the feeder. Fill with bird feed, thread some string through the holes and your feeder is ready to go!
Suitable for ages: 3+ (requires supervision)
You will need: Empty crisp packets and an oven. Yes, that's it!
Wipe down the inside of your crisp packets, and place them on a baking tray in an oven preheated to around 170 degrees. Kids will love watching as the crisp packets transform into little tiny versions of their previous form. These mini crisp packets make great 'fake food' for dolls, and can be used for further projects- why not glue them on to a magnet for a fun fridge addition, or pop them on a keyring!
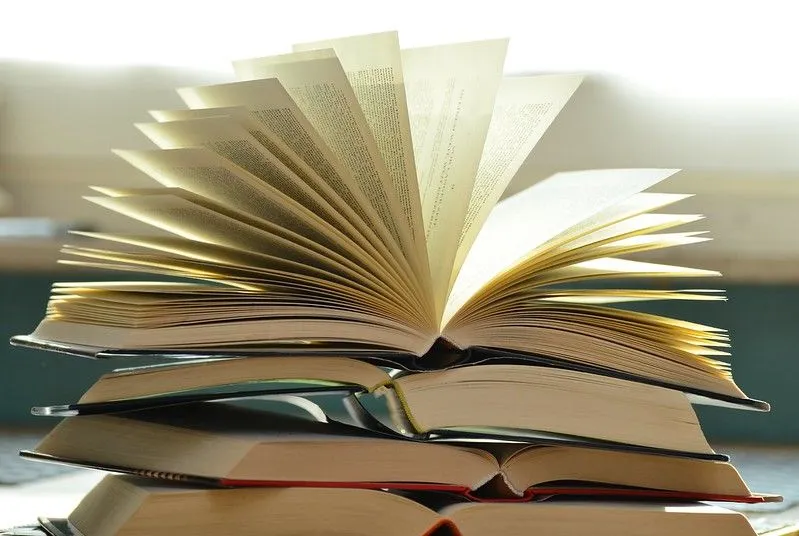
Suitable for ages: 8+
You will need: A hardback book, a pencil, a ruler, PVA Glue, a brush, water, a plastic container, and a box cutter.
To begin, mix together your glue mixture- approximately 60% glue, 40% water. Now tightly hold together the pages of the book, and apply your glue mixture around the edges of the pages. Let the glue to drip down between the pages so they stick together. Place a heavy object on top of the pages, and leave to dry. Once dry, measure out a rectangle on your top page, leaving approximately 2cm all the way round. And now for the dangerous part (we recommend an adult to assist here)- take your box cutter and ruler, and start to score your rectangle. Continue doing this until you reach the bottom of the book, and the entire thing is hollowed out. Take your glue mixture and apply a coat along the inside of the hollowed out pages. Leave to dry, and there you have it- a fabulous upcycled book box!
For more idea on ways to get crafting, visit the Kidadl creative blog here.

Sarah was born and raised in the North West. Her love of art and culture brought her to study in London and she never left! She can be found teaching painting classes, trying out new recipes, or drawing with a cup of tea.
Read The Disclaimer
At Kidadl we pride ourselves on offering families original ideas to make the most of time spent together at home or out and about, wherever you are in the world. We strive to recommend the very best things that are suggested by our community and are things we would do ourselves - our aim is to be the trusted friend to parents.
We try our very best, but cannot guarantee perfection. We will always aim to give you accurate information at the date of publication - however, information does change, so it’s important you do your own research, double-check and make the decision that is right for your family.
Kidadl provides inspiration to entertain and educate your children. We recognise that not all activities and ideas are appropriate and suitable for all children and families or in all circumstances. Our recommended activities are based on age but these are a guide. We recommend that these ideas are used as inspiration, that ideas are undertaken with appropriate adult supervision, and that each adult uses their own discretion and knowledge of their children to consider the safety and suitability.
Kidadl cannot accept liability for the execution of these ideas, and parental supervision is advised at all times, as safety is paramount. Anyone using the information provided by Kidadl does so at their own risk and we can not accept liability if things go wrong.
Kidadl is independent and to make our service free to you the reader we are supported by advertising.
We hope you love our recommendations for products and services! What we suggest is selected independently by the Kidadl team. If you purchase using the buy now button we may earn a small commission. This does not influence our choices. Please note: prices are correct and items are available at the time the article was published.
Kidadl has a number of affiliate partners that we work with including Amazon. Please note that Kidadl is a participant in the Amazon Services LLC Associates Program, an affiliate advertising program designed to provide a means for sites to earn advertising fees by advertising and linking to amazon.
We also link to other websites, but are not responsible for their content.
Was this article helpful?
Get inspiration for education!
Subscribe for virtual tools, STEM-inspired play, creative tips and more
Browse Category
·
September 06, 2021


We’ll send you tons of inspiration to help you find a hidden gem in your local area or plan a big day out.


Check your inbox for your latest news from us. You have subscribed to:
Remember that you can always manage your preferences or unsubscribe through the link at the foot of each newsletter.