FOR ALL AGES
The sun has been shining during this period of self-isolation at home, inspiring lots of people to get out into the garden and to start growing.
If you're lucky enough to have a large garden then the possibilities are endless, but there are plenty of ways to make even the smallest back yard fun for kids and full of opportunities for growing and gardening. Kids will be amazed as they watch seeds turn into delicious fruits and vegetables that they can eat - and gardening is a great way to reconnect with nature, get some much-needed fresh air, and expend some energy!
Gardening as a family is a chance to teach kids of all ages how their food is made - and there are many ways to get involved, from growing your own food to garden-themed craft projects, and outdoor play activities.
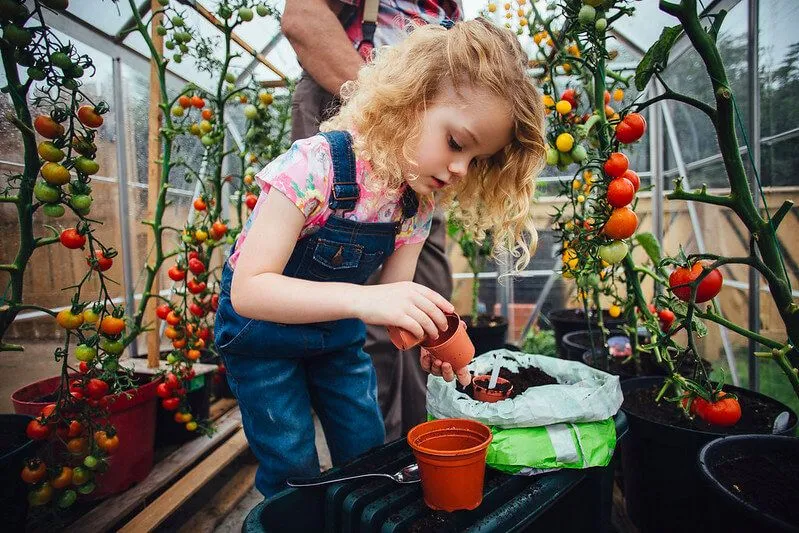
Growing tomatoes is one of the best gardening ideas for kids as they are easy to grow, and they produce lots of delicious, nutritious fruits that can be picked and enjoyed throughout the summer. KS1 kids will love sowing the seeds, as it is a chance to get their hands dirty, as well as learning how the tomatoes on their plate have been grown. Why not try a range of other fruit and veg - salad leaves, radishes, potatoes and peas are also easy to grow, making the most of your outdoor space or garden.
Tomato seeds
Potting soil
Small pots or seed trays
March and April are the best months to sow tomato seeds, so get the kids to fill plant pots with soil, watering it using the hose, a jug or watering can. Next, sprinkle a couple of seeds onto the wet soil, and cover with a bit more soil. These pots should stay indoors, away from the frost. Let the kids keep watering the soil, watching to see when the seeds begin to sprout and the plant starts to grow.
Once the seeds have turned into little plants - called seedlings - it's time to move them outside into the garden. Get your children to hold each plant in their hands, gently squeezing the pot until comes away from the soil. Before putting the plants into the ground, get the kids to look closely at the amazing roots that have grown out of the tiny seeds that they planted just a few weeks ago. Once in the garden, these plants will need to be watered regularly, which kids love to get involved with - but the best part comes a bit later, when the family can head outdoors to pick and eat fresh, juicy tomatoes straight from the plant.
For more detailed instructions on growing tomatoes, follow the steps in this video
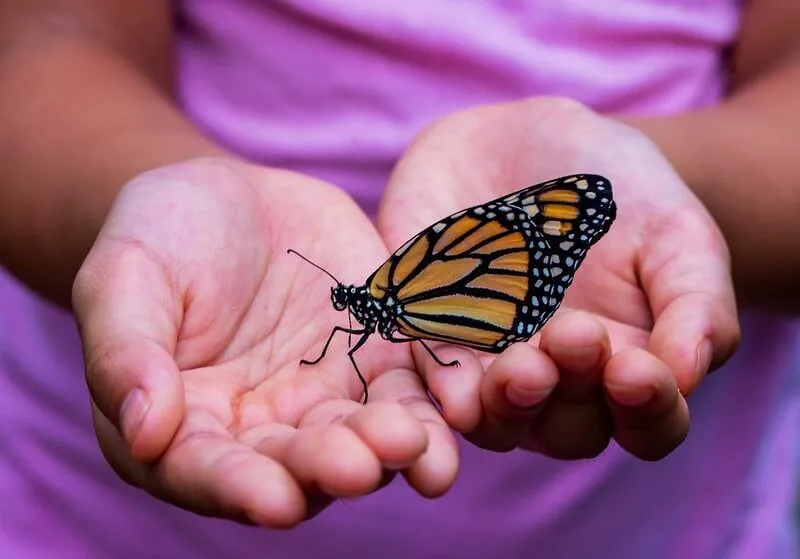
Attract lots of beautiful butterflies to your garden with a DIY butterfly feeder - which can be decorated with beads, sparkles and flowers, and filled with 'nectar' and fruits. Butterfly feeders can be made from different household items, like an old plate, dish, or bowl - and it is a great way to up-cycle baby and toddler crockery, which is perfect for the job as it tends to be made of plastic/acrylic that won't break easily, and they are often brightly coloured. If you don't have a spare dish or plate, then an aluminium foil tray or empty tin can will work just a well.
An old plate, dish or bowl
Colourful decorations, such as glass beads, stickers and flowers (fake or real)
String and ribbons
A sponge
Sugar
Just like the kids, butterflies love colour and reflective surfaces - so get creative as a family, decorating your plate or tray with lots of fake flowers, colourful ribbons, glass pebbles and sparkly beads - use whatever you have in the house to make the feeder look fun, bright and beautiful.
Make the butterfly food by mixing 10-parts water to one-part sugar in a pan, heating the mixture until the sugar has fully dissolved, then leave to cool. Soak a brightly coloured sponge in the sugar water (the yellow kitchen sponges are great for this) then place the wet sponge in the centre of the butterfly feeder, along with flowers and leaves from the garden. Find a nice spot outdoors where you can watch the butterflies come to feed - and get the kids to top up the sponge regularly with the sugar water, making sure that the sponge is always wet through.
Follow this video for further instructions
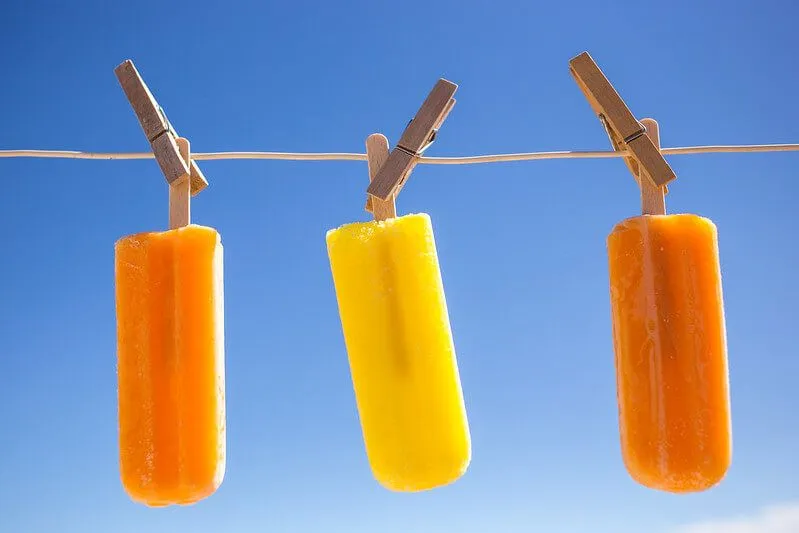
Before planting your seeds out in the garden, why not have a crafty afternoon making plant labels as a family? One simple idea is to use old ice lolly sticks for the labels. They are easy to make, adding fun and personality to your outdoor space, and then you won't forget what you have grown in a few months time...
Wooden ice lolly sticks
Acrylic paints and brushes
Permanent Markers
PVA glue
First, make the labels by glueing the ice lolly sticks together. Put glue at the top of one stick, then glue another stick horizontally, to make a 'T' shape. Glue on either 1, 2 or 3 sticks to make thin or thick labels, and then let the glue dry completely before decorating.
Now it's time to get creative - painting the sticks with your favourite colours and patterns. Using permanent marker, write the name of each plant onto the label - it is a good idea to write it in pencil first, before going over it in pen - then add drawings and other details or decorations. Why not make bilingual labels - with the plant names written in both English and French, Spanish, German or any other language. Finally, paint a thin layer of PVA glue to protect them against the British weather.
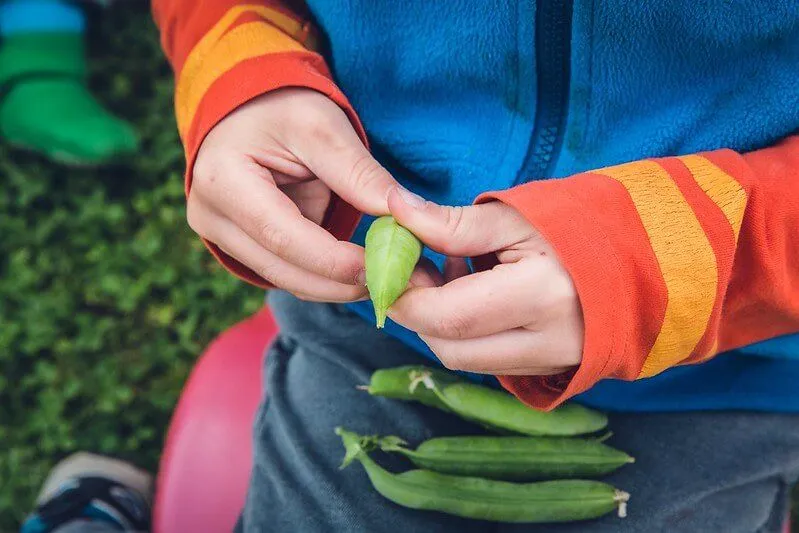
The much-loved kids story Jack and the Beanstalk is the inspiration behind this quick and easy garden idea. Great for those without much outdoor space, this fun gardening project begins life in the house before being moved outdoor into the garden as soon as the plant is big enough. Kids will love making the props and planting the bean, and then watching as the beanstalk grows taller and taller.
Plastic cup or plastic bottle from the recycling with the top cut off
Potting mix
Broad beans
Long stick (either a twig from the garden, a kebab stick or two ice lolly sticks that have been glued or taped together)
Paper and pens, plus tape or glue
Create a fairytale castle using the pens and paper, and once complete, tape or glue the picture onto your twig or stick. Puncture a few holes into the bottom of your plastic cup for good drainage, and then have the kids fill the cup almost to the top with potting mix. Next, push one or two broad beans into the soil, then add the castle to the pot. Make sure to keep the soil well-watered over the next few weeks, and watch as the beanstalk grows closer to the castle. Once fully grown (at around 20-30cm) transfer the plant to a bigger pot or into the garden - with a larger stick as a support.
A simple way to stop birds from eating the plants in your garden, the kids will have lots of fun gathering materials to create their crop protectors. Get the kids to use their imaginations to build butterflies and insects from different scraps and material from around the house - like plastic drinks bottles, yoghurt pots and bits of bubble wrap. Use any waterproof materials that you can find - and have fun coming up with lots of ideas depending on your stash of materials.
A range of waterproof objects, e.g. plastic items from the recycling that have been cleaned and dried
Garden wire or pipe cleaners
PVA glue
Sticky tape
Red string or plastic
A sturdy stick or a cane
Use your imagination to create a bug or butterfly from the household materials you have gathered - there are no rules to follow, other than to have fun whilst making it! Why not use the pipe cleaners to make 'wing' shapes, which can be covered with bubblewrap or material, and decorated with permanent markers? Or use a plastic drink bottle as the butterfly's 'body'. Make antennae from wire or pipe cleaners - and don't forget to add a bit of red string where the insects proboscis or 'nose' would be. Once finished, simply attach the insect to a tall stick using string or wire, and place it somewhere visible in your outdoor vegetable garden.
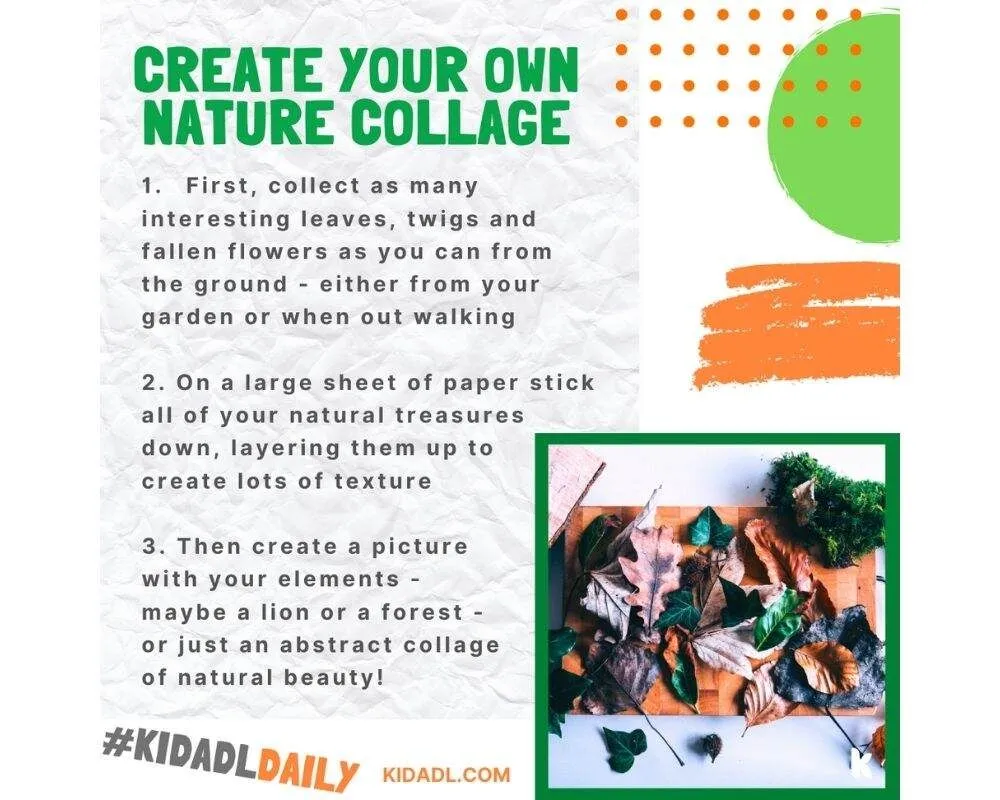
For more crafty fun in the sun, why not make your own nature collage? Download the steps below!
Read The Disclaimer
At Kidadl we pride ourselves on offering families original ideas to make the most of time spent together at home or out and about, wherever you are in the world. We strive to recommend the very best things that are suggested by our community and are things we would do ourselves - our aim is to be the trusted friend to parents.
We try our very best, but cannot guarantee perfection. We will always aim to give you accurate information at the date of publication - however, information does change, so it’s important you do your own research, double-check and make the decision that is right for your family.
Kidadl provides inspiration to entertain and educate your children. We recognise that not all activities and ideas are appropriate and suitable for all children and families or in all circumstances. Our recommended activities are based on age but these are a guide. We recommend that these ideas are used as inspiration, that ideas are undertaken with appropriate adult supervision, and that each adult uses their own discretion and knowledge of their children to consider the safety and suitability.
Kidadl cannot accept liability for the execution of these ideas, and parental supervision is advised at all times, as safety is paramount. Anyone using the information provided by Kidadl does so at their own risk and we can not accept liability if things go wrong.
Kidadl is independent and to make our service free to you the reader we are supported by advertising.
We hope you love our recommendations for products and services! What we suggest is selected independently by the Kidadl team. If you purchase using the buy now button we may earn a small commission. This does not influence our choices. Please note: prices are correct and items are available at the time the article was published.
Kidadl has a number of affiliate partners that we work with including Amazon. Please note that Kidadl is a participant in the Amazon Services LLC Associates Program, an affiliate advertising program designed to provide a means for sites to earn advertising fees by advertising and linking to amazon.
We also link to other websites, but are not responsible for their content.
Was this article helpful?

Browse Category


We’ll send you tons of inspiration to help you find a hidden gem in your local area or plan a big day out.


Check your inbox for your latest news from us. You have subscribed to:
Remember that you can always manage your preferences or unsubscribe through the link at the foot of each newsletter.