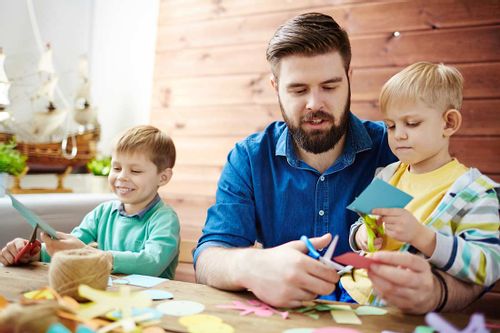
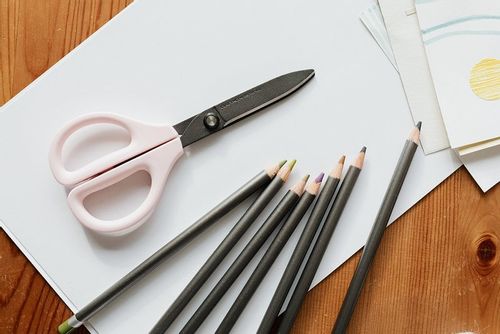
Arts & Crafts
Learn more
Reading & Writing
Learn more
Math & Logic
Learn more
Sports & Active
Learn more
Music & Dance
Learn more
Social & Community
Learn more
Mindful & Reflective
Learn more
Outdoor & Nature
Learn more
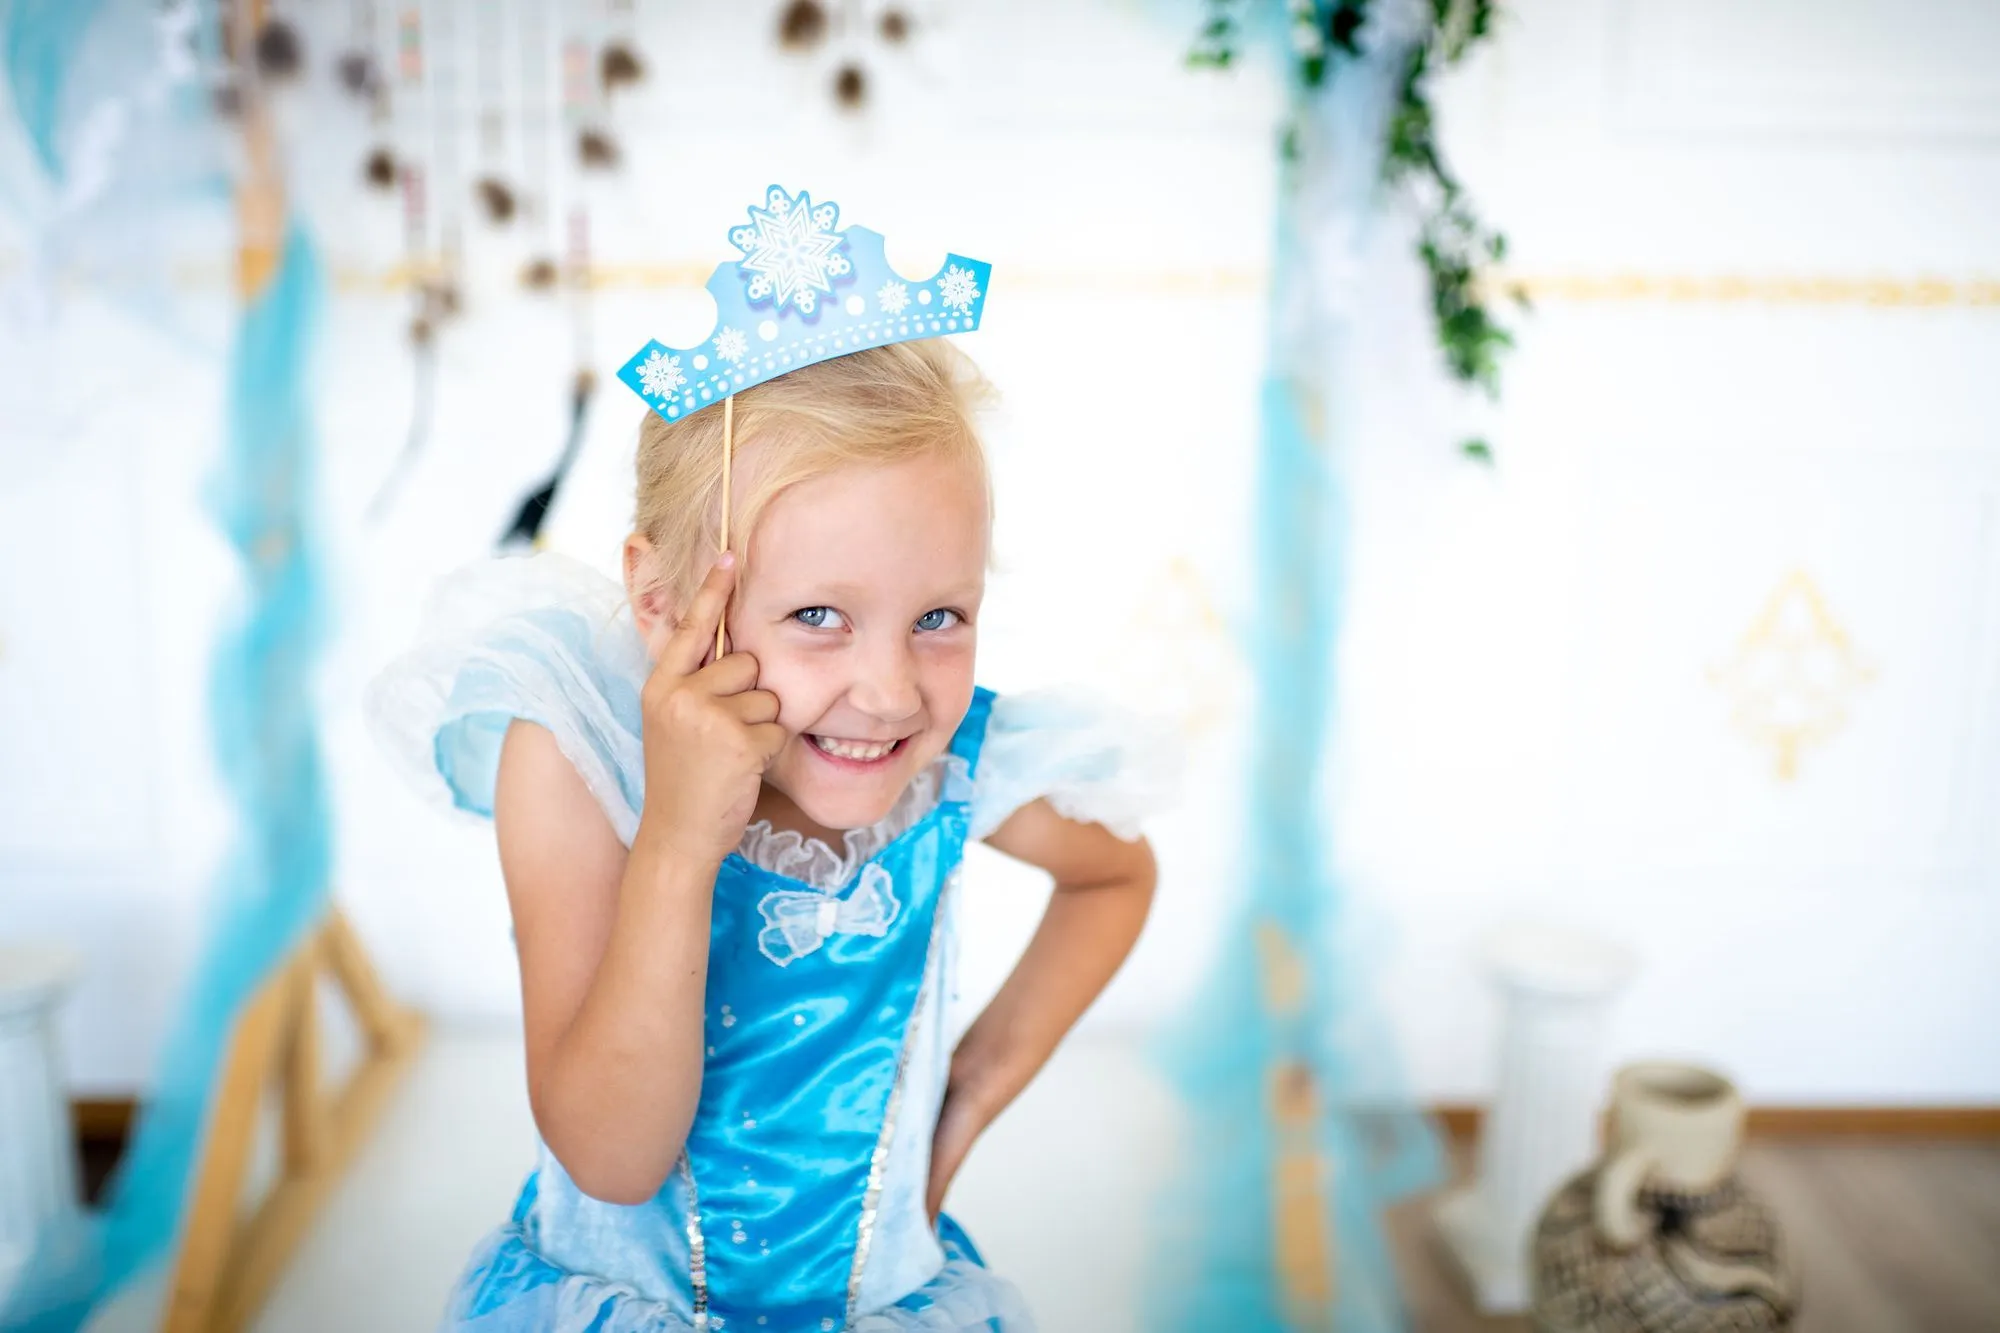
FOR ALL AGES
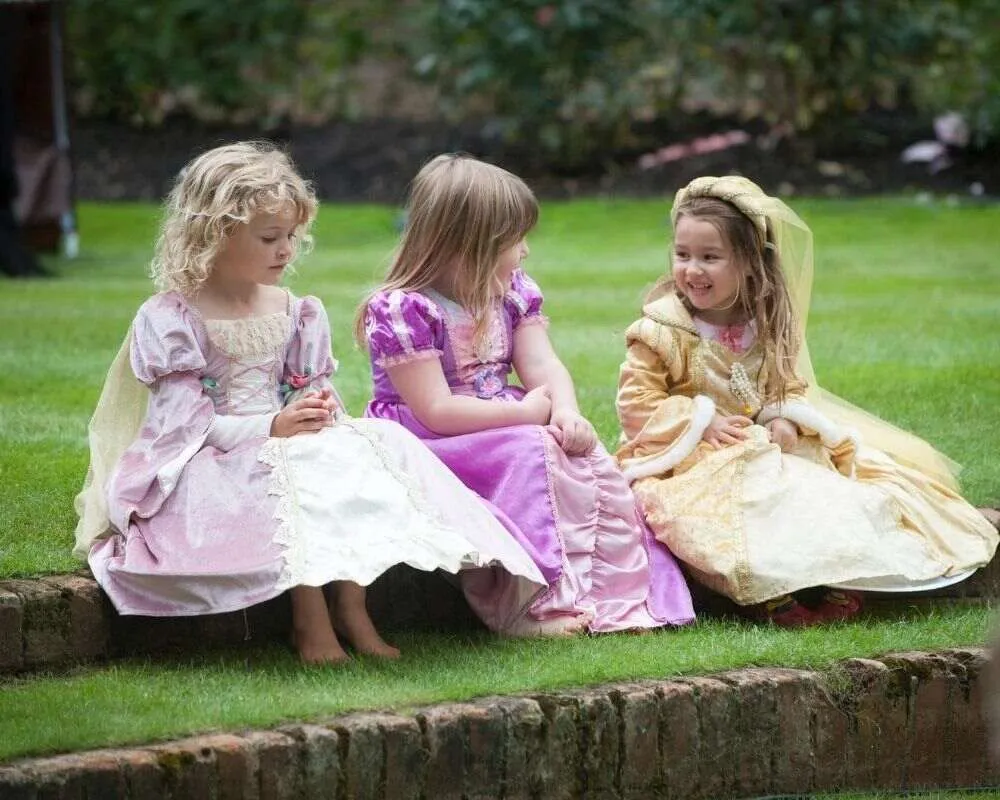
Home-made jewellery is always a wonderful addition to your little one's fancy dress outfits, or even to make those everyday clothes just that little bit more special.
Luckily, there are plenty of ways that you can make your own with bits and bobs that you probably already have laying around the house. Check out the great pieces of jewellery that you can craft below!
There's no better addition to a royal outfit than a gorgeous princess bracelet.
What You'll Need: Beads (at least two different colours, and clear ones. We recommend pink and purple, for the perfect princess look), string, and scissors.
1) Tie a knot on one end of the string, big enough to stop beads from sliding off.
2) Begin threading on your beads in the pattern of pink, clear, purple, clear, and repeat. Your kids will love getting involved in this part!
3) When you've reached your desired wrist length, double or triple knot the end of the strings together to form the bracelet. (Make sure it's secured tightly, as you don't want beads flying around!)
4) Trim off any unwanted string that may be sticking out - and your little one's bracelet is ready to go!
For a more visual idea of how to make these bracelets, check out this video.
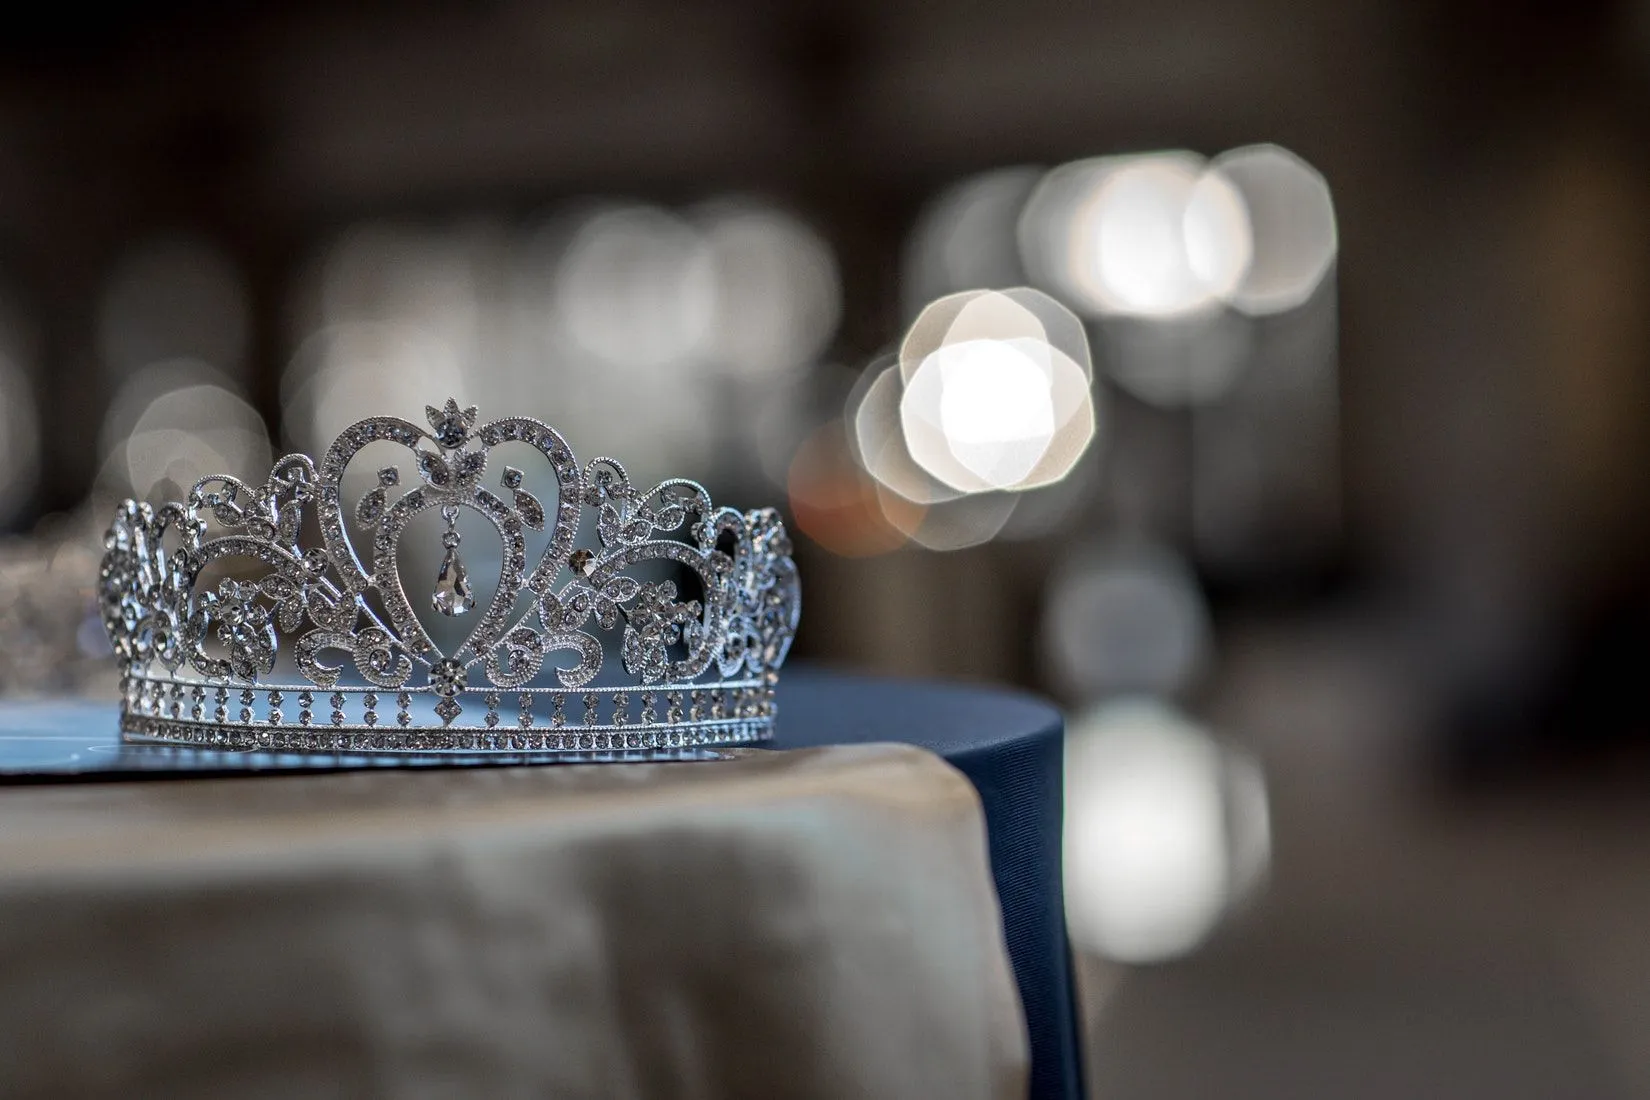
Every child needs their tiara - and this extra-special sparkly one will have you ruling the castle in no time!
What You'll Need: Coloured card (we'd suggest pink), heart or star-shaped stickers, a marker or felt tip pen, glue, scissors, glitter, some (sparkly) pipe cleaners, some netting (optional), and a headband.
1) Draw a heart with your pen onto the coloured card.
2) Fill in the heart with glue, and then cover with glitter. Leave to dry.
3) Wind your pipe cleaner tightly all the way around your headband - you may need more than one for this.
4) Take two more pipe cleaners, and twist them together to form a thicker singular pipe cleaner.
5) Repeat this twice so that you end up with three thick pipe cleaners.
6) In turn, wind two of the thick pipe cleaners around the top of the headband to form two big loops each - this will form the base of your tiara.
7) Take your third thick pipe cleaner and make three more loops on top of the four that you've already created.
8) Optional: Place your netting across the length of the tiara and use two pipe cleaners to tie it to either side.
9) Return to your now dried glittery heart, and cut it out.
10) Take a sticker and firmly place it in the middle - so that it resembles a jewel.
11) Finally, glue your heart to the centre of the tiara - and voila! Your little one will be ready to rock her new headwear.
Check out a video of this tutorial here.
An extravagant ring can make or break your outfit, and this one is fit for royalty.
What You'll Need: 2 different coloured sheets of card paper, a pencil, a ruler, scissors, and glue.
1) Choose which colour of card paper you'd like to use for your rose, and measure out a 7cm x 7cm square. Cut this out.
2) Within your square, use something round to draw out a perfect circle that fills the space.
3) Starting at any point along the edge of the inner circle, use your pencil to draw a swirl until you get to the middle. Aim for about four 'loops'.
4) Fill in each 'loop' with rounded humps, almost in the shape of flower petals.
5) Carefully cut this out following all of the pencil outlines, so that you end up with a circular bit of card that you can pull up into a straight line if you wanted to.
6) Begin at one end of the circle and slowly and tightly roll the card paper until you reach the end. You should end up with a gorgeous rose shaped flower.
7) Take your other piece of coloured card and cut one long strip across the paper - this will form the band of your royal ring.
8) Roll the paper into the shape of a ring (you may want to test this out on your kids' fingers), glueing each layer down for added thickness.
9) You can then glue your rose onto your ring band.
If you'd like to see this tutorial in action, take a look at this fantastic video.
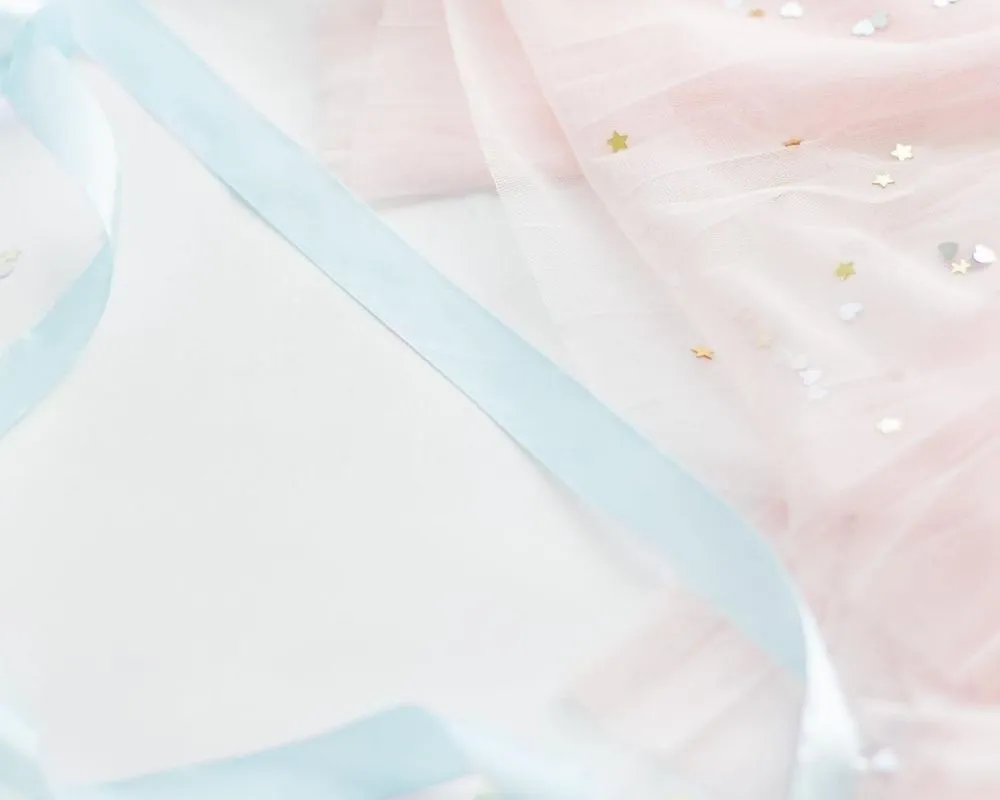
Add a bit of magic to your little one's royal look with this DIY Frozen themed necklace.
What You'll Need: White or light blue ribbon, a small rectangle of tulle (netting), a pack of decorative or adhesive crystals/rhinestones/pearls/sequins (a mixture would be best), a liquid glue pen, tweezers, and scissors.
1) Play around and arrange your decorative crystals in your chosen gorgeous, extravagant design on the table so that you have a visual idea of what you'll be making.
2) Take your rectangle of tulle and using either your hands or the tweezers, carefully glue down your jewels one by one into your design. Allow this to fully dry.
3) Cut around the design, leaving about half a centimetre around the edges.
4) Take your ribbon, and cut it into two pieces - the desired length of the necklace (this necklace looks best when wrapped closely around the neck).
5) Glue either end of both ribbons onto either side of the cut-out tulle. Wait for this to dry.
6) Tie the ribbon necklace around your child's neck with a bow, and wow at the floating icicle beauty!
You can check out a video of how this necklace is made here!
A wonderful addition to any outfit - this handmade gold wand will complete your jewelled-up look.
What You'll Need: Wooden skewers, foam sheets, a pencil, gold or yellow paint, glitter, glue, and either sequins or gems for decoration. (If you're missing any of these items, they can all be quickly ordered online from Amazon or eBay!)
1) Use your pencil to outline a star on your foam sheet. You can then cut this out.
2) Take a wooden skewer and gently pierce this through the bottom of your cut-out foam star - leaving you with a star-shaped wand.
3) Carefully paint the entire wand (front and back, including the star) with your gold or yellow paint. Allow this to dry fully.
4) Now the real fun can begin. Take your glue, glitter, sequins, and gems - and let your kids go wild decorating their wands however they'd like.
5) Once dry, they'll be able to have all the fun in the world with their royal DIY wands.
For more activities that a fit for royalty, take a look at our noble dress up ideas and our tips on celebrating the Queen's birthday in style!

Rachel grew up in Switzerland and currently lives in north-west London. She is an avid reader, writer, and a real foodie and loves discovering new hotspots and trendy places to go in the city. She also enjoys planning days out for her family, she especially loves taking her little cousins swimming and to the park. When she has some free time she loves going to concerts, baking, or visiting her family at their home in Essex. She can sometimes be found travelling a bit further than Essex and loves meticulously planning and researching a trip before heading off to explore new places in Europe and further afield.
Read The Disclaimer
At Kidadl we pride ourselves on offering families original ideas to make the most of time spent together at home or out and about, wherever you are in the world. We strive to recommend the very best things that are suggested by our community and are things we would do ourselves - our aim is to be the trusted friend to parents.
We try our very best, but cannot guarantee perfection. We will always aim to give you accurate information at the date of publication - however, information does change, so it’s important you do your own research, double-check and make the decision that is right for your family.
Kidadl provides inspiration to entertain and educate your children. We recognise that not all activities and ideas are appropriate and suitable for all children and families or in all circumstances. Our recommended activities are based on age but these are a guide. We recommend that these ideas are used as inspiration, that ideas are undertaken with appropriate adult supervision, and that each adult uses their own discretion and knowledge of their children to consider the safety and suitability.
Kidadl cannot accept liability for the execution of these ideas, and parental supervision is advised at all times, as safety is paramount. Anyone using the information provided by Kidadl does so at their own risk and we can not accept liability if things go wrong.
Kidadl is independent and to make our service free to you the reader we are supported by advertising.
We hope you love our recommendations for products and services! What we suggest is selected independently by the Kidadl team. If you purchase using the buy now button we may earn a small commission. This does not influence our choices. Please note: prices are correct and items are available at the time the article was published.
Kidadl has a number of affiliate partners that we work with including Amazon. Please note that Kidadl is a participant in the Amazon Services LLC Associates Program, an affiliate advertising program designed to provide a means for sites to earn advertising fees by advertising and linking to amazon.
We also link to other websites, but are not responsible for their content.
Was this article helpful?
Get inspiration for education!
Subscribe for virtual tools, STEM-inspired play, creative tips and more

Browse Category
·
September 06, 2021


We’ll send you tons of inspiration to help you find a hidden gem in your local area or plan a big day out.


Check your inbox for your latest news from us. You have subscribed to:
Remember that you can always manage your preferences or unsubscribe through the link at the foot of each newsletter.