FOR ALL AGES
Whether the youngster in your life is a Ferrari fanatic or a Lamborghini lover, car birthday cakes always look awesome.
Below you'll find three easy yet impressive, delicious car cake ideas to try. Kids, teens and adults will all be racing to get another slice!
For a car-themed party or activity afternoon, once you know how to make a car birthday cake, why not check out our guide to making an origami car or toy car games?
For The Sponge Base:
275g self-raising flour, 275 g caster sugar, 275g room-temperature unsalted butter, 2 tsp baking powder, 4 eggs, 6 drops vanilla extract, 2 tsp milk.
For Toppings:
Buttercream (pre-made or homemade), ready-to-roll fondant icing in your desired colours, decorations.

Two large rectangular or round cake tins, parchment paper, wooden spoon, large mixing bowl, sharp knife, rolling pin, cake smoother (for buttercream and fondant icing), piping bags.
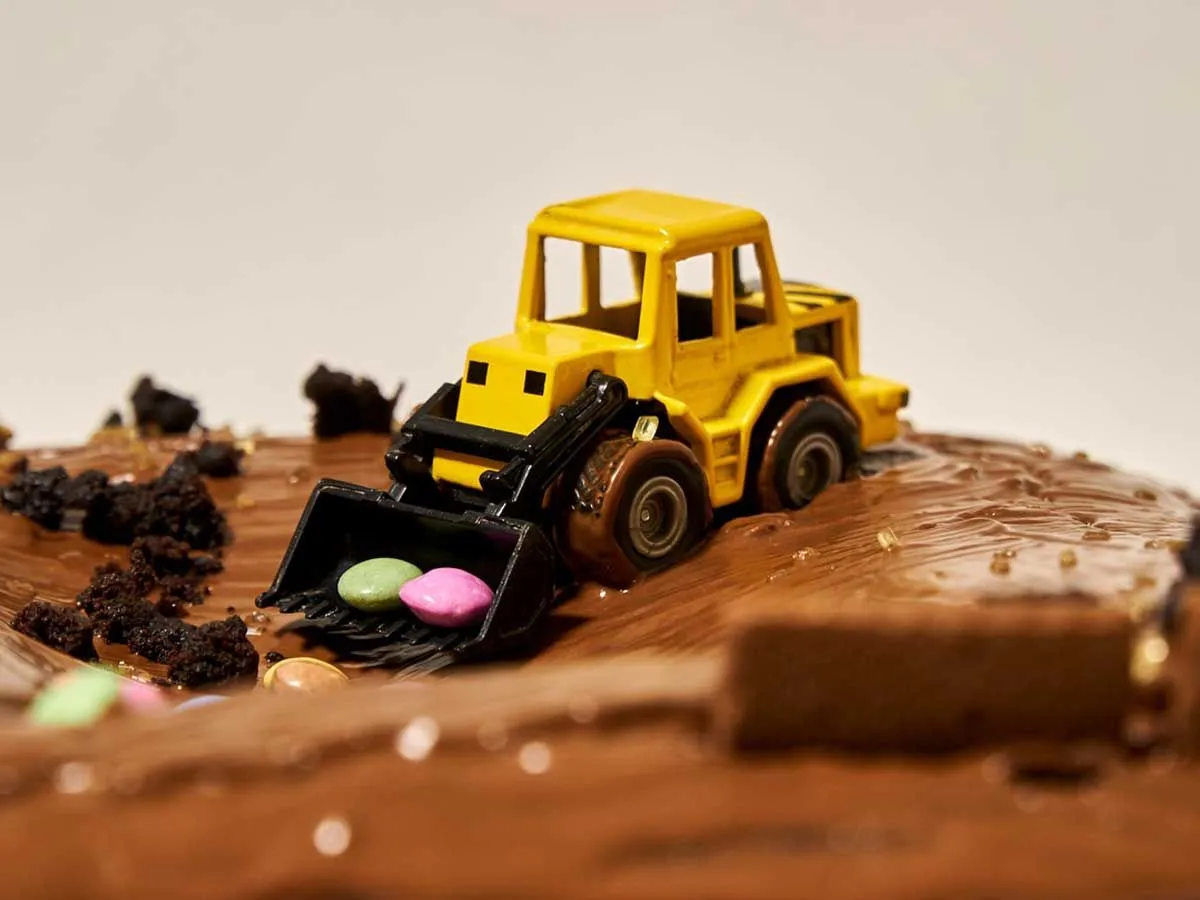
If creating a car shaped cake is a bit complex for you, try out the simple racing track cake.
1) Mix up your basic sponge base (ingredients above), and pour into two round cake tins.
2) Bake for 30-35 minutes, or until a skewer comes out clean. Leave to cool for 10 minutes, place on a wire rack and cool for another 15 minutes.
3) Use a knife to cut the tops of the two cakes so they have flat surfaces. Put a layer of buttercream over one cake, then place the other cake on top. Now cover the top of the new cake and the sides of the two-layer cake in buttercream. Place in the fridge for 15 minutes, then add another layer of buttercream.
4) Roll out some black fondant icing and cover your entire cake in it, using a knife to cut off any excess and your hands to smooth it down.
5) Now you need two piping bags filled with black and white buttercream. Alternating colours, create a circle around the outside of the top of the cake, then, using a smaller round shape as a guide, create another ring inside. This should now look like the black and white edges of a racing track.
6) Use (or reuse) a piping bag filled with green buttercream and use it within the centre of the small circle to create the look of a grassy area.
7) Finish with a couple of small car figurings on top, edible or otherwise.

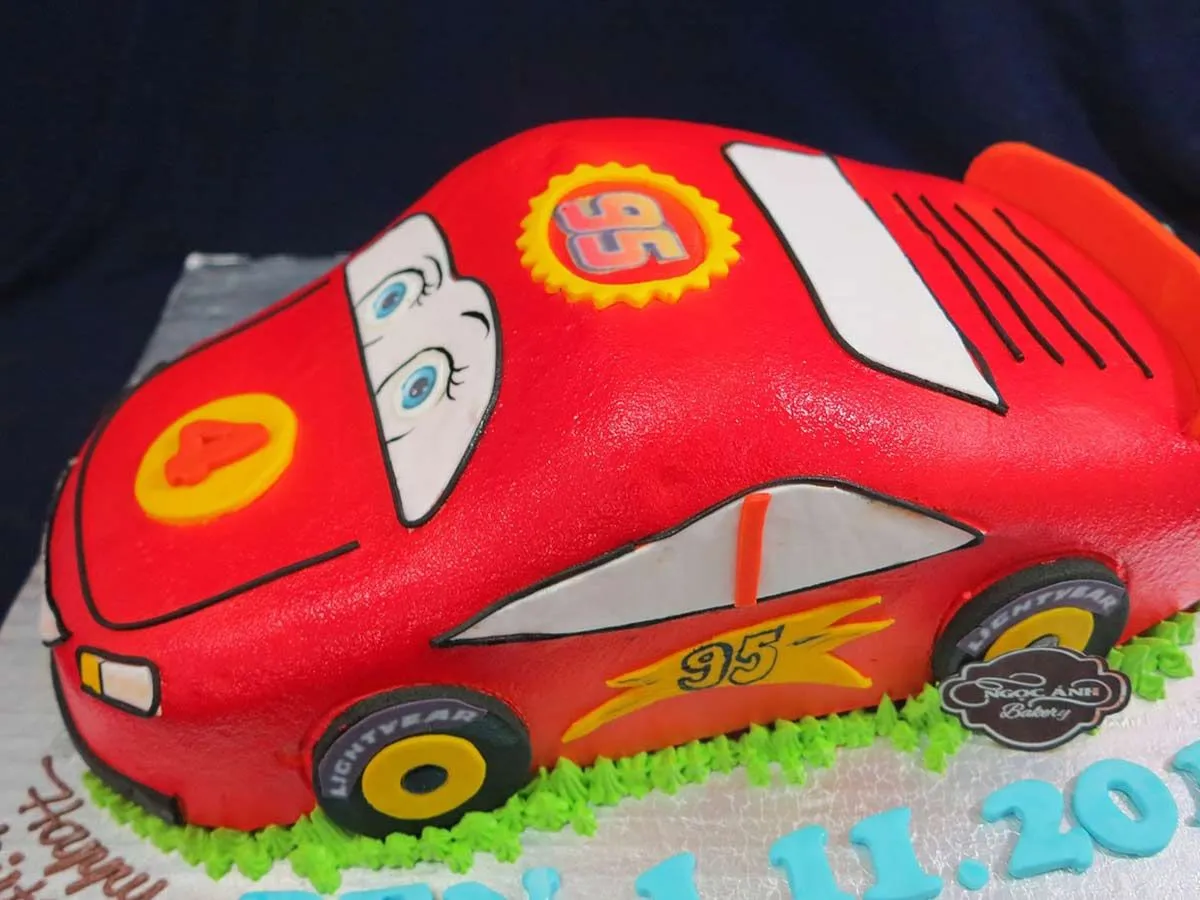
The cheeky main character from the film 'Cars' makes a great Disney Cars cake. Since there are quite a few details, it's all the better if you get a young fan of the film to help you out.
1) Preheat your oven to 160C/140C fan. Mix your sponge base ingredients (listed above) vigorously in a bowl, starting by sifting the flour and baking powder and then adding the other components.
2) Split the mix across two large rectangular cake tins lined with parchment paper. Bake for 30-35 minutes, or until a skewer comes out clean.
3) Let the cakes cool for 10 minutes, transfer to a wire rack and cool for another 10 minutes.
4) Search for a picture of Lightning McQueen online so you can copy the basic shape. You will be stacking the two cakes and then cutting them to form the shape of a car. Using a sharp knife, round off the corners of one cake, and cut the other one in half. Take the halved cake and use your knife to form the slopes of the front and back windshield, then place it on top of the other cake.
5) Take the leftovers and add extra dimension on the front and back of the car (using the picture for reference).
6) Cover your cake in a thin layer of buttercream. Chill in the fridge for 15 minutes, add another layer, and leave for another 15 minutes. This should seal your two layers together, and will also help fondant icing stick to it.
7) Of course, now the car needs to turn red. Take plenty of ready-to-roll red fondant icing and roll it out on a clean surface (a little icing sugar will stop it sticking). Place it entirely over your cake/car, smoothing it gently down with your hands and using a knife to cut any excess off. You can also buy a cake smoother for an extra slick finish.
8) You now have a plain red car shape, and it's up to you how much detail you add on top of this. For the decoration, you could buy edible cake stickers to make the decorating extra easy, or cut out more fondant icing into shapes and use a little water to stick it onto your red outer layer.
Your Lightning McQueen Cake is ready to ride!

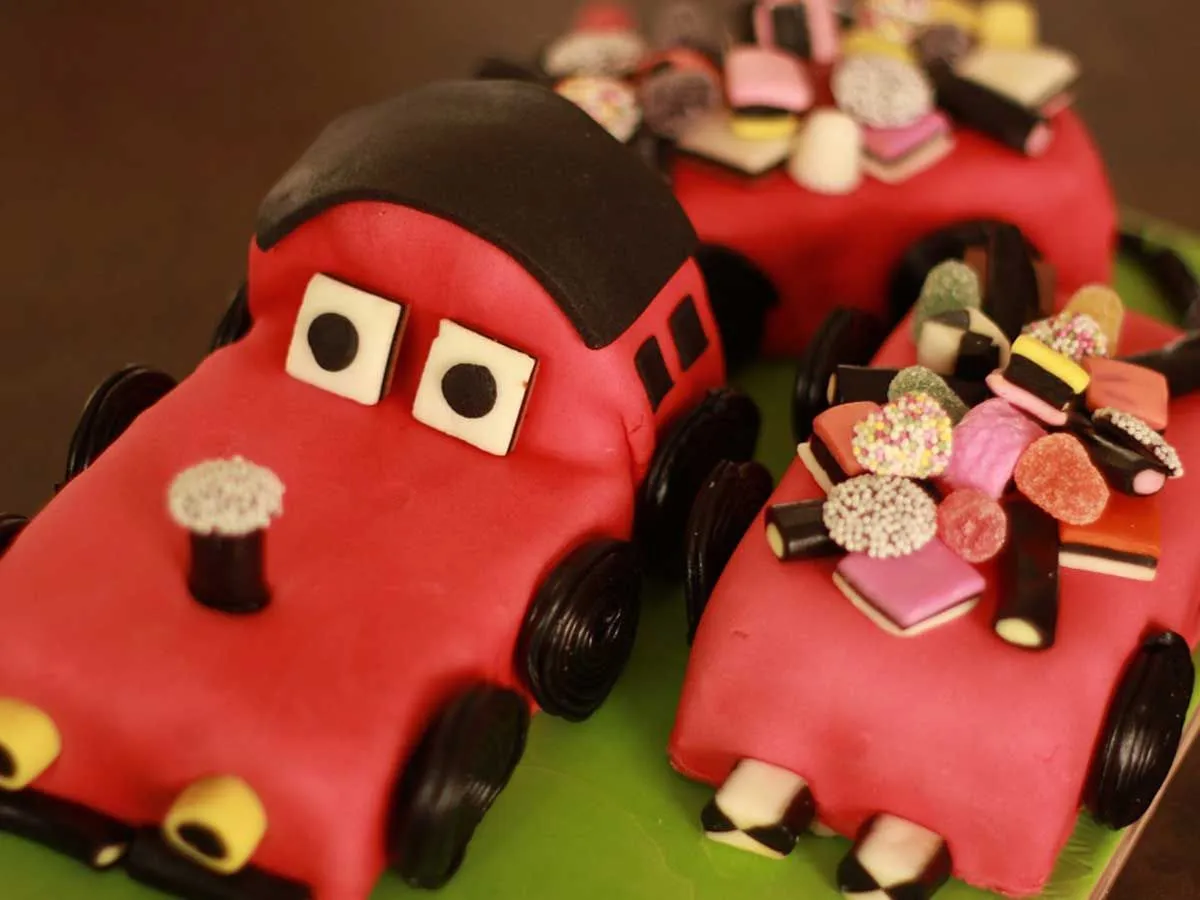
... Follow almost all of the instructions above! Copy the police car shape when you cut out your sponge shapes so they mimic a police car rather than a racing car birthday cake.
Instead of red, cover your cake in white fondant. Add the police car detailing using cut out fondant pieces in yellow, blue, orange and grey.
The general principle can also be used to make any general racing car cake/sports car cake/Ferrari cake. If you're making the cake for a teenager, you could also customise it to look like their own car. Remember to include any specific features in the car cake decorations; dents, dodgy wing mirrors, scratches and all!
If you want to make a chocolate cake, simply swap the vanilla extract for 60g cocoa powder in the basic sponge recipe. You can also add chocolate chips, or really any other ingredients you like at this stage.
Alternatively, make a gluten or dairy free base by searching for appropriate substitutions.
These cakes should feed around 10 people, but you can scale up the ingredients if you need a bigger cake.
This car cake is suitable for all ages but be careful not to give younger kids too much sugar!
The cake will last for 3 days if covered at room temperature. Any longer, and cakes should be placed uncovered in the fridge for 15 minutes, then covered in plastic.
It's best not to freeze the cake decorations as they may get damaged, but the sponge base (before decorating) is fine to freeze for up to three months.
Read The Disclaimer
At Kidadl we pride ourselves on offering families original ideas to make the most of time spent together at home or out and about, wherever you are in the world. We strive to recommend the very best things that are suggested by our community and are things we would do ourselves - our aim is to be the trusted friend to parents.
We try our very best, but cannot guarantee perfection. We will always aim to give you accurate information at the date of publication - however, information does change, so it’s important you do your own research, double-check and make the decision that is right for your family.
Kidadl provides inspiration to entertain and educate your children. We recognise that not all activities and ideas are appropriate and suitable for all children and families or in all circumstances. Our recommended activities are based on age but these are a guide. We recommend that these ideas are used as inspiration, that ideas are undertaken with appropriate adult supervision, and that each adult uses their own discretion and knowledge of their children to consider the safety and suitability.
Kidadl cannot accept liability for the execution of these ideas, and parental supervision is advised at all times, as safety is paramount. Anyone using the information provided by Kidadl does so at their own risk and we can not accept liability if things go wrong.
Kidadl is independent and to make our service free to you the reader we are supported by advertising.
We hope you love our recommendations for products and services! What we suggest is selected independently by the Kidadl team. If you purchase using the buy now button we may earn a small commission. This does not influence our choices. Please note: prices are correct and items are available at the time the article was published.
Kidadl has a number of affiliate partners that we work with including Amazon. Please note that Kidadl is a participant in the Amazon Services LLC Associates Program, an affiliate advertising program designed to provide a means for sites to earn advertising fees by advertising and linking to amazon.
We also link to other websites, but are not responsible for their content.
Was this article helpful?


We’ll send you tons of inspiration to help you find a hidden gem in your local area or plan a big day out.


Check your inbox for your latest news from us. You have subscribed to:
Remember that you can always manage your preferences or unsubscribe through the link at the foot of each newsletter.