Arts & Crafts
Learn more
Reading & Writing
Learn more
Math & Logic
Learn more
Sports & Active
Learn more
Music & Dance
Learn more
Social & Community
Learn more
Mindful & Reflective
Learn more
Outdoor & Nature
Learn more
FOR ALL AGES
Image © Pexels.
Kids will simply adore this Hello Kitty birthday cake, inspired by their favourite cartoon cat. With a simple cake recipe and sweet decoration ideas, this guide to making a Hello Kitty cake is ideal for the parents of children who love Hello Kitty.
This cool and cute cake is the perfect addition to any birthday party, so check out our simple guide to creating your very own Hello Kitty cake below.
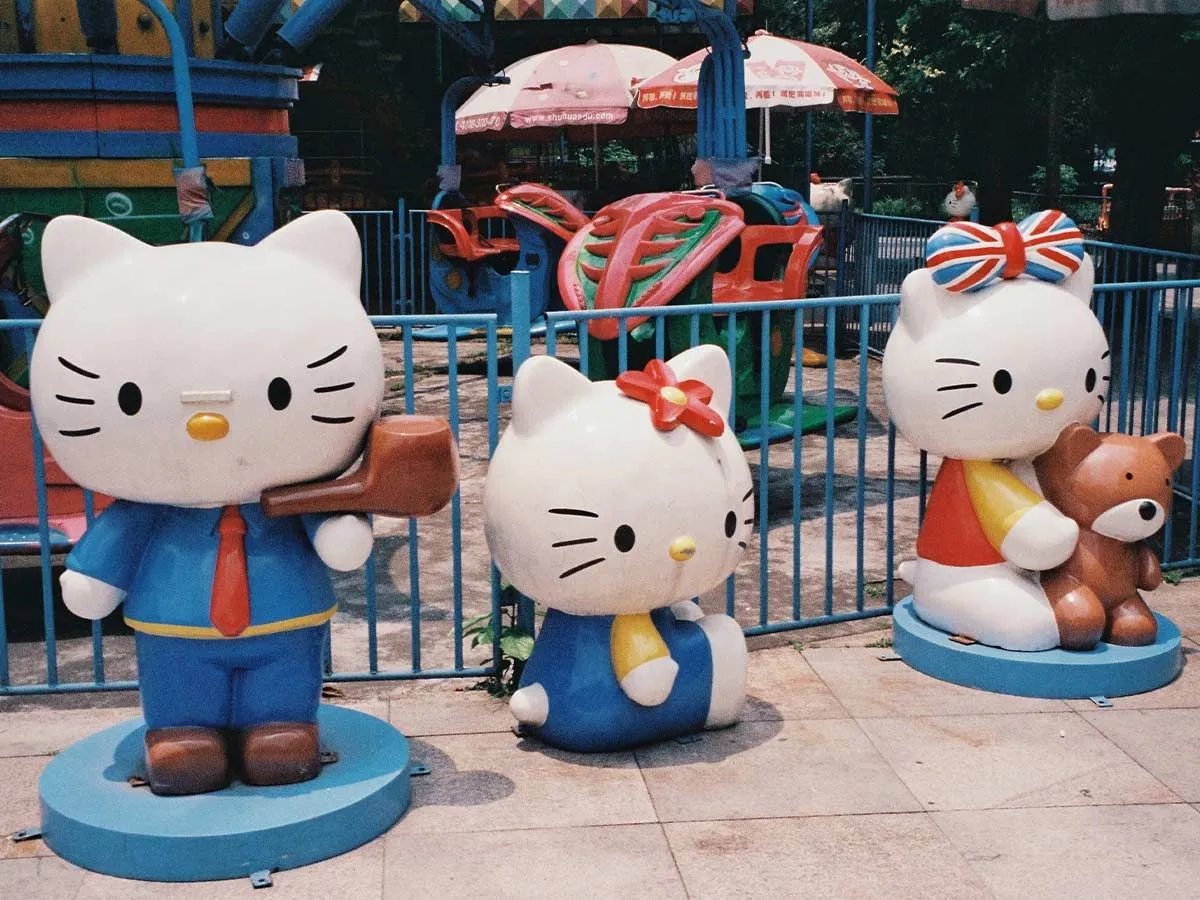
Image © Jiaqi Zhang, under a Creative Commons license.
For The Cake:
500g butter (margarine will work as a substitute)
600g self raising flour
500g caster sugar
8 eggs
4 tsp baking powder
Pink food colouring (optional)
This will serve around 20-25.
For The Icing:
675g icing sugar
225g butter
3tsp of orange juice
Strawberry or raspberry jam
2 sheets of white ready-rolled fondant icing
Black, yellow and red tube icing or black and yellow jelly beans and red strawberry laces
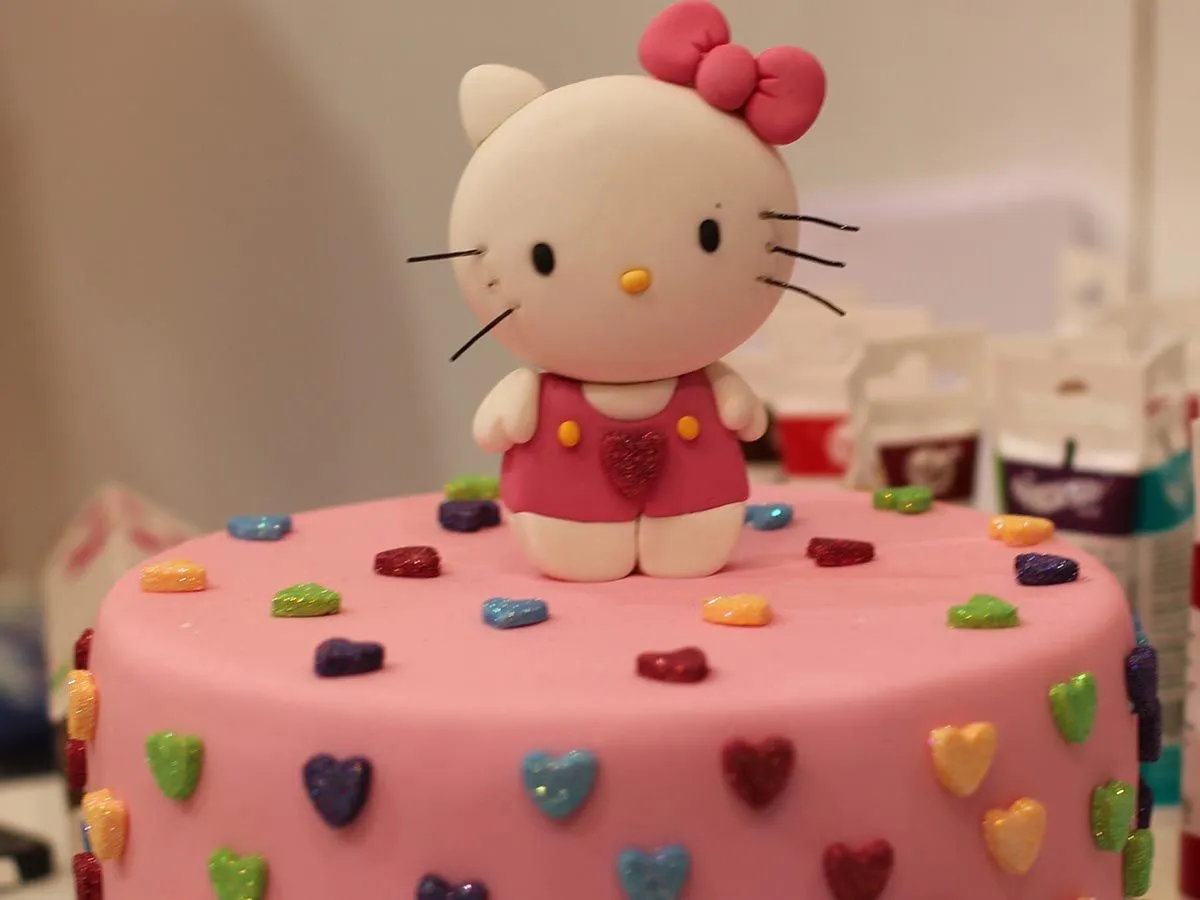
Image © Peggy_Marco, under a Creative Commons license.
Rectangular cake tin measuring about 35 by 22cm
Large printed out Hello Kitty face template (make sure this will roughly fit in your cake tin before you start)
Cake knife/regular knife
Cooling rack
Baking paper
Large bowl and spoon/electric mixer
Spatula
1.Heat the oven to 356F or 180C.
2.Line your cake tin with baking paper, and grease it with some extra butter or margarine, covering the sides and the bottom.
3.Mix the butter or margarine and the sugar together. If mixing with a bowl and wooden spoon, leave butter or margarine outside the fridge for a while before you start. This will make the mixing process easier.
4.Add the rest of your cake ingredients and mix until you have a smooth, creamy batter without any lumps. If you want a pretty pink cake, add in 3-7 drops of pink food colouring depending on how dark you want the pink to be, and mix until the batter is pink. Altogether the mixing process should take about 25 minutes by hand, and will be about 7 minutes in an electric mixer.
5.Pour your batter into the cake tin using a spatula and ensure the mixture is even. If necessary, you can smooth out the top using the back of a knife or a spatula.
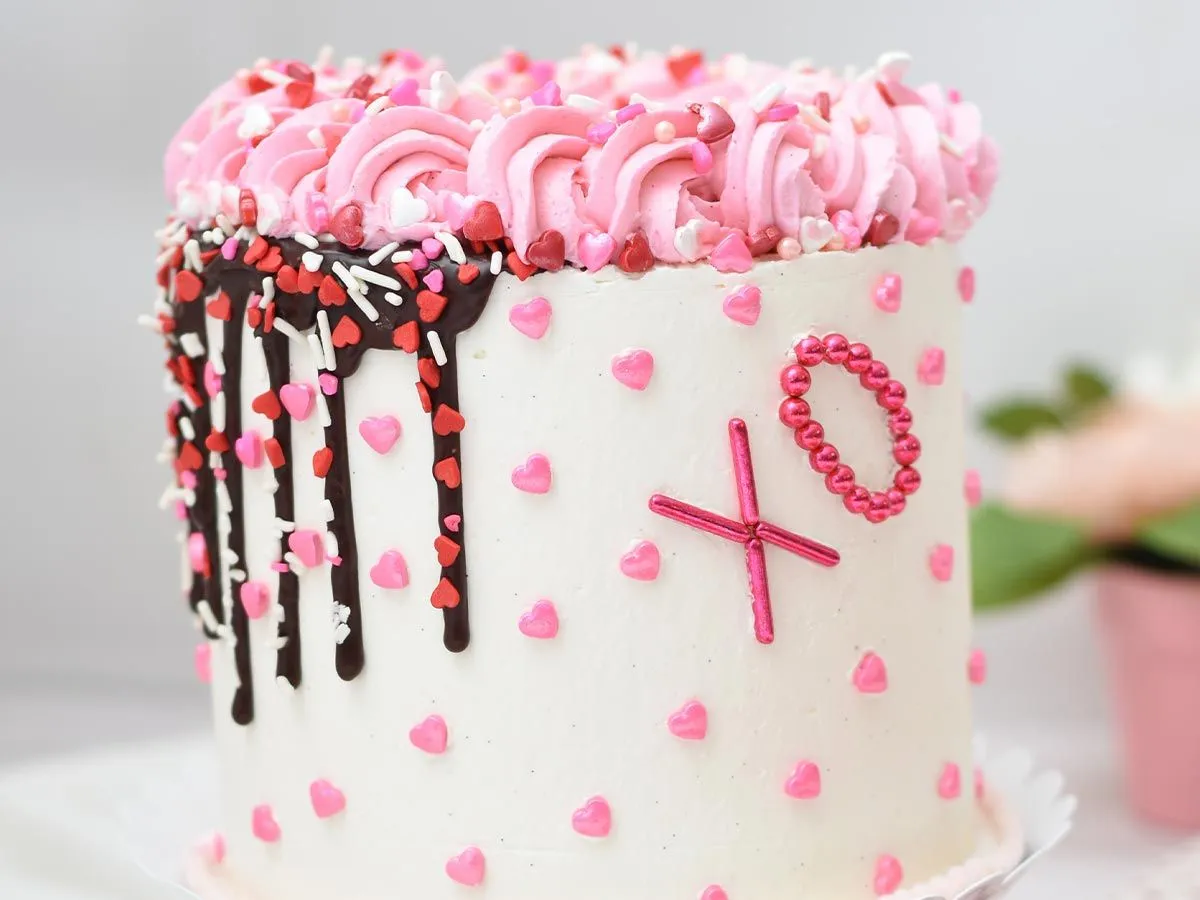
Image © Deva Williamson, under a Creative Commons license.
6.Bake your cake for 45 minutes. It should be spongy on the inside, and a golden colour on the outside.
7.While your cake bakes, make a batch of butter icing, mixing in the butter and sugar with some orange juice for a slightly zesty icing.
8.Leave your cake to cool. Place on a cooling rack after about 20 minutes, and leave for around 40 minutes, until completely cool.
9.Once cooled from the oven, place your Hello Kitty template horizontally across the top of your cake. Use a cake knife or regular knife to carefully carve out the shape of Hello Kitty's face, with her gently rounded face and ears.
10.Once you are satisfied with the shape of your cake, slice it so there is a top and a bottom layer. This can be done using a knife, or you could try using dental floss which will minimise crumbling.
11.Cover the inside of the bottom layer of the cake with jam, and the inner top layer with a generous helping (around half) of your butter icing. Make sure the jam and the buttercream are evenly spread, and leave a small gap between the edge of the layers and the jam and buttercream.
12.Carefully replace the top layer of your cake, so the buttercream and jam meet.
13.Cover the cake using the rest of your buttercream.
14.Roll out your white fondant icing sheet, and cover the cake completely, smoothing the icing down from the middle, and cutting off any excess at the edges using a clean spatula.
15.It's now time to decorate your Hello Kitty Cake. There are a number of ways you could do this, and using an image of Hello Kitty from the internet for inspiration will yield the best results:
You could use black tube icing for the cake's outline and draw on the eyes and whiskers, yellow icing for the nose and red for the bow. Alternatively, you could mix some food colouring with extra fondant icing and shape and stick on for Hello Kitty's facial features.
If you want to add some extra sugary sweetness to your cake, you could also design Hello Kitty's face using sweets. Black jelly beans placed vertically are great for Hello Kitty's eyes, and a yellow jelly been placed horizontally will make for an accurate nose. Classic liquorice would also work for whiskers, while a strawberry lace tied into a bow is another cute and delicious idea.
Image © Deva Williamson, under a Creative Commons license.
Once you have made and iced this Hello Kitty cake, it will keep for 5 days. You can also freeze the cake alone for up to 3 months.
Any child can eat and help make and decorate this cool Hello Kitty cake. Pressing on the fondant icing sheet is probably best left to adults to ensure a smooth, professional-looking finish.
Altogether making and decorating this cake including baking and cooling time, should take about 2 hours and 30 minutes. If you're pressed for time, slicing the cake in half so there is jam and buttercream in the middle is a step that could be missed out! Simply go straight from step 8 to step 12. You could also skip the fondant icing stage, and leave your cake iced with buttercream.
If your child is not a big fan of pink, you could always dye your cake mixture another colour like red or yellow, or simply leave it without adding any food colouring. You could also alter the colour of the bow for an individual twist on the classic Hello Kitty face.
Substitutes aside from margarine that can be used in the cake include a mixture of two teaspoons of baking powder, one teaspoon of oil and two tablespoons of water for each egg and coconut flour instead of a wheat-based flour. These should work for those with egg or gluten allergies as well as those who follow a vegan diet, though labels on such items should be checked carefully.

Mia is a student from London who loves spending time with her family and two younger siblings. As a History student, she especially enjoys family days out to museums, and loved reading all about the past as a child. Her favourite historical book series as a child was The Lady Grace Mysteries by Patricia Finney. Mia also loves exploring London’s restaurants, theatres and parks, and finding new and exciting things to do in her local area.
Read The Disclaimer
At Kidadl we pride ourselves on offering families original ideas to make the most of time spent together at home or out and about, wherever you are in the world. We strive to recommend the very best things that are suggested by our community and are things we would do ourselves - our aim is to be the trusted friend to parents.
We try our very best, but cannot guarantee perfection. We will always aim to give you accurate information at the date of publication - however, information does change, so it’s important you do your own research, double-check and make the decision that is right for your family.
Kidadl provides inspiration to entertain and educate your children. We recognise that not all activities and ideas are appropriate and suitable for all children and families or in all circumstances. Our recommended activities are based on age but these are a guide. We recommend that these ideas are used as inspiration, that ideas are undertaken with appropriate adult supervision, and that each adult uses their own discretion and knowledge of their children to consider the safety and suitability.
Kidadl cannot accept liability for the execution of these ideas, and parental supervision is advised at all times, as safety is paramount. Anyone using the information provided by Kidadl does so at their own risk and we can not accept liability if things go wrong.
Kidadl is independent and to make our service free to you the reader we are supported by advertising.
We hope you love our recommendations for products and services! What we suggest is selected independently by the Kidadl team. If you purchase using the buy now button we may earn a small commission. This does not influence our choices. Please note: prices are correct and items are available at the time the article was published.
Kidadl has a number of affiliate partners that we work with including Amazon. Please note that Kidadl is a participant in the Amazon Services LLC Associates Program, an affiliate advertising program designed to provide a means for sites to earn advertising fees by advertising and linking to amazon.
We also link to other websites, but are not responsible for their content.
Was this article helpful?
Get inspiration for education!
Subscribe for virtual tools, STEM-inspired play, creative tips and more

Browse Category
·
September 06, 2021


We’ll send you tons of inspiration to help you find a hidden gem in your local area or plan a big day out.


Check your inbox for your latest news from us. You have subscribed to:
Remember that you can always manage your preferences or unsubscribe through the link at the foot of each newsletter.