Arts & Crafts
Learn more
Reading & Writing
Learn more
Math & Logic
Learn more
Sports & Active
Learn more
Music & Dance
Learn more
Social & Community
Learn more
Mindful & Reflective
Learn more
Outdoor & Nature
Learn more
FOR ALL AGES
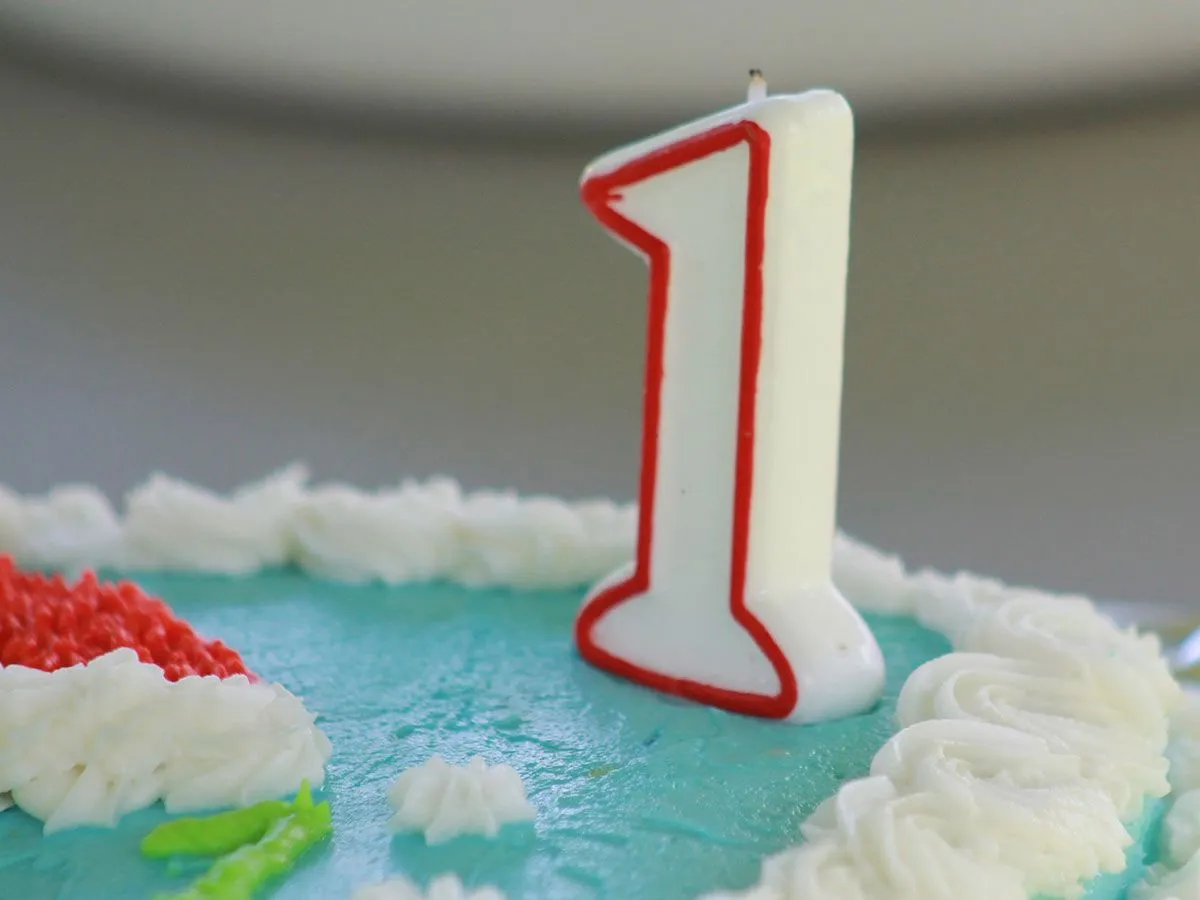
Image © Godsgirl_madi, under a Creative Commons license.
You don't need specialist equipment like a numbered cake tin to create an impressive first birthday cake for your toddler!
This simple recipe shows you how to make the perfect number cake with just two rectangular cake tins. You could even use ready-made cake mix to make this bake even easier. It also gives you decoration ideas for your child's first birthday cake. If you are after more birthday party inspiration, take a look at these amazing ideas for birthday cakes that your kids will love.
For the cakes: 710g all-purpose flour, 450g unsalted butter (at room temperature), 600g caster sugar, 8 large eggs (at room temperature), 480ml milk, 2 tbsp baking powder, 2tbsp vanilla extract, a pinch of salt
For the frosting: 200g unsalted butter (at room temperature), 360g icing sugar, 680g cream cheese, 2tsp vanilla extract
For the icing and decoration: ready-to-roll fondant icing of the colour of your choice (optional), some sweets or icing pens, a candle
Equipment: Two 33cm x 23cm (9"x13") sheet cake tins, an electric whisk or mixer, a cake board or large flat serving plate
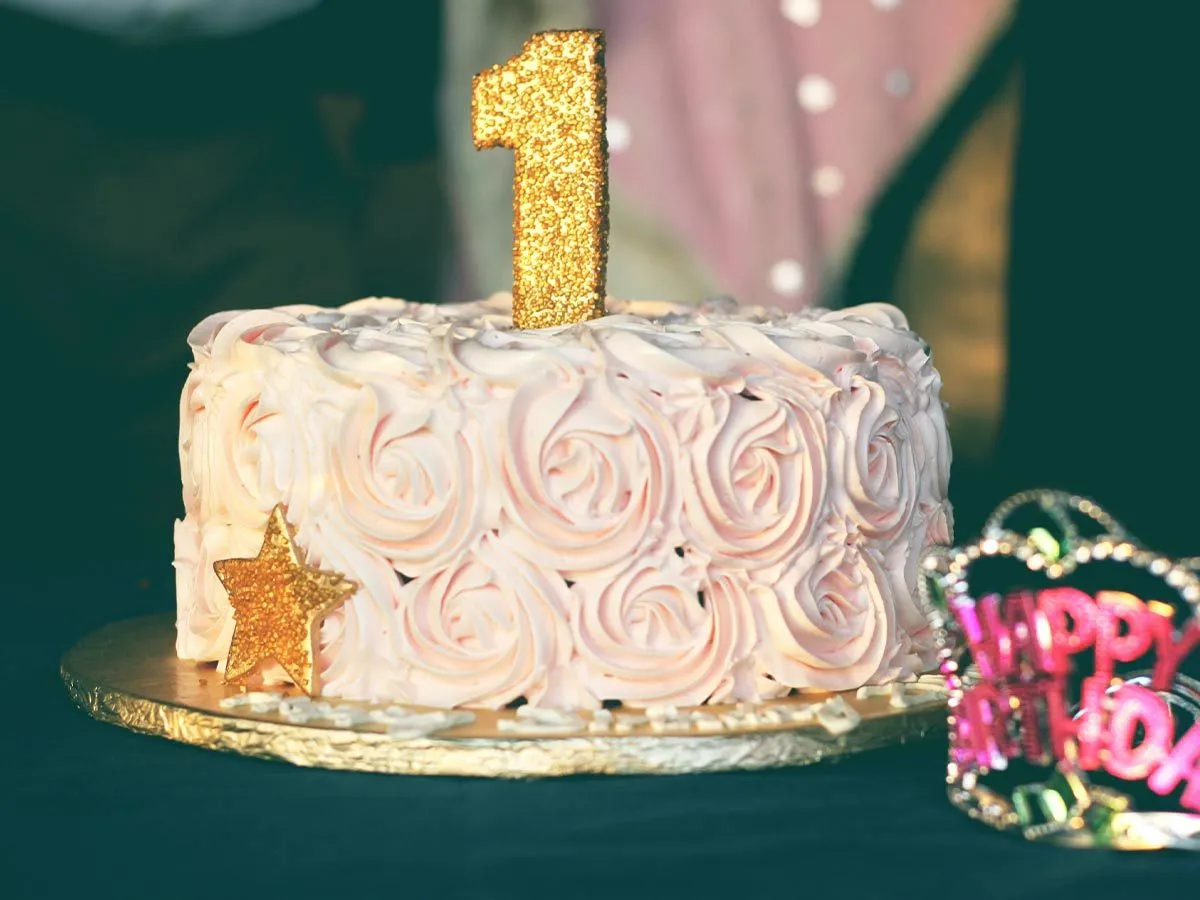
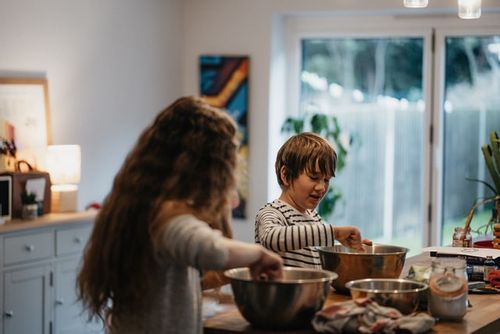
Image © Mohammad Danish, under a Creative Commons license.
1) Preheat your oven to 180°C (350°F). Place an oven rack in the centre of the oven. Grease your cake tins with some softened butter or margarine - you could also line them with baking paper for extra safety.
2) Start preparing the cake mix: in a bowl, mix and whisk the flour, baking powder and salt.
3) In a different bowl, beat the butter, caster sugar and vanilla extract with an electric whisk (medium-high speed) until the mixture becomes light and fluffy. This should take 3-5 minutes.
4) Add the eggs to the butter and sugar mixture one by one, and keep beating well. Turn the whisk or mixer to low speed and add a third of the dry ingredients, then half of the milk. Keep alternating and mix until you have added all of your ingredients.
5) Divide the cake batter between the two cake tins. Smooth the top of the mixture with a spatula or spoon. Bake the cakes for about 35 minutes. To check whether they are ready, insert a knife or a toothpick into the centre of the cakes: it must come out clean before you can take them out of the oven. Once they are out of the oven, place the cakes on a cooling rack for at least 15 minutes.
6) While you wait for the cakes to cool, prepare the frosting: with your electric whisk or mixer, beat the butter until it is light. Add the icing sugar and keep whisking until the mixture becomes fluffy. Add the vanilla extract, then the cream cheese, gradually. Beat until the ingredients are fully incorporated.
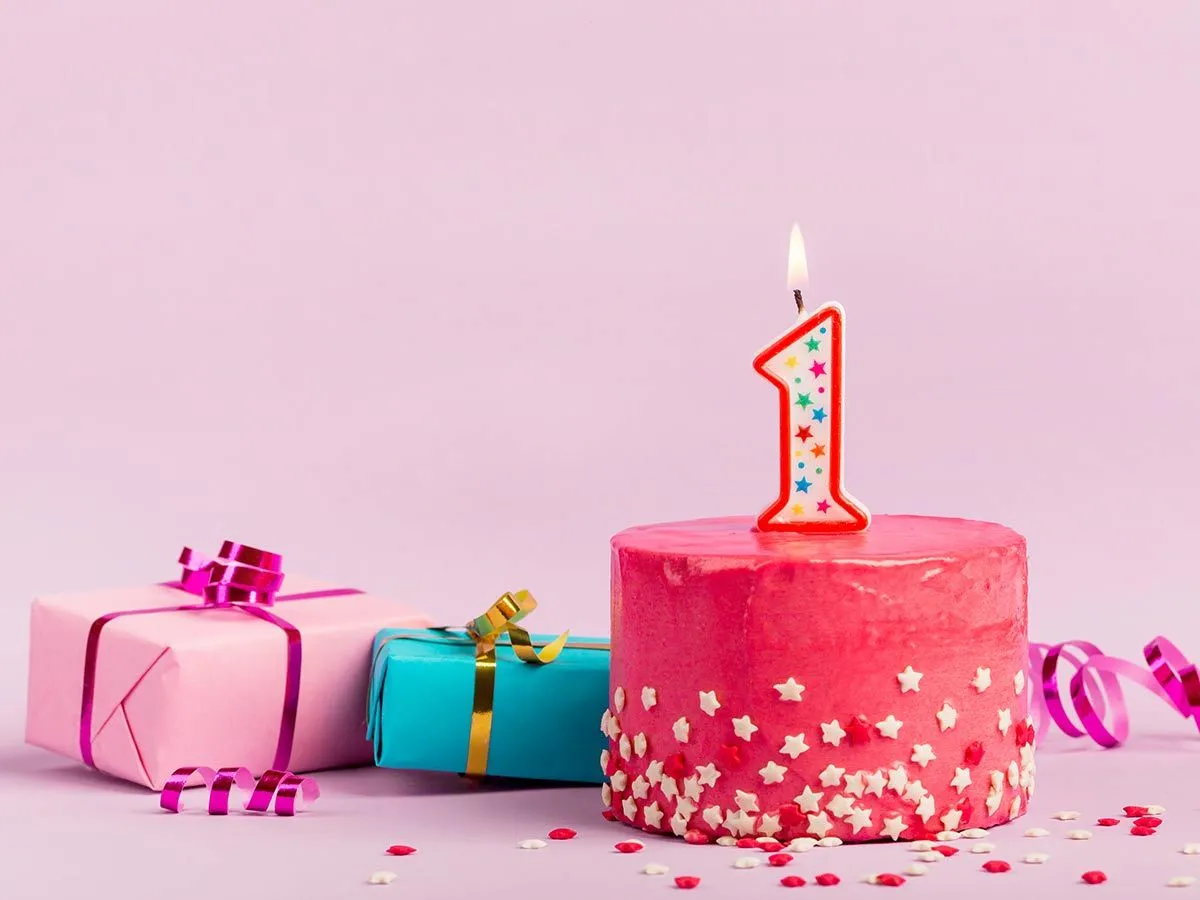
Image © freepik, under a Creative Commons license.
7) It's time to assemble your Number one cake. Once your two cakes are cooled, remove them from the tins and flatten the top with a bread knife. Place one cake onto your cake board or large plate, add a layer of frosting on top of it then place the other one on top, like a sandwich.
8) Now that you have a large rectangular cake, carve out the shape of a number 1 with a bread knife. If you are unsure of the design, refer to a photograph or a model. If it is easier, you could carve out individual shapes one at a time: first the rectangular base, then the larger rectangle to form the main part of the number, and lastly a triangular shape for the top of the number 1. If necessary, stick the parts together on your cake board with more frosting.
9) Cover the whole cakes, including the sides, with the remaining frosting. If you do have fondant icing, roll it out into a thin, even layer then wrap it around your rolling pin and gently place it onto the cake. Smooth out the icing with your hands and trim any excess with a knife. If you do not have fondant icing, simply add another layer of cream cheese frosting onto your cake and smooth it out with a spatula.
10) You have a canvas, now it's time to decorate your Number 1 cake! Here are some suggestions: with icing pens, draw the outline of the Number 1 in different colours, and place your candle in the middle. Alternatively, you could cover the number cake in different sweets, but make sure they are soft and not dangerous for a toddler to swallow! Once you have finished decorating, your homemade Number 1 cake is ready to go!
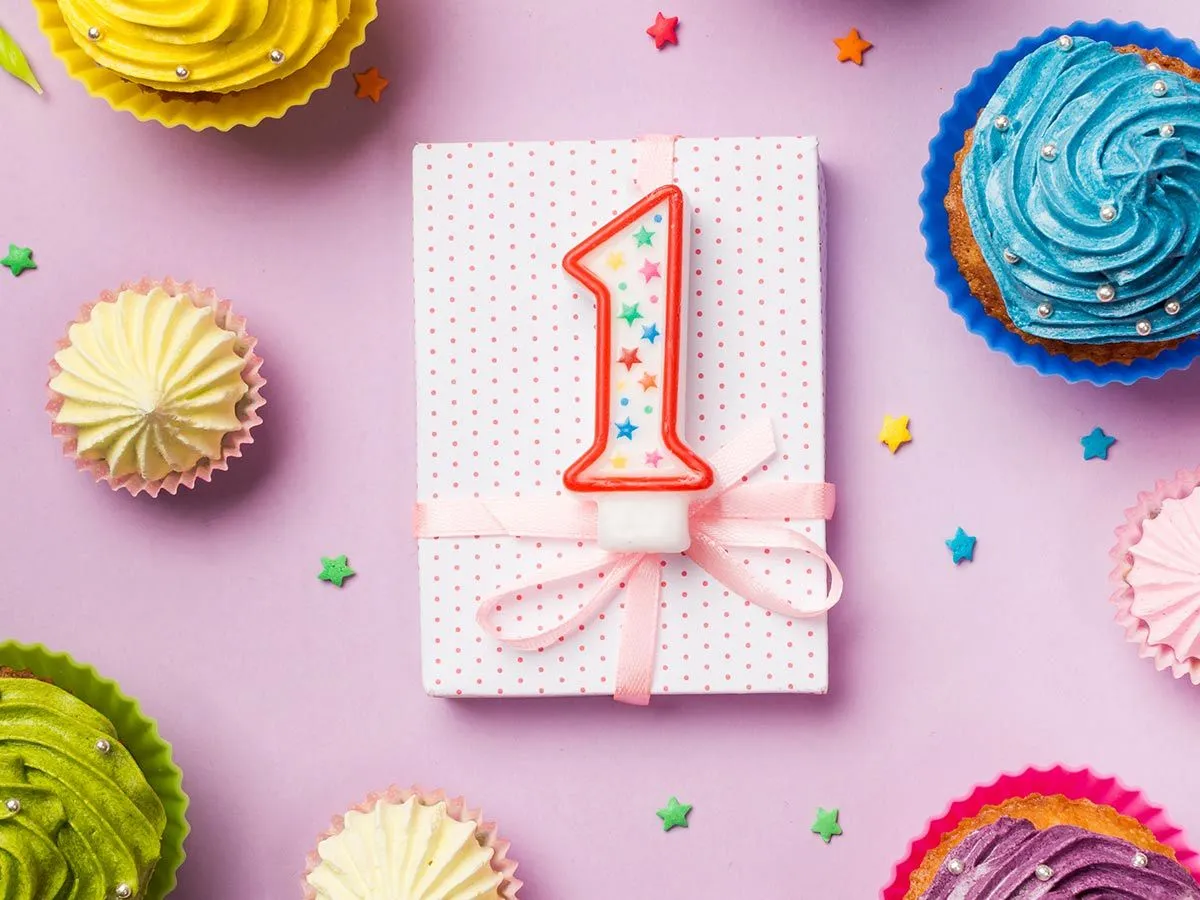
Image © freepik, under a Creative Commons license.
This Number 1 cake can be made with any cake recipe of your choosing: chocolate cake, sponge, lemon drizzle, etc. You could also flavour your cream cheese frosting with cocoa, lemon, or other flavourings you have at hand!
If you are really short on time and want to make your life easier, you could buy ready-made cake mix to make this Number 1 cake. Alternatively, you could only use one cake pan and make the number cake single-tiered!
If you have any children with allergies, you can replace the plain flour in the cakes with a gluten-free alternative such as spelt.
You can save the excess cake you carved to create a number one shape to make some birthday cake pops! Just follow this fun recipe to make rainbow cake pops.
This birthday cake should serve 8-10 people.
Although it is best eaten fresh, this Number 1 cake can be made in advance: the sponges will keep up to five days in the fridge in an airtight container, and once decorated the cake can last up to two days in the fridge! You can also freeze this cake by leaving it in the freezer in an airtight container for up to two months.

Mina lives in London and loves exploring the city and uncovering new, exciting, and fun activities, places, and adventures to fill her days with. She is also passionate about children’s literature and sharing all things cultural with the children she babysits, so if there’s a new family film, play, or exhibition, you’re likely to find her there. She has also travelled extensively in her life throughout Europe and further and loves exploring new places and meeting new people. She has a degree in Linguistics and Language Acquisition and remains fascinated by all languages and cultures.
Read The Disclaimer
At Kidadl we pride ourselves on offering families original ideas to make the most of time spent together at home or out and about, wherever you are in the world. We strive to recommend the very best things that are suggested by our community and are things we would do ourselves - our aim is to be the trusted friend to parents.
We try our very best, but cannot guarantee perfection. We will always aim to give you accurate information at the date of publication - however, information does change, so it’s important you do your own research, double-check and make the decision that is right for your family.
Kidadl provides inspiration to entertain and educate your children. We recognise that not all activities and ideas are appropriate and suitable for all children and families or in all circumstances. Our recommended activities are based on age but these are a guide. We recommend that these ideas are used as inspiration, that ideas are undertaken with appropriate adult supervision, and that each adult uses their own discretion and knowledge of their children to consider the safety and suitability.
Kidadl cannot accept liability for the execution of these ideas, and parental supervision is advised at all times, as safety is paramount. Anyone using the information provided by Kidadl does so at their own risk and we can not accept liability if things go wrong.
Kidadl is independent and to make our service free to you the reader we are supported by advertising.
We hope you love our recommendations for products and services! What we suggest is selected independently by the Kidadl team. If you purchase using the buy now button we may earn a small commission. This does not influence our choices. Please note: prices are correct and items are available at the time the article was published.
Kidadl has a number of affiliate partners that we work with including Amazon. Please note that Kidadl is a participant in the Amazon Services LLC Associates Program, an affiliate advertising program designed to provide a means for sites to earn advertising fees by advertising and linking to amazon.
We also link to other websites, but are not responsible for their content.
Was this article helpful?
Get inspiration for education!
Subscribe for virtual tools, STEM-inspired play, creative tips and more


Browse Category
·
September 06, 2021


We’ll send you tons of inspiration to help you find a hidden gem in your local area or plan a big day out.


Check your inbox for your latest news from us. You have subscribed to:
Remember that you can always manage your preferences or unsubscribe through the link at the foot of each newsletter.