Arts & Crafts
Learn more
Reading & Writing
Learn more
Math & Logic
Learn more
Sports & Active
Learn more
Music & Dance
Learn more
Social & Community
Learn more
Mindful & Reflective
Learn more
Outdoor & Nature
Learn more
FOR ALL AGES
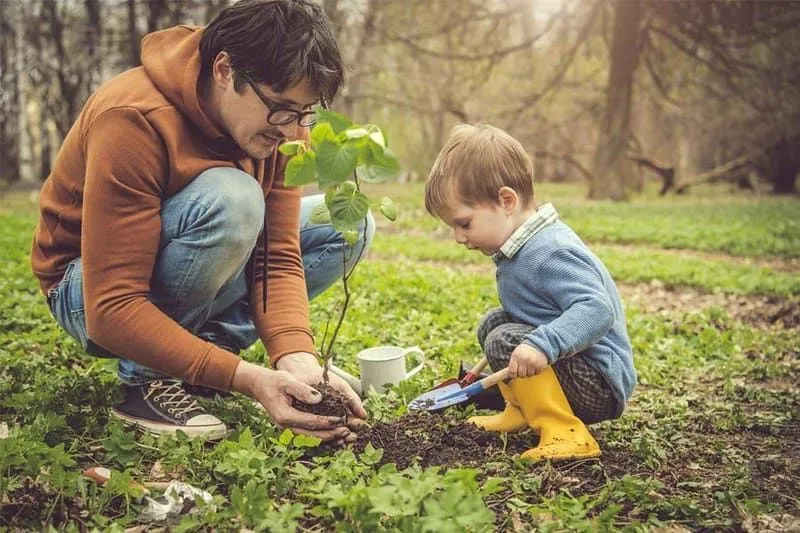
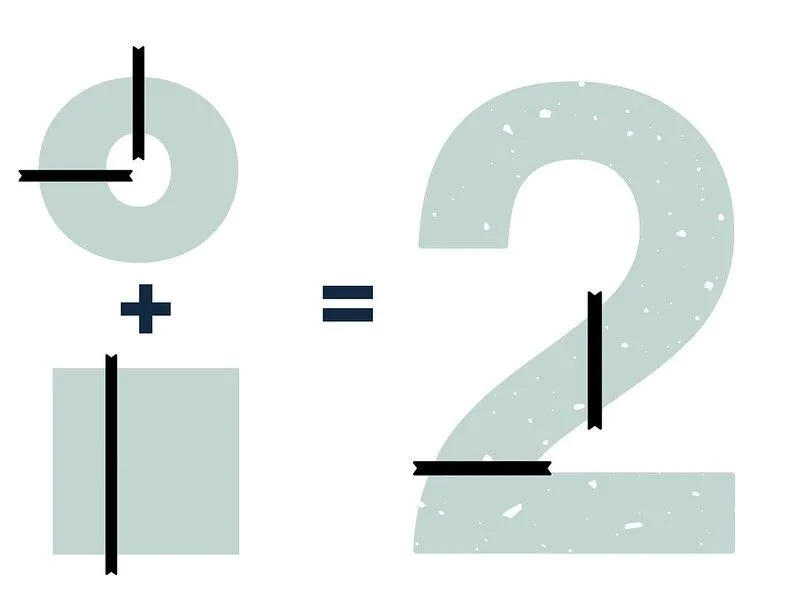
Image © chandlervid85 under a creative commons licence.
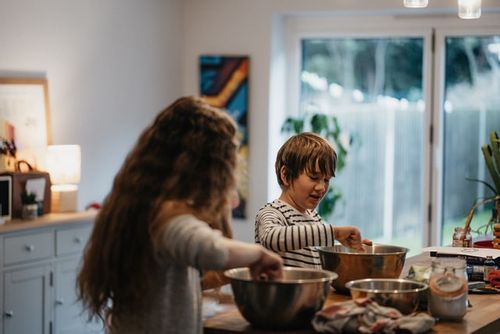
No number 2 cake tin? No problem! Put your pinny on and prepare to make birthday number baking a piece of cake.
Baking number cakes without specialist tins is easier than you might think; we promise! Children love celebrating their new age, and making a number 2 birthday cake for your toddler is a great way to introduce them to how the number looks.
Making cakes from scratch can be incredibly satisfying, especially when you are making occasion and birthday cakes for special people. Don't worry if you're new to baking and panicking that you don't know how to make cake, let alone how to make a birthday cake in the shape of the number 2. Our number cake recipe will show you how to make birthday cake that tastes delicious and our easy instructions will help you shape your number cake into the perfect 2.

Image © Tomsickova under a creative commons licence.
For the round cake: 625g self-raising flour, 375g caster sugar, 375g softened butter or margarine, six eggs, four tablespoons milk, three teaspoons vanilla extract
For the square cake: 790g self-raising flour, 475g caster sugar, 475g softened butter or margarine, seven eggs, five tablespoons milk, four teaspoons vanilla extract
For the buttercream icing: 750g icing sugar, 350g unsalted butter, three tablespoons thick cream, one tablespoon clear vanilla extract
Equipment: 23cm round cake tin, 23cm square cake tin, round drinking glass, greaseproof paper
Image © JenkoAtaman under a creative commons licence.
One of the best things about number cakes is that there are unlimited options when it comes to cake decorating. A cake number can be iced in your child's favourite colour, you could top the number cake with fruit or other tasty treats, and you can decorate number cakes in the style of something your child loves.
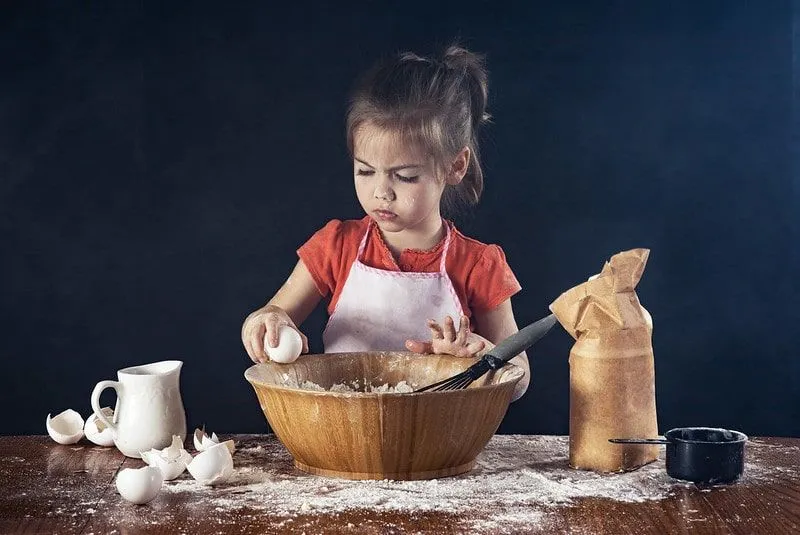
Image © Kevin Carden under a creative commons licence.

Sarah Blake lives in Lancashire and has been a writer for over 20 years. A self-confessed gym bunny and yogi, Sarah loves all things fitness and wellness, and can usually be found wearing lycra. Sarah loves family time and all things fun, but hates anything that involves getting cold!
Read The Disclaimer
At Kidadl we pride ourselves on offering families original ideas to make the most of time spent together at home or out and about, wherever you are in the world. We strive to recommend the very best things that are suggested by our community and are things we would do ourselves - our aim is to be the trusted friend to parents.
We try our very best, but cannot guarantee perfection. We will always aim to give you accurate information at the date of publication - however, information does change, so it’s important you do your own research, double-check and make the decision that is right for your family.
Kidadl provides inspiration to entertain and educate your children. We recognise that not all activities and ideas are appropriate and suitable for all children and families or in all circumstances. Our recommended activities are based on age but these are a guide. We recommend that these ideas are used as inspiration, that ideas are undertaken with appropriate adult supervision, and that each adult uses their own discretion and knowledge of their children to consider the safety and suitability.
Kidadl cannot accept liability for the execution of these ideas, and parental supervision is advised at all times, as safety is paramount. Anyone using the information provided by Kidadl does so at their own risk and we can not accept liability if things go wrong.
Kidadl is independent and to make our service free to you the reader we are supported by advertising.
We hope you love our recommendations for products and services! What we suggest is selected independently by the Kidadl team. If you purchase using the buy now button we may earn a small commission. This does not influence our choices. Please note: prices are correct and items are available at the time the article was published.
Kidadl has a number of affiliate partners that we work with including Amazon. Please note that Kidadl is a participant in the Amazon Services LLC Associates Program, an affiliate advertising program designed to provide a means for sites to earn advertising fees by advertising and linking to amazon.
We also link to other websites, but are not responsible for their content.
Was this article helpful?
Get inspiration for education!
Subscribe for virtual tools, STEM-inspired play, creative tips and more

Browse Category
·
September 06, 2021


We’ll send you tons of inspiration to help you find a hidden gem in your local area or plan a big day out.

Check your inbox for your latest news from us. You have subscribed to:
Remember that you can always manage your preferences or unsubscribe through the link at the foot of each newsletter.
