Arts & Crafts
Learn more
Reading & Writing
Learn more
Math & Logic
Learn more
Sports & Active
Learn more
Music & Dance
Learn more
Social & Community
Learn more
Mindful & Reflective
Learn more
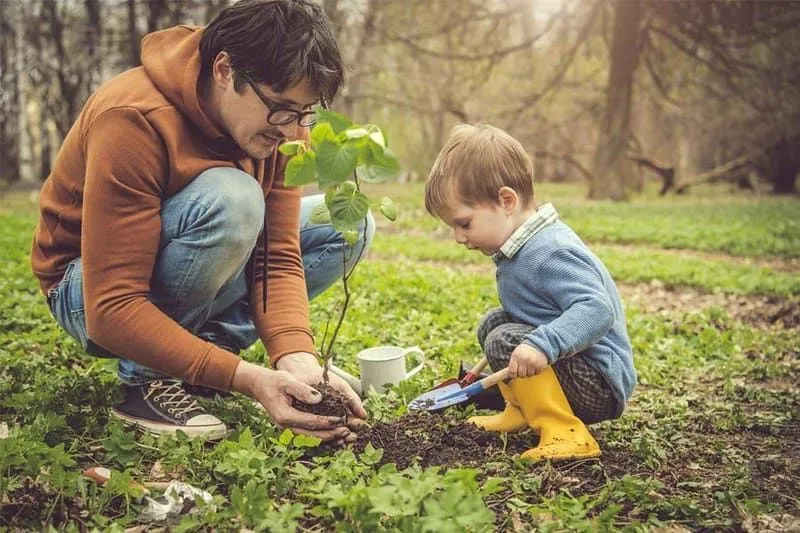
Outdoor & Nature
Learn more
FOR ALL AGES
Learn how to make a fantastic Roman helmet with your KS2 children using this easy guide, with just five simple steps to follow.
The world of Ancient Rome is fascinating for kids; from the gladiator games, to Julius Caesar.
Here, we explain how your kids can create their very own Roman helmet - or galea - as the Romans would have called it, worthy of a magnificent Roman soldier. This makes for an educational and creative activity, whether in preparation for a school dress-up day, or simply as a rainy Sunday afternoon project.
Kids can discover some fun (and unusual) facts about the Romans below, while following our easy guide to making their very own Roman soldier helmet.
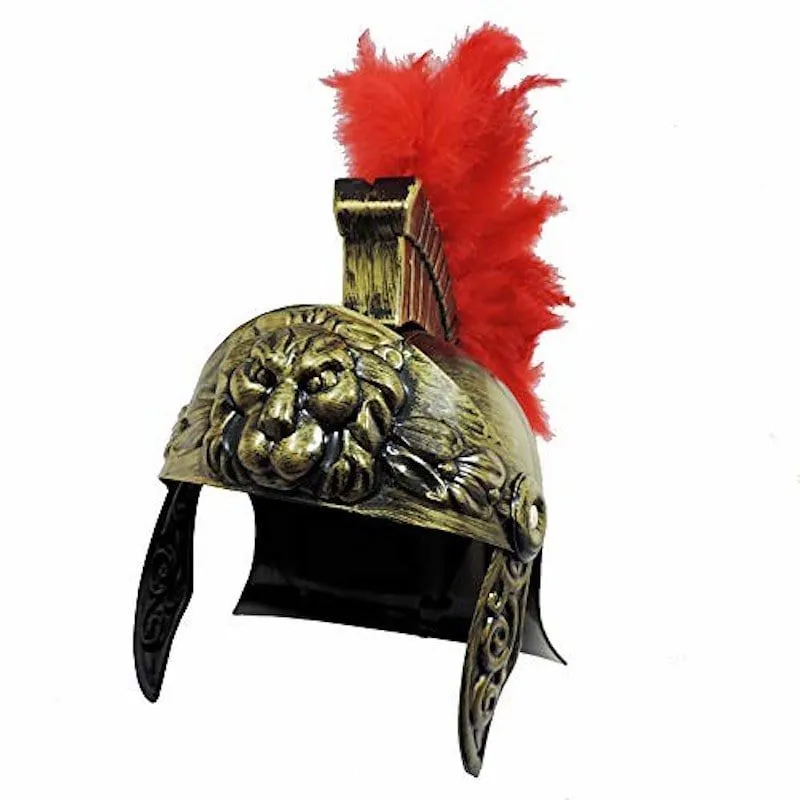
Image © Mackenzie Bailey under Creative Commons Licence
It's a great idea for your kids to learn about all the features of Roman helmets before they start making their own. Here are some features of a Roman helmet that are handy to know before you make one.
Cheek guards: These provided extra protection to the face during the many battles the Romans fought.
Head straps: These made sure the helmets didn't fall off!
Plumes/crests: These are the brushes on the top of the helmet. The highest ranking soldiers wore plumes on their helmets all the time, while the lower ranked ones only wore them on special occasions, like at military parades in Rome.
Main body: This is the dome-shaped part of the helmet that protects the top of the head.
Crown/front visor:This protected the forehead, and was often decorated to show off the impressive craftsmanship of the Romans during battle.
Rivets: These were similar to screws and attached the front visor to the main body of the helmet.
To Make The Helmet:
Thick card or cardboard (an empty cereal box or shoe box is ideal).
Pencil.
Ruler.
Scissors.
Glue stick if using card.
Stapler if using cardboard.
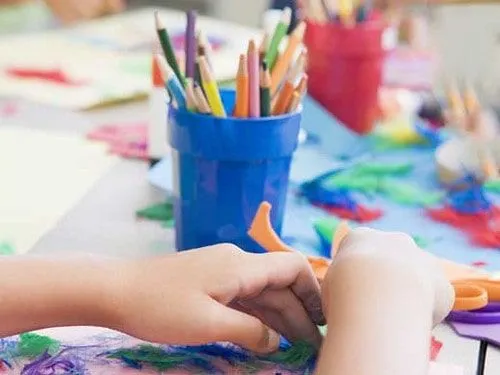
For Decorations:
Feathers.
Colouring pens.
Colouring pencils.
Any paint.
Glitter, stickers, gems and sequins.
Card.
Don't worry if you don't have all these craft materials for decorations, these are just some suggestions. The helmets worn by the Romans were unique to each person, so your kids can be creative and decorate theirs however they like!
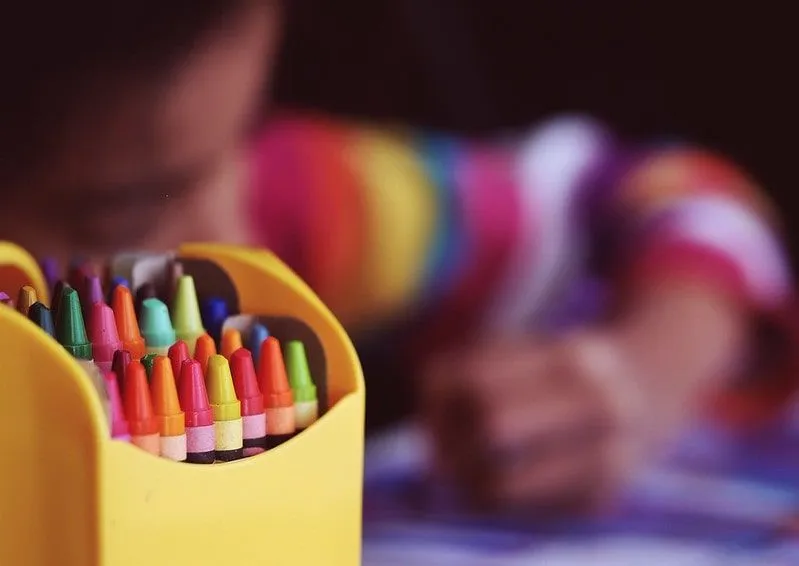
Image © Unsplash
Step 1: Create A Template
a) First, use the pencil to draw two rectangular strips on your card or cardboard. These should be identical, and should each be 30cm long and 5cm wide. These will be the head straps.
b) Then, draw a semicircle that is big enough to cover the length of the front of your child's head. This will be the main body of the helmet.
c) Next, draw the outline of a crown that gently peaks in the middle. This should be at least 2cm wider than the semicircle.
d) Draw two chin plates. For this draw a gently curving line and join up both sides of the line with a line that peaks in the middle.
e) Take your scissors and carefully cut out each of these shapes.
Kids can now decorate their templates with whatever materials they have, and let their imagination run wild! Think pom-poms, bright stickers and colourful drawings. If they want a realistic Roman feel, bronze, gold or silver glitter glue and materials (they could even use kitchen foil) work a treat. A quick internet search will provide you with ancient patterns your children could copy onto their helmets, such as decorative palmettes or geometric mosaic shapes.
Children could also use foam letters to spell out their names on their helmets, just like the Romans used to do. The most visible parts of the helmet when it is worn will be the crown and the cheek guards, but kids should feel free to decorate the head straps and main body too.
How to make a Roman helmet out of cardboard:
If using cardboard to make your helmet, carefully use a stapler to attach the head straps horizontally to either side of the semicircle.
Next, use the stapler to attach the cheek guards to each side of the semicircle so that they are facing downwards.
Then, staple the edges, but not the middle of your crown shape to the straight edge of the semicircle, so it pops out.
How to construct your Roman helmet from card:
If you are using card, simply repeat the same steps as above, but using a glue stick to attach your template pieces instead of a stapler.

Image © pxfuel
Kids can use a variety of materials for this element, which will add a pop of colour to their Roman soldier costume. For example, they could cut out a rectangle from your card or cardboard and attach it to the back of your semicircle at the top, and stick feathers onto it. If you don't have any feathers, they can simply make a fringe by cutting lines into a triangular piece of card, and attaching it to the top of the helmet. They can be creative with their colours; although the Romans are often shown as only wearing red plumes in artwork and movies, in reality they could be many different colours, including purple, yellow and white.
Now, it's time to add any final decorations to the helmets. For a realistic touch, kids could add sequins or gems at the points where they have attached their templates, so they look like rivets. If they have used cardboard, this is also a great way to cover up any visible staples.
Finally, glue or staple the ends of the two head straps together, so the helmet will stay on.
The soldier's helmet should now be complete!

Mia is a student from London who loves spending time with her family and two younger siblings. As a History student, she especially enjoys family days out to museums, and loved reading all about the past as a child. Her favourite historical book series as a child was The Lady Grace Mysteries by Patricia Finney. Mia also loves exploring London’s restaurants, theatres and parks, and finding new and exciting things to do in her local area.
Read The Disclaimer
At Kidadl we pride ourselves on offering families original ideas to make the most of time spent together at home or out and about, wherever you are in the world. We strive to recommend the very best things that are suggested by our community and are things we would do ourselves - our aim is to be the trusted friend to parents.
We try our very best, but cannot guarantee perfection. We will always aim to give you accurate information at the date of publication - however, information does change, so it’s important you do your own research, double-check and make the decision that is right for your family.
Kidadl provides inspiration to entertain and educate your children. We recognise that not all activities and ideas are appropriate and suitable for all children and families or in all circumstances. Our recommended activities are based on age but these are a guide. We recommend that these ideas are used as inspiration, that ideas are undertaken with appropriate adult supervision, and that each adult uses their own discretion and knowledge of their children to consider the safety and suitability.
Kidadl cannot accept liability for the execution of these ideas, and parental supervision is advised at all times, as safety is paramount. Anyone using the information provided by Kidadl does so at their own risk and we can not accept liability if things go wrong.
Kidadl is independent and to make our service free to you the reader we are supported by advertising.
We hope you love our recommendations for products and services! What we suggest is selected independently by the Kidadl team. If you purchase using the buy now button we may earn a small commission. This does not influence our choices. Please note: prices are correct and items are available at the time the article was published.
Kidadl has a number of affiliate partners that we work with including Amazon. Please note that Kidadl is a participant in the Amazon Services LLC Associates Program, an affiliate advertising program designed to provide a means for sites to earn advertising fees by advertising and linking to amazon.
We also link to other websites, but are not responsible for their content.
Was this article helpful?
Get inspiration for education!
Subscribe for virtual tools, STEM-inspired play, creative tips and more

Browse Category
·
September 06, 2021


We’ll send you tons of inspiration to help you find a hidden gem in your local area or plan a big day out.


Check your inbox for your latest news from us. You have subscribed to:
Remember that you can always manage your preferences or unsubscribe through the link at the foot of each newsletter.