Arts & Crafts
Learn more
Reading & Writing
Learn more
Math & Logic
Learn more
Sports & Active
Learn more
Music & Dance
Learn more
Social & Community
Learn more
Mindful & Reflective
Learn more
Outdoor & Nature
Learn more
FOR ALL AGES
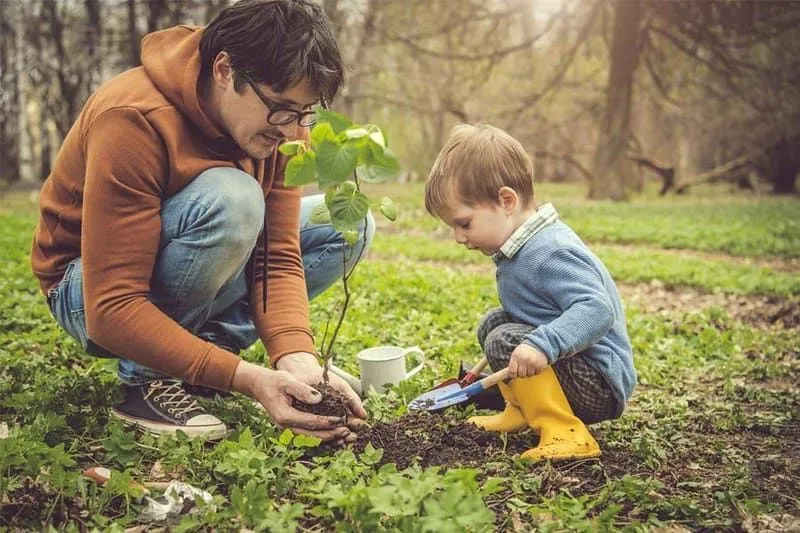
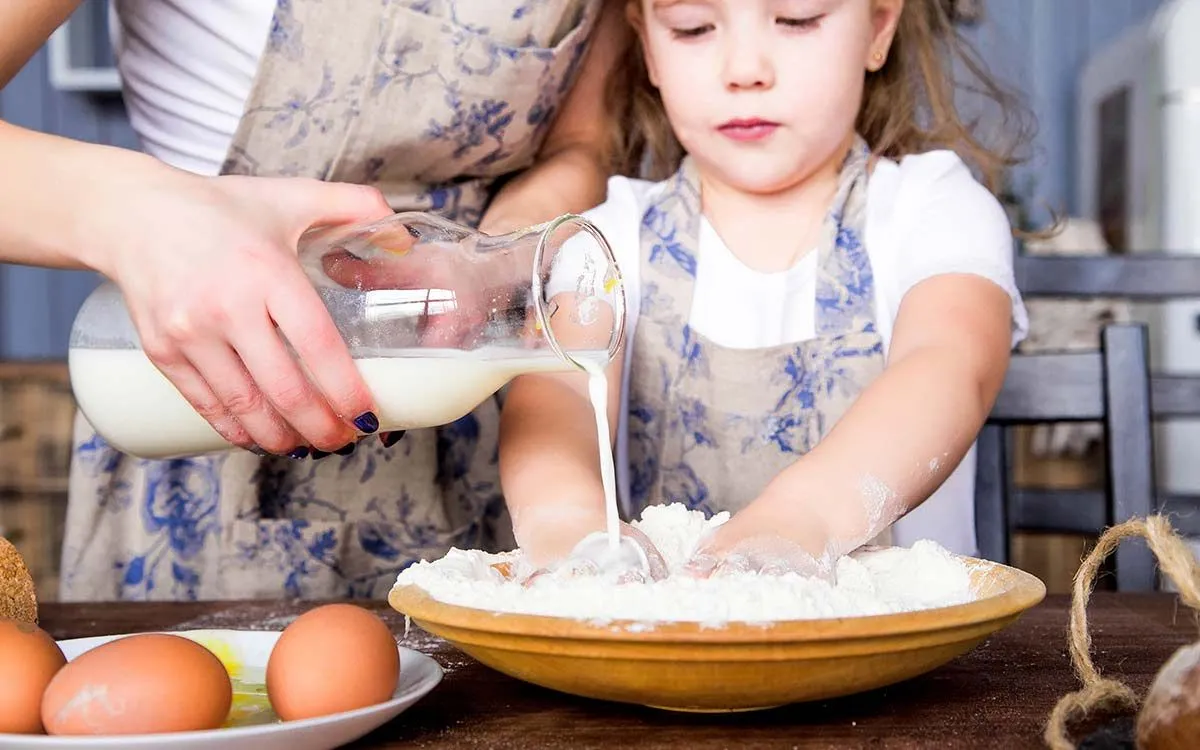
Image © user12006472, under a Creative Commons license.
If every year you aim to make a more impressive birthday cake for your children, we've got a snake birthday cake that will slither right to the top of their favourite ever birthday cakes.
Snake cake ideas can be tricky and require lots of artistic carving, but not this one. This clever cake recipe uses Bundt cake tins to create the perfect snake shape, so no fiddly cutting is required.
Plus, the beauty of this cake is that you can make it as fun and non-scary as you like depending on your child. A more realistic reptile can be made by using green and black food colouring on white marshmallows for its scaly skin.
And don't worry about never using those cake tins again – try our recipe for delicious banana chocolate chip Bundt! If woodland creatures are more your child's cup of tea why not prepare this cute hedgehog cake instead?
For the cake: 450g butter, 400g caster sugar, eight eggs, 450g self raising flour, 130ml milk, 45g cocoa powder, Half a teaspoon of baking powder, two teaspoons of vanilla extract.
For the decoration: 75g desiccated coconut, 300g butter, 600g icing sugar, one tablespoon vanilla extract, green food colouring, yellow food colouring, 300g mini marshmallows or smarties, black gel icing pen, strawberry lace.
Equipment: Two Bundt cake tins, extra large cake board.

Image © prostooleh, under a Creative Commons license.
1) Preheat your oven to 190C/375F/gas mark five. Lightly spray your Bundt tins with oil.
2) Whisk together the butter and sugar and then add in your eggs one at a time, whisking thoroughly. Mix in the flour, baking powder, vanilla extract and 100ml of your milk (keeping 30ml aside). Keep stirring until all the ingredients are combined.
3) Tip out half of the mix into a second bowl. In one bowl add the green food colouring and stir until it's all mixed through. In the second bowl stir in the cocoa powder and the remaining 30ml of milk. Whisk to a batter.
4) Drop alternate spoonfuls of each cake mix into the prepared cake tins until the two mixtures are evenly shared. Use the end of a spoon to swirl the mixes together for a marbled effect. Smooth the top with a spatula and place in the oven.
5) Bake for around 30 minutes. Check it's cooked through by inserting a skewer, it should come out cleanly when it's properly baked. Set to one side to cool for around half an hour. Then carefully run a knife around the edges of the tins to help loosen and turn out on a cooling rack.
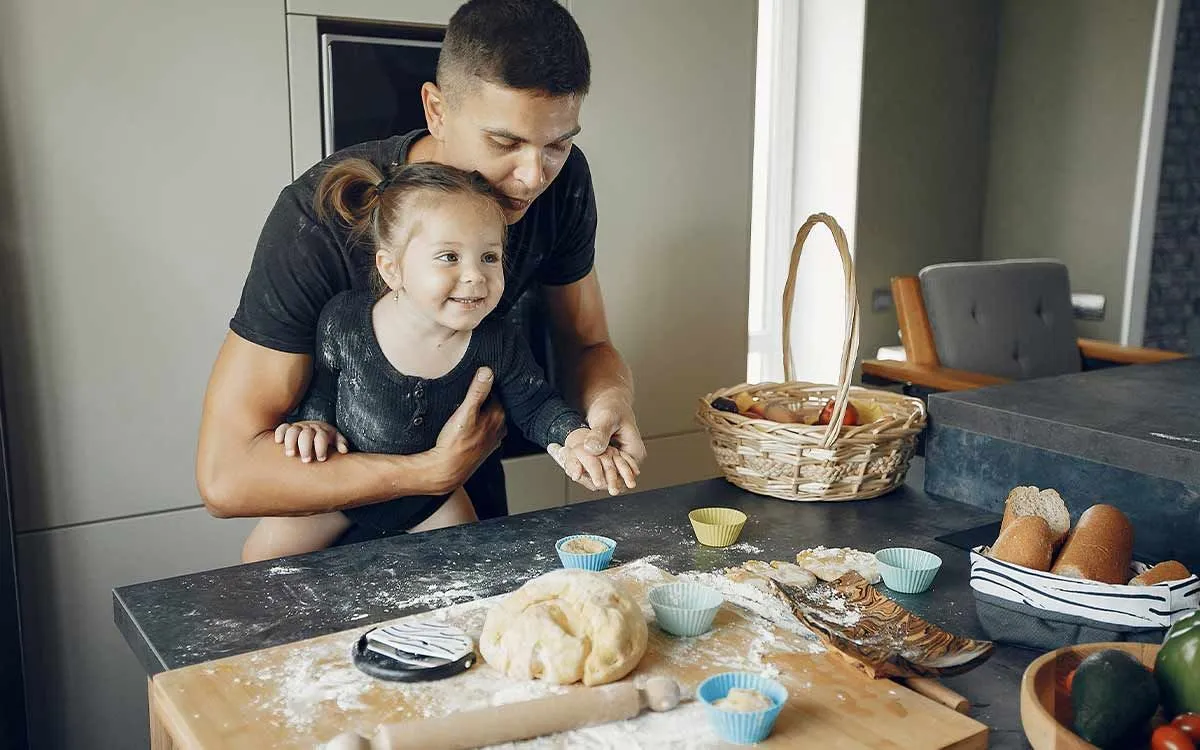
Image © prostooleh, under a Creative Commons license.
6) While it's cooking you can make the grass for your snake cake to rest on. Place the coconut into a bowl with the green food colouring and mix well until the coconut is all coloured green. Now beat your butter until it's soft and fluffy and add the icing sugar a little at a time. When it's all combined, add in the vanilla extract. Set aside around 150g of the icing and add green food colouring.
7) Spread the green butter icing on to your cake board and scatter over the coconut for a 3D grass effect. Stir in the yellow food colouring into the remaining icing and blend well.
8) Once the cakes are cooled you need to cut them to remove around a quarter of each circle. Set the quarters to one side. You can then place your cakes together to make the snake shape so it looks like the letter S. Use a knife to shape one end into a point for the tail.
9) Use one of the reserved quarters to make a head for your snake cake, that is wider than its body. Place the cakes on your large board and decorate with the yellow icing.
10) Lay your marshmallows out into lines and use a rolling pin to flatten them slightly. Now poke them into the icing to make the scales of your snake. As an alternative you can use smarties to create colourful scales. You'll need to work fairly quickly so the icing doesn't dry out too much.
11) Use the icing gel pen to draw small ovals onto the base of two marshmallows. These can be pushed flat into the head for eyes. Finish with a strawberry lace to make the snake's tongue.

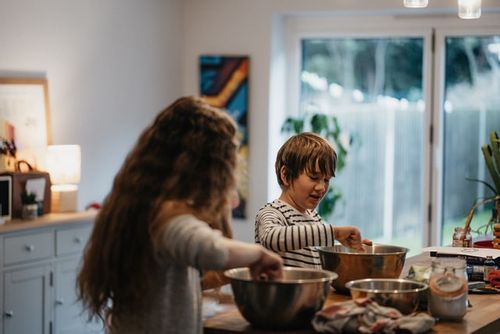
Image © pressfoto, under a Creative Commons license.
If you want a super-speedy snake cake that doesn't even require cutting up just make a batch of cupcakes! Then lay out your cupcakes so they form a snake shape. Use a bigger muffin-sized cake for the head and use a strawberry lace for this tongue and draw on two ices.
Older kids may be more interested in a coiled python cake. For this you'll need to make multiple round cakes and carve out the coils. Look online for some pictures to guide you.
If you know you'll have a birthday party guest who has allergies then switch up your ingredients. You can make the grass with the icing alone and ditch the coconut by using a fork to add the texture. Flour can be swapped for gluten-free varieties too. If you decorate with marshmallows then the cake won't be suitable for vegetarians, so why not use smarties instead.
This cake can be made in advance by up to five days. Keep it in an air-tight container to keep it fresh. Though due to its large size you may find it easier to make the cakes in advance but save the construction and decorating until the big day.
The cake should feed around 20 hungry kids. If you do have any leftovers then slice into portions and wrap tightly in cling film then foil and freeze. They'll keep for up to two months like this.

Cora Lydon is a freelance journalist living in Suffolk with her husband and two children. She’s also a children’s book author who loves finding activities and place to inspire her children. Her dining table bears the scars of many craft activities attempts (many unsuccessful).
Read The Disclaimer
At Kidadl we pride ourselves on offering families original ideas to make the most of time spent together at home or out and about, wherever you are in the world. We strive to recommend the very best things that are suggested by our community and are things we would do ourselves - our aim is to be the trusted friend to parents.
We try our very best, but cannot guarantee perfection. We will always aim to give you accurate information at the date of publication - however, information does change, so it’s important you do your own research, double-check and make the decision that is right for your family.
Kidadl provides inspiration to entertain and educate your children. We recognise that not all activities and ideas are appropriate and suitable for all children and families or in all circumstances. Our recommended activities are based on age but these are a guide. We recommend that these ideas are used as inspiration, that ideas are undertaken with appropriate adult supervision, and that each adult uses their own discretion and knowledge of their children to consider the safety and suitability.
Kidadl cannot accept liability for the execution of these ideas, and parental supervision is advised at all times, as safety is paramount. Anyone using the information provided by Kidadl does so at their own risk and we can not accept liability if things go wrong.
Kidadl is independent and to make our service free to you the reader we are supported by advertising.
We hope you love our recommendations for products and services! What we suggest is selected independently by the Kidadl team. If you purchase using the buy now button we may earn a small commission. This does not influence our choices. Please note: prices are correct and items are available at the time the article was published.
Kidadl has a number of affiliate partners that we work with including Amazon. Please note that Kidadl is a participant in the Amazon Services LLC Associates Program, an affiliate advertising program designed to provide a means for sites to earn advertising fees by advertising and linking to amazon.
We also link to other websites, but are not responsible for their content.
Was this article helpful?
Get inspiration for education!
Subscribe for virtual tools, STEM-inspired play, creative tips and more


Browse Category
·
September 06, 2021


We’ll send you tons of inspiration to help you find a hidden gem in your local area or plan a big day out.


Check your inbox for your latest news from us. You have subscribed to:
Remember that you can always manage your preferences or unsubscribe through the link at the foot of each newsletter.