FOR ALL AGES
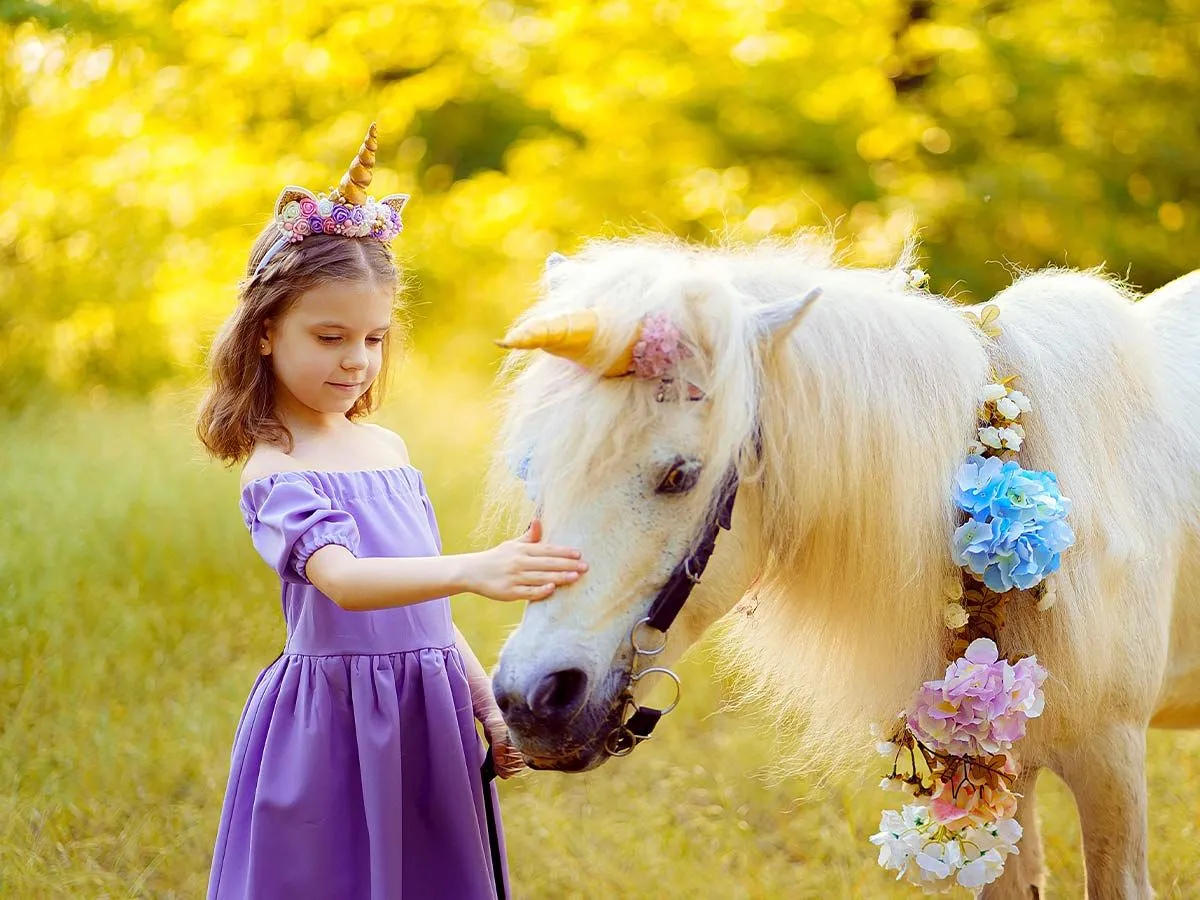
Image © serenko, under a Creative Commons license.
You don't need much to make a unicorn party really magical.
This easy to follow unicorn headband DIY will transform all your little guests into adorable creatures. You don't even need a headband template for this DIY project, all you need is sheets of foam, headbands, a glue gun and some decorations to make a unicorn horn!
There's nothing like a DIY project to get kids excited about arts and crafts. With this unicorn headband project, they can get as creative as they want and really let their personality come through by customising their unicorn horn. Follow the instructions below and you will get the most adorable unicorn headbands for your children.
If you are after more crafting inspiration to create the perfect unicorn party, why not take a look at this easy guide to making an origami unicorn which children are bound to love? To entertain your guests, here is a brilliant list of 46 uniquely hilarious unicorn jokes!
Large foam sheets (9" x 12").
A hot glue gun (to always be used by an adult).
Sharp scissors (to always be used by an adult).
A headband.
Decorations like plastic rhinestones, stickers, glitter glue.

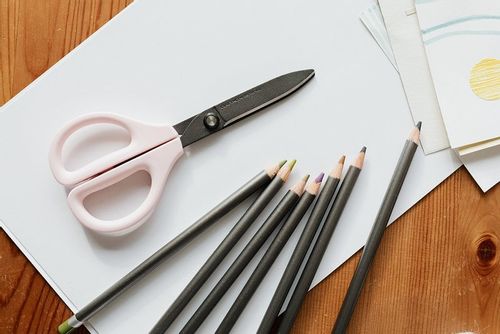
Image © artroomstudio, under a Creative Commons license.
1) Take one foam sheet. Using a ruler and a pencil, draw a diagonal line on the back side of the foam sheet, from the bottom left-hand corner up to the top right-hand corner.
2) With sharp scissors, carefully cut along the line.
3) Roll the triangle of foam into a cone. Keep rolling until the foam is completely rolled up. Roll it quite tightly to mimic the shape of a unicorn horn.
4) With a hot glue gun, glue the cone in place. You could put some glue on the inside of the cone and use the gun to secure the top of the cone in place.
5) An adult using sharp scissors should now trim the bottom of the cone into a straight line so that the cone can stand up on a flat surface.
6) Make a fringe at the bottom of the cone. With the scissors, carefully make little snips of 0.5cm into the base of the cone, every centimetre along the bottom of your unicorn horn.
7) Measure the diameter of your cone with a ruler. From the leftover foam, cut out a circle shape about a centimetre larger in diameter than the bottom of your cone.
8) With the hot glue gun, glue the foam circle to the top of the headband. Then, make a circle of glue on top the foam circle and place the bottom of your cone on top of it. Press it down gently so the fringe sticks to the glue. For extra safety, you can glue each piece of the fringe onto the circle.
9) Now it's time to decorate your unicorn headband! Glue rhinestones onto the cone, paint it a different colour, make patterns with glitter glue, or add some stickers to it for example.
10) If you are feeling creative, you could add unicorn ears to your unicorn headband DIY project. From the leftover foam, cut out two small triangles. Bunch up two of the corners to form an ear shape, then glue the unicorn ears on either side of the unicorn headband.

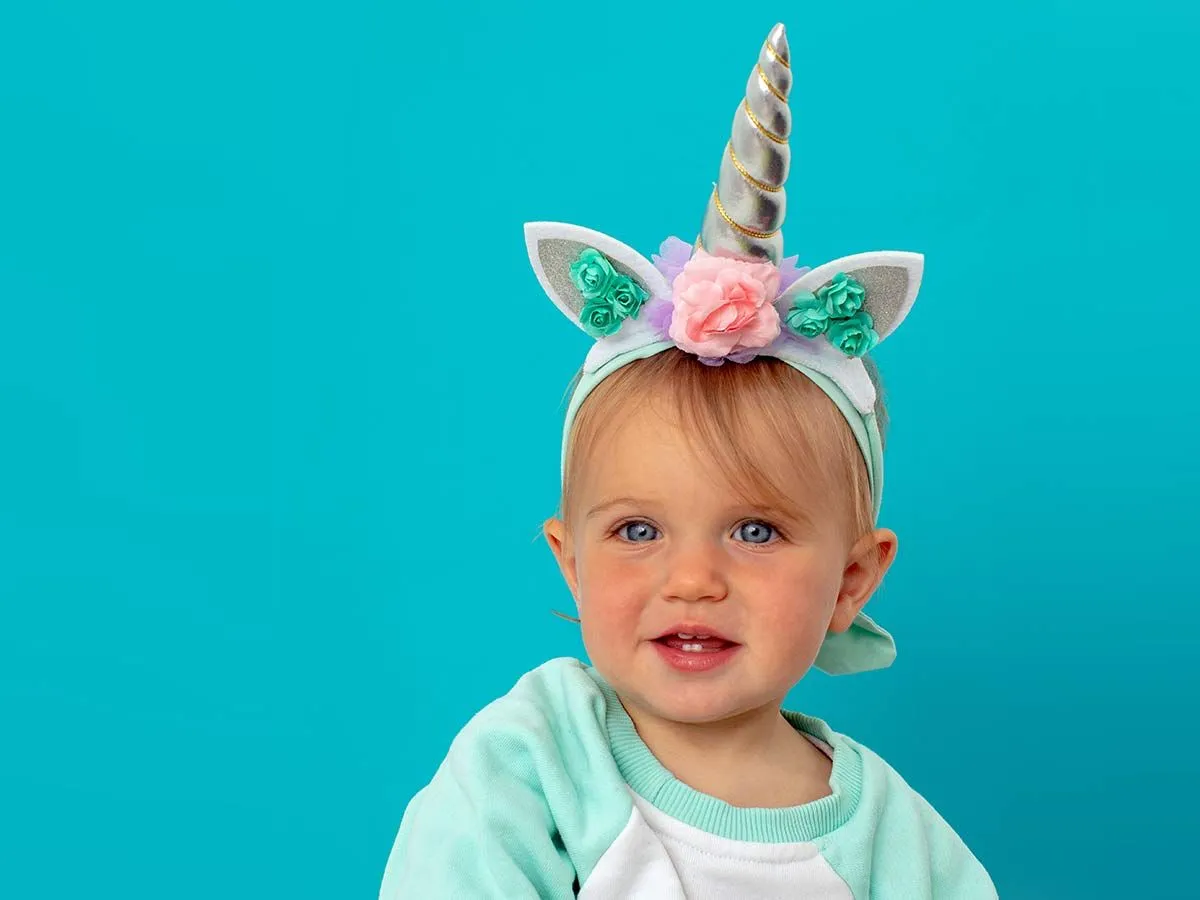
Image © Demkat, under a Creative Commons license.
If you are unable to get large sheets of foam to make a unicorn horn out of, thick paper or thin cardboard can do the trick. Simply follow the same instructions as above with your sheets of cardboard or paper. However, be aware that your DIY unicorn headband will be more fragile if you make it out of paper!
You could make this DIY unicorn project even simpler by transforming a party hat into a unicorn headband: simply paint over the party hats and let the kids customise their unicorn headbands with paint, glitter and stickers!
If you are hosting a unicorn party, you can make a unicorn horn for each guest in advance using this unicorn headband template and prepare a horn for each child at the unicorn party to customise with glitter, stickers, paint and pens! Once your party guests have finished decorating their DIY unicorn horn, they can play inventive pretend games together and really get the unicorn party started!

Image © davit85, under a Creative Commons license.
Adults should be the ones cutting the foam with the sharp scissors and using the hot glue gun to make a unicorn horn.
However, kids as young as three will enjoy customising this unicorn horn DIY with stickers, pens and child-safe paint. Make sure to protect any surfaces with a plastic tablecloth or newspaper so your table and floor don't get too messy! Adult supervision is recommended for this DIY project, as it involves small objects like beads and jewels which present a choking risk.
This unicorn horn headband DIY is perfect for entertaining a birthday party of young kids: prepare one unicorn headband per guest in advance and let the children make their own DIY unicorn horn!
Read The Disclaimer
At Kidadl we pride ourselves on offering families original ideas to make the most of time spent together at home or out and about, wherever you are in the world. We strive to recommend the very best things that are suggested by our community and are things we would do ourselves - our aim is to be the trusted friend to parents.
We try our very best, but cannot guarantee perfection. We will always aim to give you accurate information at the date of publication - however, information does change, so it’s important you do your own research, double-check and make the decision that is right for your family.
Kidadl provides inspiration to entertain and educate your children. We recognise that not all activities and ideas are appropriate and suitable for all children and families or in all circumstances. Our recommended activities are based on age but these are a guide. We recommend that these ideas are used as inspiration, that ideas are undertaken with appropriate adult supervision, and that each adult uses their own discretion and knowledge of their children to consider the safety and suitability.
Kidadl cannot accept liability for the execution of these ideas, and parental supervision is advised at all times, as safety is paramount. Anyone using the information provided by Kidadl does so at their own risk and we can not accept liability if things go wrong.
Kidadl is independent and to make our service free to you the reader we are supported by advertising.
We hope you love our recommendations for products and services! What we suggest is selected independently by the Kidadl team. If you purchase using the buy now button we may earn a small commission. This does not influence our choices. Please note: prices are correct and items are available at the time the article was published.
Kidadl has a number of affiliate partners that we work with including Amazon. Please note that Kidadl is a participant in the Amazon Services LLC Associates Program, an affiliate advertising program designed to provide a means for sites to earn advertising fees by advertising and linking to amazon.
We also link to other websites, but are not responsible for their content.
Was this article helpful?


Browse Category


We’ll send you tons of inspiration to help you find a hidden gem in your local area or plan a big day out.


Check your inbox for your latest news from us. You have subscribed to:
Remember that you can always manage your preferences or unsubscribe through the link at the foot of each newsletter.