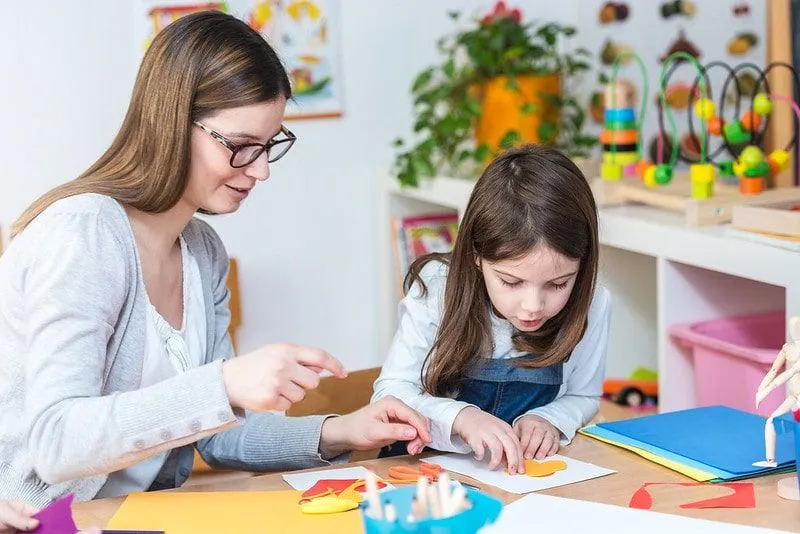
Arts & Crafts
Learn more
Reading & Writing
Learn more
Math & Logic
Learn more
Sports & Active
Learn more
Music & Dance
Learn more
Social & Community
Learn more
Mindful & Reflective
Learn more
Outdoor & Nature
Learn more
FOR ALL AGES

Image © iStock.
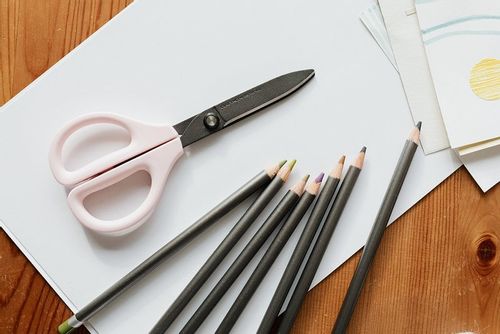
Origami is one of those crafts that can be enjoyed by people of almost any age or skill.
Kids love to make origami as they get to see an object emerge from just a little piece of paper, and adults find the activity really calming and enjoyable - it's an all-round family hit! With these easy to follow instructions parents and children can be rustling up 3D paper foldable cars to play with.
Origami is the Japanese art of folding paper in different ways, to make 3D objects. Its meaning comes from the Japanese words oru (meaning to fold) and kami (paper). Origami has lots of benefits for the brain that will help enhance your child's development: it can improve hand-eye coordination, concentration and memory skills, as well as being a great way to encourage mindfulness. So by spending the time folding paper cars the family will end up with some colourful car origami toys and be super chilled at the same time.

Image © Kerstin
There are several different types of paper cars that can be made, but these origami paper car instructions come from the great origami master and priest Kosho Uchiyama.
Ages: 7+
Materials: A square of paper, colouring pens to decorate.
Method:
Fun origami car idea: If your child is a fan of the movie 'Cars' try creating cars made our of paper in all the colours of the characters of the film. Then use felt tips to draw their eyes, decorations and racing car numbers onto the sides.
Origami decoration idea: Why not make lots of origami cars in different colours then use sticky tape and string to make them into bunting to decorate the house?

Younger sister and older cousin to three under-tens, Persis loves learning new games to play. Having lived in London since the age of eleven, she is always exploring new areas of the city on her bike, visiting different parks and cafes. When not whizzing around London she will undoubtedly be travelling to new corners of the world, lino cutting kit in tow.
Read The Disclaimer
At Kidadl we pride ourselves on offering families original ideas to make the most of time spent together at home or out and about, wherever you are in the world. We strive to recommend the very best things that are suggested by our community and are things we would do ourselves - our aim is to be the trusted friend to parents.
We try our very best, but cannot guarantee perfection. We will always aim to give you accurate information at the date of publication - however, information does change, so it’s important you do your own research, double-check and make the decision that is right for your family.
Kidadl provides inspiration to entertain and educate your children. We recognise that not all activities and ideas are appropriate and suitable for all children and families or in all circumstances. Our recommended activities are based on age but these are a guide. We recommend that these ideas are used as inspiration, that ideas are undertaken with appropriate adult supervision, and that each adult uses their own discretion and knowledge of their children to consider the safety and suitability.
Kidadl cannot accept liability for the execution of these ideas, and parental supervision is advised at all times, as safety is paramount. Anyone using the information provided by Kidadl does so at their own risk and we can not accept liability if things go wrong.
Kidadl is independent and to make our service free to you the reader we are supported by advertising.
We hope you love our recommendations for products and services! What we suggest is selected independently by the Kidadl team. If you purchase using the buy now button we may earn a small commission. This does not influence our choices. Please note: prices are correct and items are available at the time the article was published.
Kidadl has a number of affiliate partners that we work with including Amazon. Please note that Kidadl is a participant in the Amazon Services LLC Associates Program, an affiliate advertising program designed to provide a means for sites to earn advertising fees by advertising and linking to amazon.
We also link to other websites, but are not responsible for their content.
Was this article helpful?
Get inspiration for education!
Subscribe for virtual tools, STEM-inspired play, creative tips and more


Browse Category
·
September 06, 2021


We’ll send you tons of inspiration to help you find a hidden gem in your local area or plan a big day out.


Check your inbox for your latest news from us. You have subscribed to:
Remember that you can always manage your preferences or unsubscribe through the link at the foot of each newsletter.