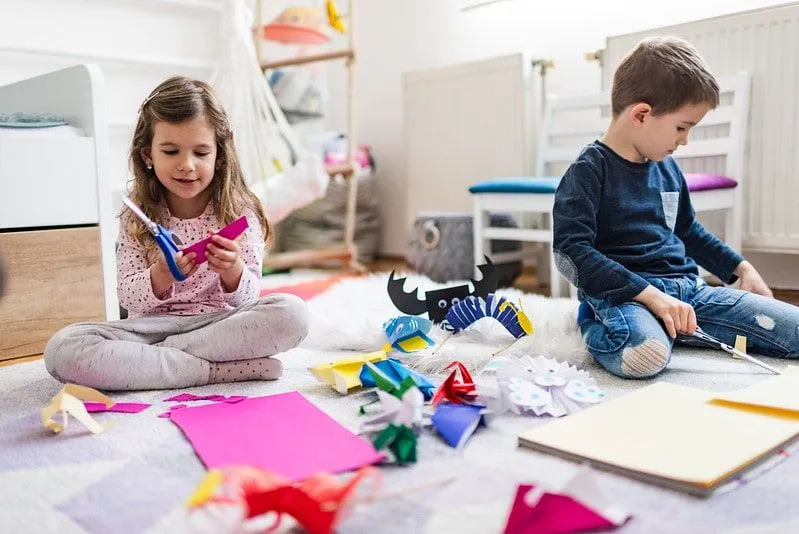
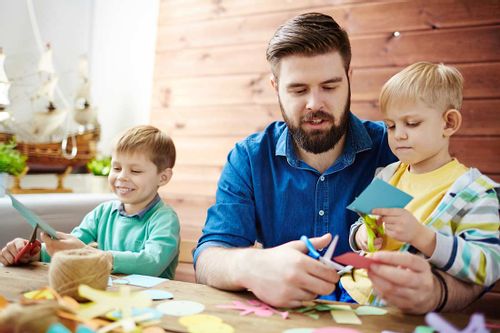
Arts & Crafts
Learn more
Reading & Writing
Learn more
Math & Logic
Learn more
Sports & Active
Learn more
Music & Dance
Learn more
Social & Community
Learn more
Mindful & Reflective
Learn more
Outdoor & Nature
Learn more
FOR ALL AGES
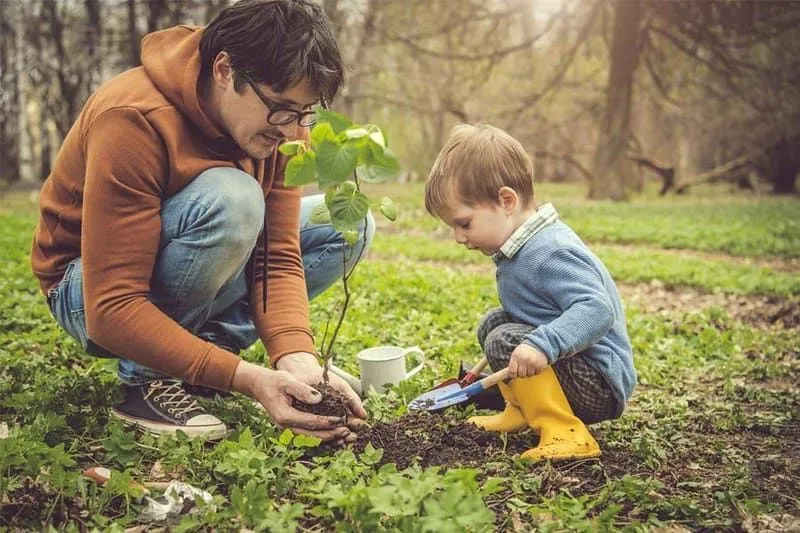
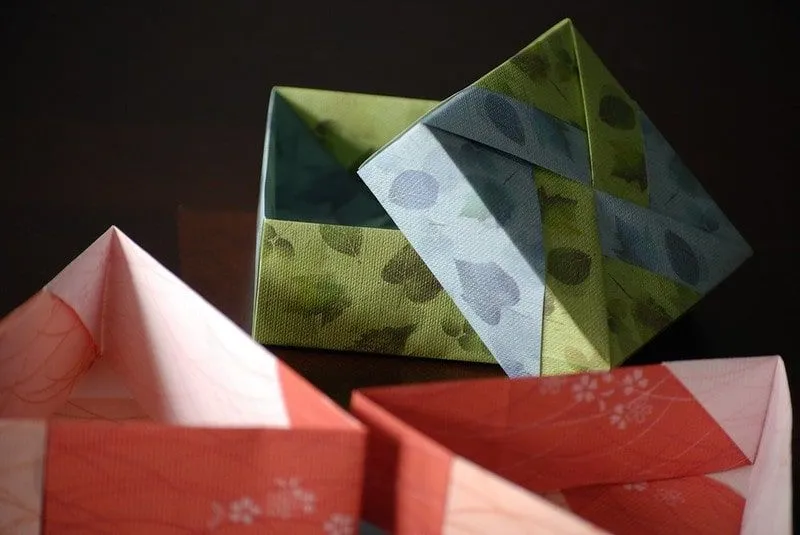
Image © Letterblade, under a creative commons licence.
Origami is the ancient art of folding paper into beautiful structures and is often associated with Japanese culture, although it has roots in other societies also.
This traditional origami gift box is based on masu boxes, which were originally made of wood and used to measure rice. This version uses simple paper folds to create a sturdy box that is perfect for packaging up a gift.
A fantastic craft for children to complete, they can choose which colour or patterned paper they want to use and follow the step by step instructions to create the finished origami box. What's great about this is that not only do they get the sense of achievement of crafting a beautiful origami gift box but they also get to put a smile on the face of whoever they give the gift to.
So, if you are ready, follow our step by step guide on how to make a gift box for the ideal origami gift.
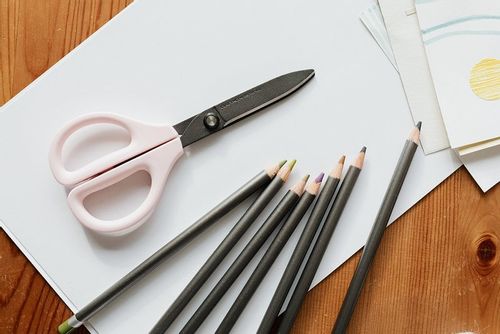
You Will Need: To make one folding gift box you'll need two sheets of origami paper or any other square paper. This can be coloured or patterned, and the paper used for the lid of the box and the bottom of the box doesn't have to match. We think origami paper like this could be great if you're making a gift box for a celebration. Scrapbook paper is a good choice as it is slightly thicker whilst makes a sturdier box. Once your paper is chosen, you are ready to start folding a box.
Step 1: To begin making your origami gift box, take one sheet of paper and put the paper pattern side down. Fold the paper in half horizontally, crease it well and then open the paper back up. Then, fold the paper in half vertically, again, making a crease before unfolding. You should have a cross-crease on your paper.
Step 2: Next, take one corner of the paper and fold it into the middle so it reaches the centre point where the creases you have just made cross over. Repeat this for the other three corners.
Step 3: Rotate your paper 45 degrees so that it is square again and you have a straight line along the top. Fold the top edge down to the centre of the square and make a crease. Repeat this for the bottom edge and then unfold back to how your paper looked at the end of step one.
Step 4: Do the same as you did in step one but this time, folding the paper into the middle from each side. Again, unfold the structure at the end of this step so that it looks as it did at the end of step one.
Step 5: Unfold the top and bottom triangle, leaving the triangles on either side folded in. Take each side of the structure and fold them into the centre. Slowly, pull the structure open on each side from about one-third of the way down. You should begin to see the base of the box forming along with a vertical flap.
Step 6: Fold the vertical flap down into the base of the gift box and press it into place to form an edge of the box. Turn your origami 180 degrees and do the same for the other end to create the fourth and final edge.
Step 7: If you want to make a lid for your origami boxes, there are a couple of ways you can do this. Firstly, you can use a sheet of paper that is slightly bigger than the piece you used to make the base of the box, though this can be difficult if you are using standard origami paper. The other option is to follow the same steps again using square paper apart from in step one when you fold each corner in, you don't do this right to the middle but instead, leave a little bit of space.
Once you have mastered how to make gift boxes you'll be able to use your origami skills to fold boxes whenever you need to plus, you and your children will be able to try to fold a box that is bigger or smaller than the ones you have made before! Although labelled as origami gift boxes, each folded box also makes the perfect place to store small items like paperclips, hair bands, stickers or origami supplies!

Jade is a Londoner by birth but now lives in Lincolnshire and loves the beautiful countryside that is just a step outside her door. Jade has been a primary school teacher for several years, she has an extensive knowledge of the curriculum, toys, games, activities, and learning opportunities for children aged between 3 and 11. She is always seeking out and uncovering new outdoor adventures and educational attractions for when her two wonderful nephews come to stay and loves finding a great deal on an event or a new attraction they haven’t been to before. Jade has a keen interest in science and crafts and loves finding experiments and activities for fun, messy, and engaging things to keep her nephews entertained at home on rainy days.
Read The Disclaimer
At Kidadl we pride ourselves on offering families original ideas to make the most of time spent together at home or out and about, wherever you are in the world. We strive to recommend the very best things that are suggested by our community and are things we would do ourselves - our aim is to be the trusted friend to parents.
We try our very best, but cannot guarantee perfection. We will always aim to give you accurate information at the date of publication - however, information does change, so it’s important you do your own research, double-check and make the decision that is right for your family.
Kidadl provides inspiration to entertain and educate your children. We recognise that not all activities and ideas are appropriate and suitable for all children and families or in all circumstances. Our recommended activities are based on age but these are a guide. We recommend that these ideas are used as inspiration, that ideas are undertaken with appropriate adult supervision, and that each adult uses their own discretion and knowledge of their children to consider the safety and suitability.
Kidadl cannot accept liability for the execution of these ideas, and parental supervision is advised at all times, as safety is paramount. Anyone using the information provided by Kidadl does so at their own risk and we can not accept liability if things go wrong.
Kidadl is independent and to make our service free to you the reader we are supported by advertising.
We hope you love our recommendations for products and services! What we suggest is selected independently by the Kidadl team. If you purchase using the buy now button we may earn a small commission. This does not influence our choices. Please note: prices are correct and items are available at the time the article was published.
Kidadl has a number of affiliate partners that we work with including Amazon. Please note that Kidadl is a participant in the Amazon Services LLC Associates Program, an affiliate advertising program designed to provide a means for sites to earn advertising fees by advertising and linking to amazon.
We also link to other websites, but are not responsible for their content.
Was this article helpful?
Get inspiration for education!
Subscribe for virtual tools, STEM-inspired play, creative tips and more

Browse Category
·
September 06, 2021


We’ll send you tons of inspiration to help you find a hidden gem in your local area or plan a big day out.


Check your inbox for your latest news from us. You have subscribed to:
Remember that you can always manage your preferences or unsubscribe through the link at the foot of each newsletter.