FOR ALL AGES
Image © StockSnap, under a Creative Commons license.
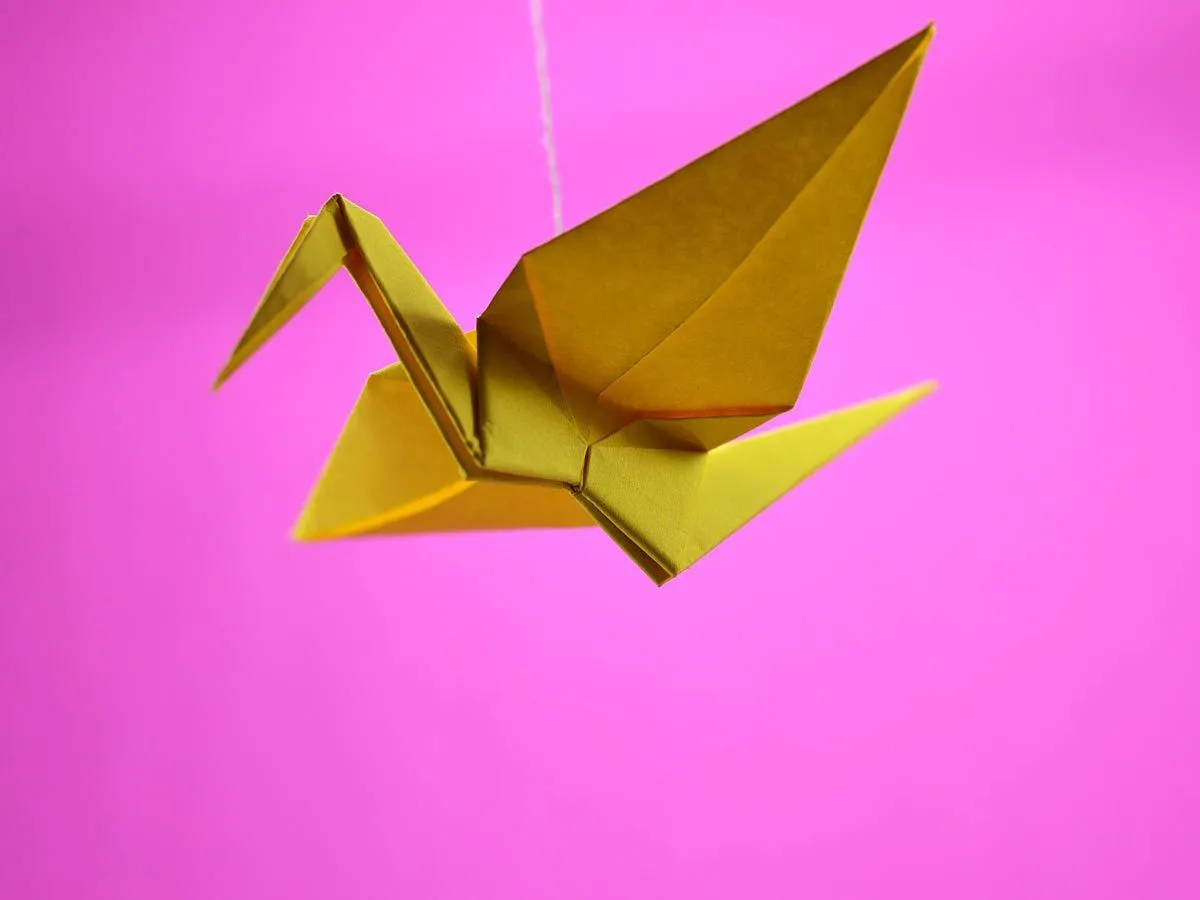
Usually associated with Japan, origami is a folding craft used to create 3D shapes.
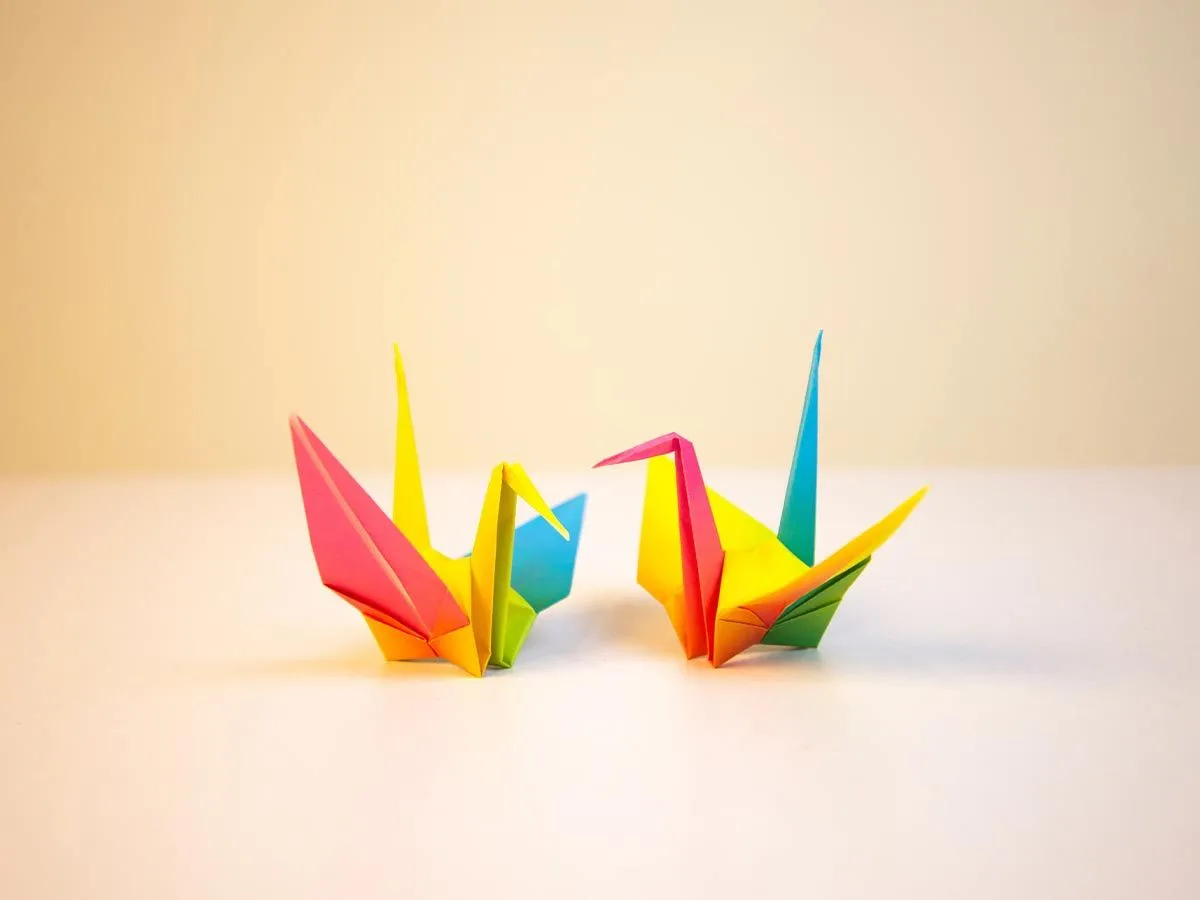
The crane is the most famous origami, but the technique can be used to make anything from a pig to a car or purse. Origami cranes are extremely traditional, and it is even said that folding a thousand of them gives you the right to make a wish.
Origami is a fun craft to learn for everyone, from beginners to super patient people who like a challenge. At its heart, origami is all about the fold. The basic technique of folding paper requires you to fold over and over, slowly sculpting a 3D shape that will hopefully resemble what you set out to make. Kids and adults alike can get stuck into this fun at-home activity that doesn’t require much in terms of materials and can get you results fairly quickly.
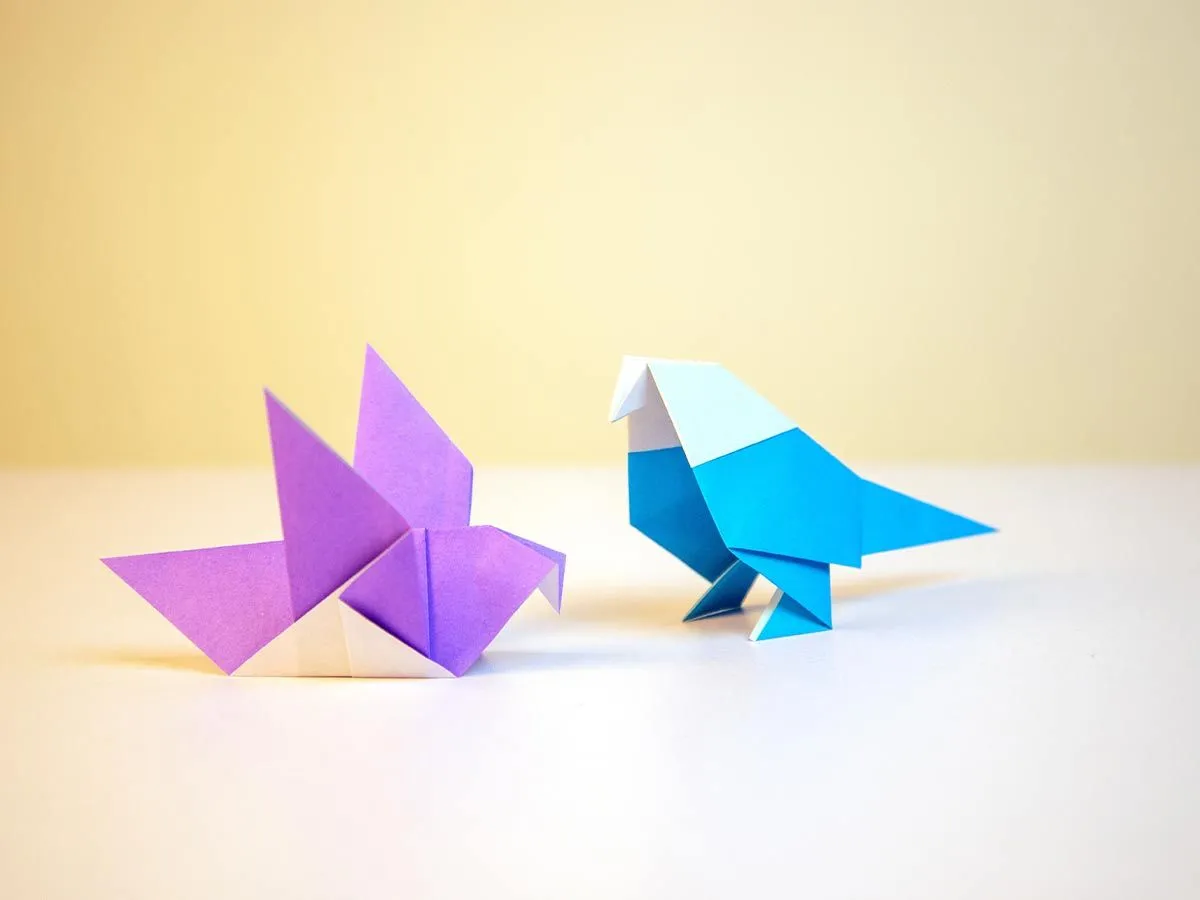
Follow our Kidadl instructions to make an easy origami parrot with the kids.

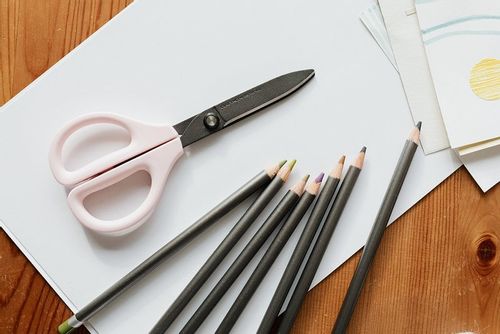
Origami is great as it really doesn’t require any special material to start and enjoy. All you need to create a parrot is:
A square piece of paper. Two-toned origami paper is great but not necessary.
Pen for decorations

1.Take your sheet and place it in front of you with one corner facing you. Fold in half, forming a triangle. Take the fold out to create a crease.
2.Take the side corners and fold them to align with the crease in the centre. Your paper should look like a kite.
3.Turn the kite around and fold back the top triangle.
4.Turn your soon-to-be parrot again with the longest angle pointing down. Fold one corner to the centre, repeat the fold on the other side.
5.Unfold one side of the kite, then fold by bringing up alongside the main crease, using the crease created in the previous step, which is now inside. Do the same on the other side.
6.Take the top of the kite and bring down the flaps you just created. Fold the tips outward.
7.Grab the long side of the kite you’ve ignored until now and fold up, take the same point and fold back out, with a small bit of paper between this fold and the previous one. You should have just created a small “step.”
8.Fold your entire creation in on itself alongside the main crease. You’re almost there! You should clearly see the feet and the tail.
9.Let’s focus on the head of our parrot, this is your last fold. Fold inside, making a bit stick out.
10.Use a pen to draw your parrot’s eyes and here you have it: your origami parrot in all its glory!

This alternative parrot version is not traditional, as it includes a cut. But it is quick and easy and requires less complicated folds than the "traditional" parrot origami above. Here is how to make a parrot, the alternative way.
1.The first step is the same as the above, more traditional version.
2.Take a square piece of paper and fold sideways. Take the fold out to make a crease.
3.Fold the sides to the centre, but this time, do not align with the central crease. The flaps should touch in the middle, nowhere else.
4.Fold in half backwards, with the flaps on the outside and the longest side of the flaps up.
5.Here is your controversial cut! Make an incision on the bottom part, going from about a third of the edge to the middle of the shortest side of the flap.
6.Fold back the triangle created by the cut. Don't forget to fold back both sides! These are the legs of your parrot.
7.Now it’s time to look after the other end of the parrot. Fold the corner towards the flap and unfold to create a crease then fold inside to create the head.
8.To make the beak, fold the tip of the head you’ve just created inside out.
9.Draw your eyes and you’re done with your parrot.
Read The Disclaimer
At Kidadl we pride ourselves on offering families original ideas to make the most of time spent together at home or out and about, wherever you are in the world. We strive to recommend the very best things that are suggested by our community and are things we would do ourselves - our aim is to be the trusted friend to parents.
We try our very best, but cannot guarantee perfection. We will always aim to give you accurate information at the date of publication - however, information does change, so it’s important you do your own research, double-check and make the decision that is right for your family.
Kidadl provides inspiration to entertain and educate your children. We recognise that not all activities and ideas are appropriate and suitable for all children and families or in all circumstances. Our recommended activities are based on age but these are a guide. We recommend that these ideas are used as inspiration, that ideas are undertaken with appropriate adult supervision, and that each adult uses their own discretion and knowledge of their children to consider the safety and suitability.
Kidadl cannot accept liability for the execution of these ideas, and parental supervision is advised at all times, as safety is paramount. Anyone using the information provided by Kidadl does so at their own risk and we can not accept liability if things go wrong.
Kidadl is independent and to make our service free to you the reader we are supported by advertising.
We hope you love our recommendations for products and services! What we suggest is selected independently by the Kidadl team. If you purchase using the buy now button we may earn a small commission. This does not influence our choices. Please note: prices are correct and items are available at the time the article was published.
Kidadl has a number of affiliate partners that we work with including Amazon. Please note that Kidadl is a participant in the Amazon Services LLC Associates Program, an affiliate advertising program designed to provide a means for sites to earn advertising fees by advertising and linking to amazon.
We also link to other websites, but are not responsible for their content.
Was this article helpful?


Browse Category


We’ll send you tons of inspiration to help you find a hidden gem in your local area or plan a big day out.


Check your inbox for your latest news from us. You have subscribed to:
Remember that you can always manage your preferences or unsubscribe through the link at the foot of each newsletter.