FOR ALL AGES
Image © iStock.
Just as dolls have a variety of outfits, they need a variety of shoes to accompany them.
As kids gain awareness and concern for the styles of their dolls, being able to make your own doll shoes helps to create shoes that are unique. Making doll shoes means that you won't need to purchase any of the mass-produced ones out there.
In the process of making, kids will have fun learning about how shoes are made, gaining an introduction to the vital skill of clothes-making. In making custom shoes for dolls, you'll be making a template that will uniquely fit your doll, plus you can use whichever material you like! So grab your paper, fabric or felt and have fun making!
Whether you're looking to make baby doll shoes or shoes for dolls as tall as your child, these patterns will work for either. Here is how to make a shoe for your doll, three ways.
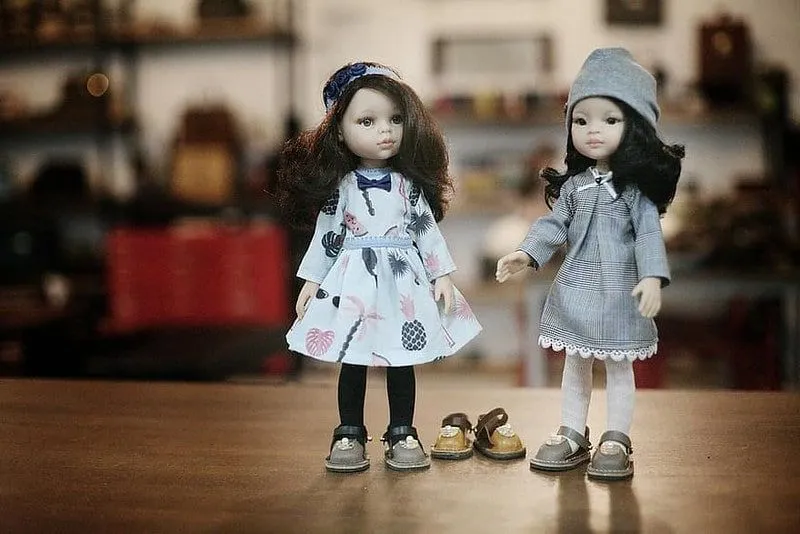
Image © Pikist
You Will Need:
-A large amount of thin, old leather.
-A pencil.
-Sheets of paper (the doll's foot should be able to fit on each one).
-Needle and thread, or a sewing machine.
Method:
1) Trace around one of the doll's feet on paper, using a pencil. With a seam allowance of a quarter of an inch, use this pattern to cut two pieces of leather for the left and right soles.
2) Trace the doll's foot again on paper, adding a seam allowance of half an inch this time.
3) Use the pattern created in step 2 to cut two more pieces of leather, for the top of the left and right shoes.
4) In the bottom half of the leather pieces, cut a small circular hole in each one. The width of the circle should be half the width of the piece of leather you're cutting. These will be for the top part of the slip-on shoes.
5) Sew the top of the leather shoes to the soles of the shoes, using a seam allowance of a quarter of an inch, easing in the fullness of the larger top pieces.
6) Turn the leather shoes right-side in and place on the doll's feet. Adjust or stretch with your fingers and the doll shoes are complete!
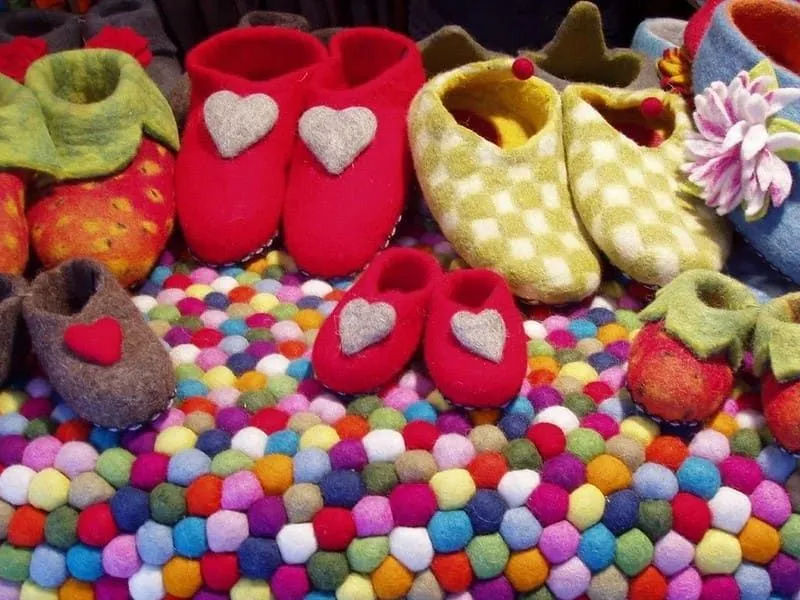
Image © Pikrepo
You Will Need:
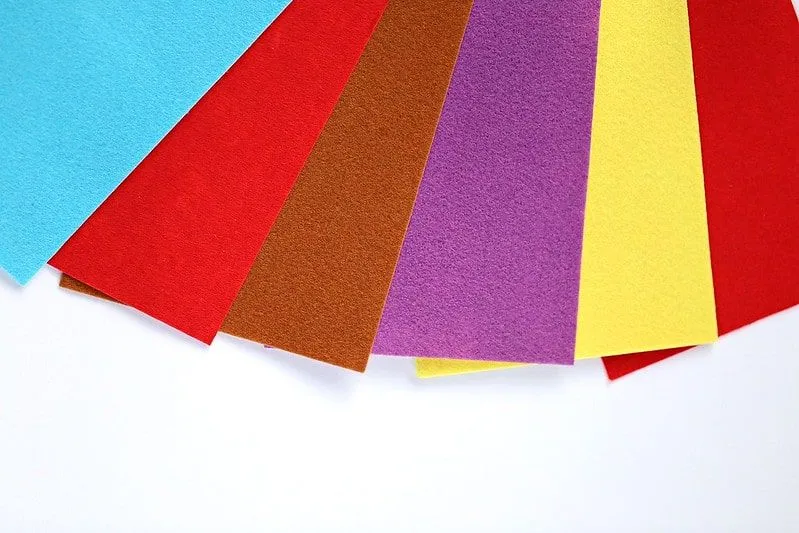
-Felt in any colour you like (it needs to be big enough for both the dolls' feet to stand on, while doubled, and still have some allowance all around it).
-Fine-tip marker.
-Fabric pencil
-Thread and needle, or a sewing machine.
Method:
For Rag Dolls:
1) Place the doll on the doubled felt and trace around both of its feet, roughly an eighth of an inch from the edge of each foot.
2) Stitch along the lines you've just drawn using small stitches, by hand or using a machine.
3) Leaving a small seam allowance, cut each shoe out.
4) Take the scissors and cut notches around the toes, in the seam allowance.
5) Cut a slit on one side of the shoe, down the middle but not all the way - slightly more than halfway.
6) Turn the shoes right-side out.
7) Place the doll's feet in the shoes and tuck each of the front sides in, so that the opening of the shoe on the front of the shoe is neatly folded in.
8) Whipstitch the folded edges of the shoe to each foot. Add some extra stitches at the centre of the opening, to cover the raw edge at the tip.
9) Keep whipstitching all around the foot, tucking any corners in, then create another shoe - your felt doll shoes are complete!
For Non-Fabric Dolls:
1) After drawing around the feet, draw a rectangle that is an eighth of an inch wider than the foot on both sides and half the length of the shoe. The rectangle is connected to the drawing, but an extension of the shoe, behind it.
2) Then cut the shoe out, leaving a small seam allowance, and cut the rectangle off on one side only as this will form the ankle support at the back.
3) Take the scissors and cut notches around the toes, in the seam allowance.
4) Cut a slit on one side of the shoe (on the side that doesn't have a rectangle) down the middle but not all the way - slightly more than halfway.
5) Turn the shoe right-side out.
6) Fold all of the rough edges over slightly, and whip stitch to make the edges of the shoe look neater, stopping at the rectangle.
7) Lift the rectangle and fold it in, so that the parts of it sticking out are tucked into the shoe.
8) Stitch the part of the rectangle that is tucked into the shoe, so that the ankle cover at the back is in place.
9) Whipstitch the edges of the shoe to close any gaps, then fold and stitch the edges to tidy, then make another. You now have a pair of felt doll shoes!
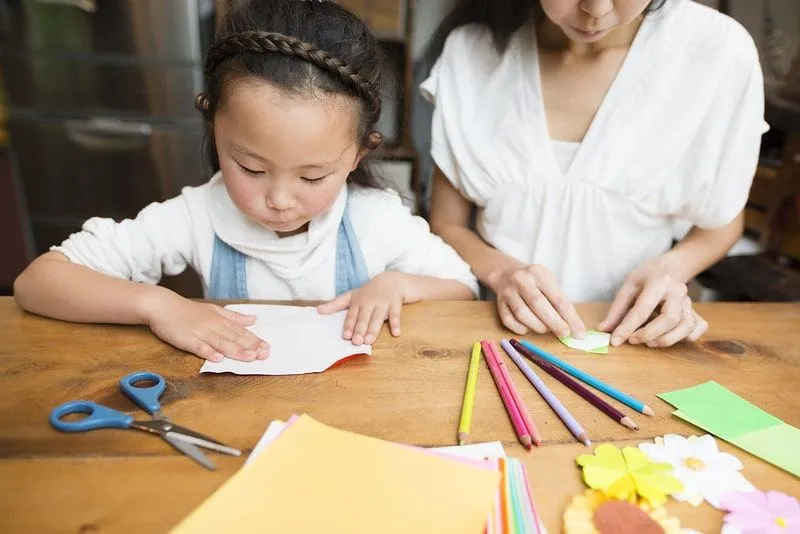
Image © Hakase_/iStock
You Will Need:
-Coloured paper of a size large enough for one foot on one sheet (20 sheets).
-Glue stick.
-Pencil.
Method:
1) Draw around doll's foot on paper, then mark where you want the heeled shoe to bend with a horizontal line across.
2) Glue four pieces of paper together, then glue the paper with the foot on top.
3) Place the doll's foot in place again and bend the sheets to fit the shape of the foot, then let dry.
4) Once dry, cut out the shape of the foot from all of the sheets to create a thicker sole.
5) Take two pieces of paper and glue them together, then let dry.
6) Cut two horizontal strips from the combined paper, which will be used for the doll shoes' straps.
7) Take the first strip and glue one end to the sole, then wrap it around the shoe and glue to the other end of the shoe.
8) Before the glues strap dries, place the doll inside the shoe and adjust the strap, then trip off any excess so that the strap is neatly glued to the sole, with no overlap from the ends of the strap.
9) With the doll's foot still in the shoe, proceed to glue the second strap onto the shoe, just before the doll's ankle.
10) Allow the straps to dry.
11) Take another sheet of paper and apply glue to it generously, then attach to the sole of the foot, covering the ends of the straps. Let dry.
12) Cut around the shoe to get rid of the excess paper.
13) Roll a tube of paper until its diameter is the width of the back part of the foot. Then glue the paper so hold the roll in place.
14) Lay the tube flat and place the foot above it, marking off the angle and height of the heel, then cut the heel away from the tube.
15) Glue the heel to the shoe, then make another and your paper doll shoes are complete!
Read The Disclaimer
At Kidadl we pride ourselves on offering families original ideas to make the most of time spent together at home or out and about, wherever you are in the world. We strive to recommend the very best things that are suggested by our community and are things we would do ourselves - our aim is to be the trusted friend to parents.
We try our very best, but cannot guarantee perfection. We will always aim to give you accurate information at the date of publication - however, information does change, so it’s important you do your own research, double-check and make the decision that is right for your family.
Kidadl provides inspiration to entertain and educate your children. We recognise that not all activities and ideas are appropriate and suitable for all children and families or in all circumstances. Our recommended activities are based on age but these are a guide. We recommend that these ideas are used as inspiration, that ideas are undertaken with appropriate adult supervision, and that each adult uses their own discretion and knowledge of their children to consider the safety and suitability.
Kidadl cannot accept liability for the execution of these ideas, and parental supervision is advised at all times, as safety is paramount. Anyone using the information provided by Kidadl does so at their own risk and we can not accept liability if things go wrong.
Kidadl is independent and to make our service free to you the reader we are supported by advertising.
We hope you love our recommendations for products and services! What we suggest is selected independently by the Kidadl team. If you purchase using the buy now button we may earn a small commission. This does not influence our choices. Please note: prices are correct and items are available at the time the article was published.
Kidadl has a number of affiliate partners that we work with including Amazon. Please note that Kidadl is a participant in the Amazon Services LLC Associates Program, an affiliate advertising program designed to provide a means for sites to earn advertising fees by advertising and linking to amazon.
We also link to other websites, but are not responsible for their content.
Was this article helpful?


Browse Category


We’ll send you tons of inspiration to help you find a hidden gem in your local area or plan a big day out.


Check your inbox for your latest news from us. You have subscribed to:
Remember that you can always manage your preferences or unsubscribe through the link at the foot of each newsletter.