FOR ALL AGES
Image © lenahelfinger, under a Creative Commons license.
You may think learning how to make a stamp is difficult: in fact, below are three different stamp carving methods to create your own stamp design!
This speedy stamps craft is the perfect way to keep your children occupied. They can make beautiful art with personalised stamps! You can design your own stamp to represent absolutely anything thanks to these easy guides to make your own stamp.
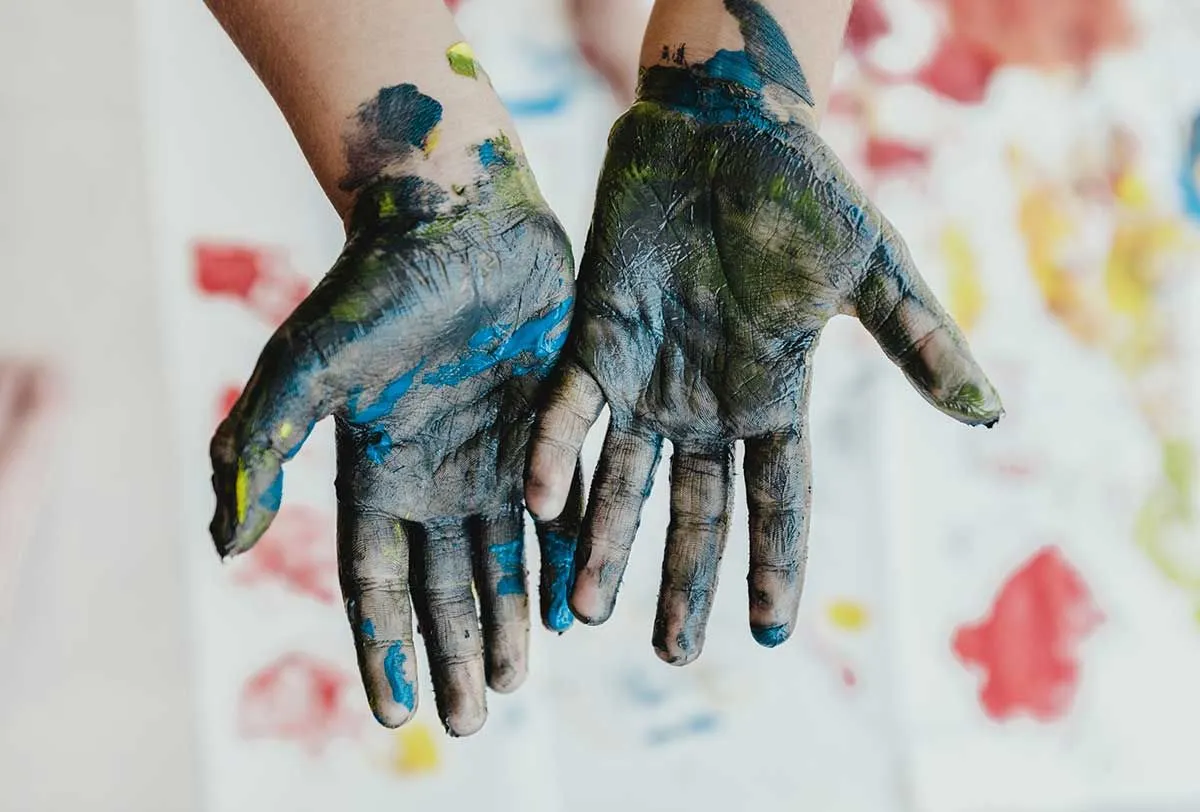
While adults will need to do the carving and cutting required to make the stamps, children can have a blast using ink and paint to create pictures from these handmade creations.
If you are after more ideas to entertain your kids in a creative way, take a look at these Minion crafts or these great recycled craft ideas!

Ages: For both of these methods, adults should do the carving as it involves sharp knives. However, children as young as three can have fun using these craft stamps to create beautiful art!
Materials needed: some potatoes (the larger the better), a knife or carving tool (or cookie cutters for the second method), an ink pad or paint and brushes, paper
Method 1:
1) Cut each potato in half, either length-wise or width-wise depending on the size of your design.
2) With your tool, carve out the outline of your design into the flesh of the potato. Then, carve the surface of the potato around your image so that it sticks out. For this stamping method, I would suggest choosing fairly simple designs as carving the surface of the potato can prove a bit tricky. You could try a heart, a star, or other geometric shapes for example!
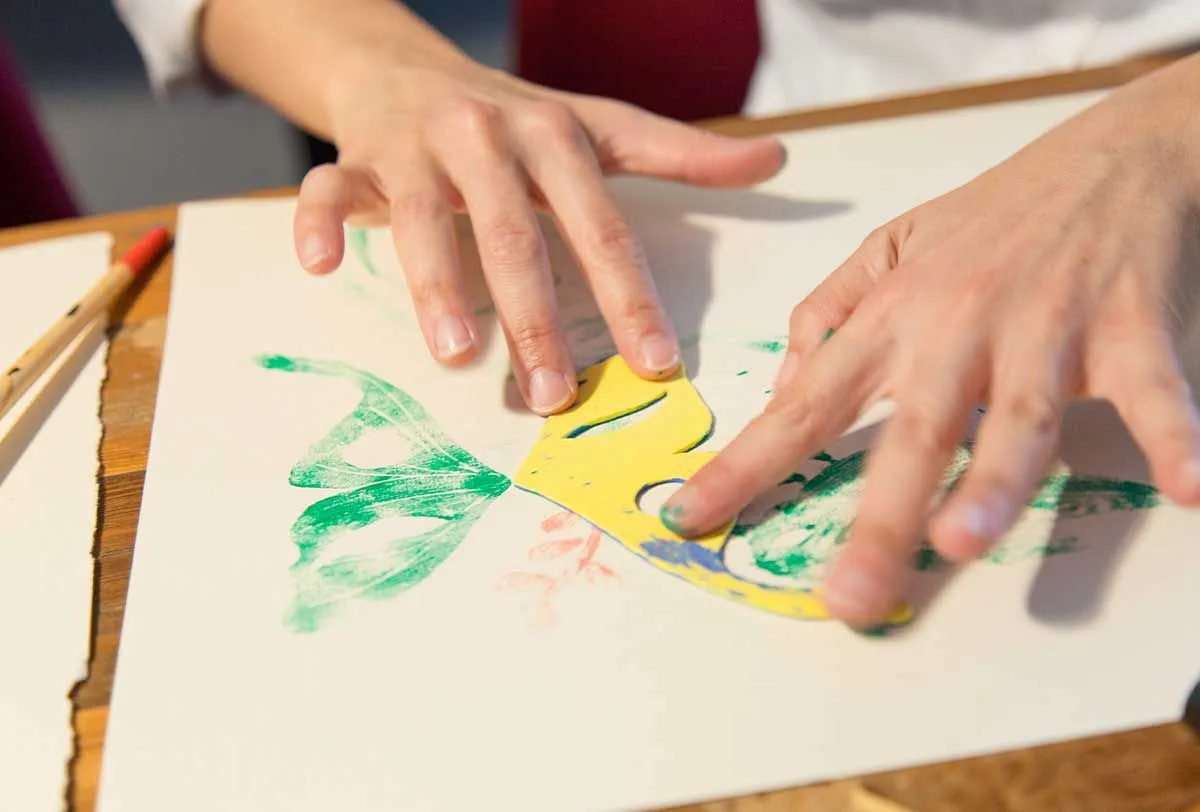
3) Place your stamp onto the ink pad, or cover it with paint using the paintbrush. Once it is entirely covered in ink or paint, place the stamp onto your paper and press hard on it for a few seconds. Remove it from the paper and you should see your image appear!
Method 2:
1) Cut each potato in half, either length-wise or width-wise depending on the size of your design.
2) Select a cookie cutter that fits on the flat surface of the potato. We suggest using a fairly simple design as you will need to carve around it. Place the cutter on the potato flesh and press it down a few millimetres. With a knife or carving tool, carve around the cutter so that the design sticks out. Remove the cutter, and your DIY stamp is ready.
3) In order to print your image, place your stamp onto the ink pad or cover it with paint using a paintbrush. When it is covered in ink or paint, place the stamp onto your paper and press it down hard for a few seconds. Remove it from the paper and admire the results.

Alternatives And Tips:
Instead of potatoes, you can use a variety of other vegetables with a similar consistency! Think carrots, sweet potatoes, parsnips, ... You can use whatever vegetable or fruit you have in your pantry to make your own stamp!
As they are made from fresh vegetables, these stamps can only be used for a few hours before they dry out: discard them in a bin once you are done with them.
Ages: Adults should do the carving part of this craft as it involves sharp objects and glue, but children as young as three can have fun creating images using these custom stamps and paint or ink!
Materials needed: thin sheets of foam, some thick cardboard, some strong glue, a sharp knife or carving tool, an ink pad or paint and brushes, paper
Method:
1) Draw the outline of your design onto the foam. As there is no limitation in size (apart from the size of your ink pad), you can create a large stamp or more elaborate things like a name stamp.
2) Cut out your design from the foam and cut a chunk of thick cardboard which fits your stamp, with a little extra space on the sides. This will be your stamp holder. Glue your foam onto the cardboard holder with strong glue, and wait for it to dry.
3) Your custom stamp is ready to use! Cover it in ink or paint and press it down onto a piece of paper to watch your image or message appear. These stamps can be cleaned with tissue paper and used as many times as desired.

Ages: Adults should do the carving part of this craft as it involved sharp objects, but children as young as three can have fun creating images using these custom stamps and paint or ink!
Materials needed: some rubber or unused gum erasers, a knife or carving tool, an ink pad or paint and brushes, paper
Method:
1) Cut out a piece of rubber or select an eraser. Draw the outline of your chosen image onto it. As erasers are generally small and there is carving involved, we would suggest a fairly simple design like a geometric shape.
2) Carve out along the outline of your image with your knife or carving tool until it sticks out of the eraser or rubber by a few millimetres.
3) Your rubber stamp is ready to use. Place it in ink or cover it with paint before placing it onto paper. Press down on it hard for a few seconds and watch your image appear.
Use child-friendly, non-toxic paint if younger children are going to be using these stamps.
Cover up surfaces with protective sheets or newspaper to avoid creating a huge mess.
For all of these crafts, you can test how well your ink stamps are working by giving them a try on scrap paper.
Read The Disclaimer
At Kidadl we pride ourselves on offering families original ideas to make the most of time spent together at home or out and about, wherever you are in the world. We strive to recommend the very best things that are suggested by our community and are things we would do ourselves - our aim is to be the trusted friend to parents.
We try our very best, but cannot guarantee perfection. We will always aim to give you accurate information at the date of publication - however, information does change, so it’s important you do your own research, double-check and make the decision that is right for your family.
Kidadl provides inspiration to entertain and educate your children. We recognise that not all activities and ideas are appropriate and suitable for all children and families or in all circumstances. Our recommended activities are based on age but these are a guide. We recommend that these ideas are used as inspiration, that ideas are undertaken with appropriate adult supervision, and that each adult uses their own discretion and knowledge of their children to consider the safety and suitability.
Kidadl cannot accept liability for the execution of these ideas, and parental supervision is advised at all times, as safety is paramount. Anyone using the information provided by Kidadl does so at their own risk and we can not accept liability if things go wrong.
Kidadl is independent and to make our service free to you the reader we are supported by advertising.
We hope you love our recommendations for products and services! What we suggest is selected independently by the Kidadl team. If you purchase using the buy now button we may earn a small commission. This does not influence our choices. Please note: prices are correct and items are available at the time the article was published.
Kidadl has a number of affiliate partners that we work with including Amazon. Please note that Kidadl is a participant in the Amazon Services LLC Associates Program, an affiliate advertising program designed to provide a means for sites to earn advertising fees by advertising and linking to amazon.
We also link to other websites, but are not responsible for their content.
Was this article helpful?


Browse Category


We’ll send you tons of inspiration to help you find a hidden gem in your local area or plan a big day out.


Check your inbox for your latest news from us. You have subscribed to:
Remember that you can always manage your preferences or unsubscribe through the link at the foot of each newsletter.