Arts & Crafts
Learn more
Reading & Writing
Learn more
Math & Logic
Learn more
Sports & Active
Learn more
Music & Dance
Learn more
Social & Community
Learn more
Mindful & Reflective
Learn more
Outdoor & Nature
Learn more
FOR ALL AGES
Home science projects are a brilliant way for you to help your children understand the world, and support their learning - and they don't need to be complicated or involve new or expensive equipment.
Teaching your children which things are soluble in water and which aren't helps them understand new scientific concepts such as 'solubility', 'solids', 'solvent' and 'solution'. They'll also be able to answer questions such as "Is sand soluble in water?'
Luckily, your kitchen and home are already packed with soluble materials that can help your kids get a grasp on which things dissolve, and which don't.
A soluble substance is one that dissolves in a liquid, usually water. It might look like it's simply disappeared, but in fact, it's still there - it's just mixed in to form a liquid called a 'solution'.
The solid that dissolves is called the 'solute'. The liquid that dissolves the solute is called the 'solvent'.
An insoluble substance is a solid that doesn't dissolve, even if you warm up the water.
Does sand dissolve in water? Is flour soluble in water? The following experiment will help your children answer these questions, and understand exactly what solubility means.
Materials Needed
Try a variety of the following:
Salt
Sugar
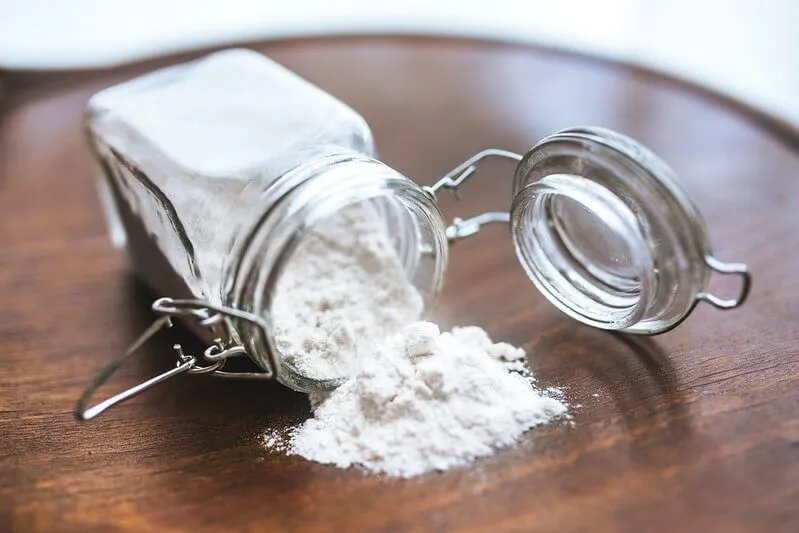
Flour
Ground black pepper
Play sand
Coffee granules and/or coffee grounds
Jelly cubes
Ground chalk
Loose tea
Clear beakers or plastic cups
Clean teaspoons
Warm water
Protective clothing such as an apron, to save clothes from getting messy
Step one - Make A Prediction
First, ask your child to predict which substances will be good at dissolving. It can be fun to draw up a simple table with different headings so you can see clearly your results at the end of the experiment.
For example, use these headings:
Name of substance: eg salt, sand
Do you think it will dissolve? Yes or No.
Did it dissolve in cold water? Yes or No.
Did it dissolve in warm water? Yes or No.
Were there any other changes you noticed - eg a change in colour?
Result: the substance is Soluble or Insoluble
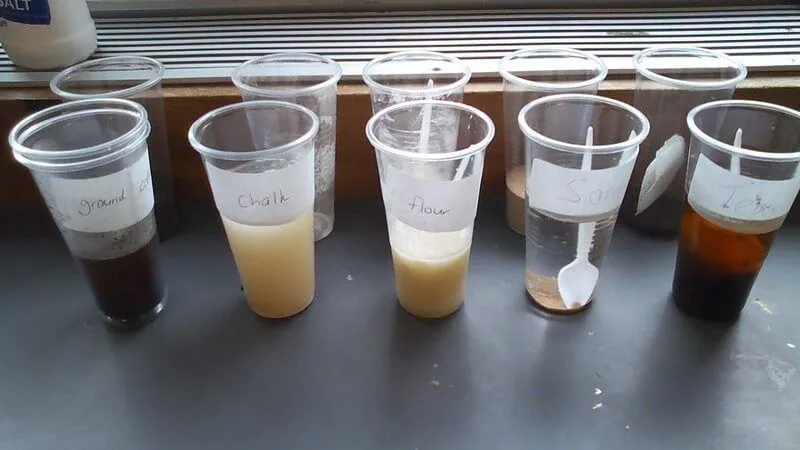
Step Two - The Experiment
Fill a selection of plastic cups or beakers with warm, but not hot, tap water. Clear ones are best, as you will be able to see what's going on better.
Using a clean teaspoon, transfer a heaped teaspoon of your chosen substance into the water to test its solubility. Give it a good stir.
Watch together to see if it will dissolve in water. Get your kids to note their observations. Does the water stay clear? Does the substance sink to the bottom or swirl around?
Repeat the process for each substance, and record the results. Try to use the same amount of liquid and solid for each thing, so your results are fair.
Repeat the experiment again with cold water. What differences do your kids notice this time, if any? Did some substances not dissolve as easily this time? They could also try recording how long dissolving takes at different temperatures.
Have a chat with your kids about the results. Were there any that surprised them?
They will have found that things like sand, pepper, coffee grounds, tea leaves and chalk dust don't dissolve, even in warm water. It's likely they simply sank to the bottom of the cups or floated around in the water, and you can still clearly see them.
However, they should have discovered that the salt, sugar and coffee granules all dissolved, forming a solution.
Here the big crystals (eg of sugar) will have broken down in the water, changing from large clumps of molecules into smaller groups of molecules, that mix more freely with the water. (Molecules are the very smallest unit of something.)
Your children probably found soluble substances like sugar and the jelly cubes dissolved more easily in the warm water. This is because the molecules in hot water have more energy than in cold, and move around faster. This helps break down the big clumps of molecules in a solute into smaller ones more quickly.
Smaller particles also tend to dissolve more quickly than bigger ones - so, for example, you might find that granulated sugar dissolves more slowly than finer caster sugar.
You might also have found that stirring helped certain items dissolve more quickly. This is because it helps distribute the particles - like those in salt - more evenly around the water, boosting solubility.
One unexpected result might be finding that flour doesn't dissolve - instead, it will have turned the water murky or cloudy.
Solutions are always clear - so if the solvent goes cloudy, that means you've created a suspension instead, where the particles are more spread out in the water, but the molecules haven't broken down into smaller components. If you filter a suspension, then you can recover the particles from the solvent - but you can't do that with a solution. Here you would need to evaporate the water to recover the solute (that one's a project for when your kids are older!).

Born and living in London, Cheryl loves fun family trips to museums, art galleries, the theatre and city parks with her two kids, 11 and 6. She's a bookworm who also loves nature, cycling, drawing, and checking out the very best local foodie spots!
Read The Disclaimer
At Kidadl we pride ourselves on offering families original ideas to make the most of time spent together at home or out and about, wherever you are in the world. We strive to recommend the very best things that are suggested by our community and are things we would do ourselves - our aim is to be the trusted friend to parents.
We try our very best, but cannot guarantee perfection. We will always aim to give you accurate information at the date of publication - however, information does change, so it’s important you do your own research, double-check and make the decision that is right for your family.
Kidadl provides inspiration to entertain and educate your children. We recognise that not all activities and ideas are appropriate and suitable for all children and families or in all circumstances. Our recommended activities are based on age but these are a guide. We recommend that these ideas are used as inspiration, that ideas are undertaken with appropriate adult supervision, and that each adult uses their own discretion and knowledge of their children to consider the safety and suitability.
Kidadl cannot accept liability for the execution of these ideas, and parental supervision is advised at all times, as safety is paramount. Anyone using the information provided by Kidadl does so at their own risk and we can not accept liability if things go wrong.
Kidadl is independent and to make our service free to you the reader we are supported by advertising.
We hope you love our recommendations for products and services! What we suggest is selected independently by the Kidadl team. If you purchase using the buy now button we may earn a small commission. This does not influence our choices. Please note: prices are correct and items are available at the time the article was published.
Kidadl has a number of affiliate partners that we work with including Amazon. Please note that Kidadl is a participant in the Amazon Services LLC Associates Program, an affiliate advertising program designed to provide a means for sites to earn advertising fees by advertising and linking to amazon.
We also link to other websites, but are not responsible for their content.
Was this article helpful?
Get inspiration for education!
Subscribe for virtual tools, STEM-inspired play, creative tips and more


Browse Category
·
September 06, 2021


We’ll send you tons of inspiration to help you find a hidden gem in your local area or plan a big day out.


Check your inbox for your latest news from us. You have subscribed to:
Remember that you can always manage your preferences or unsubscribe through the link at the foot of each newsletter.