Arts & Crafts
Learn more
Reading & Writing
Learn more
Math & Logic
Learn more
Sports & Active
Learn more
Music & Dance
Learn more
Social & Community
Learn more
Mindful & Reflective
Learn more
Outdoor & Nature
Learn more
FOR ALL AGES

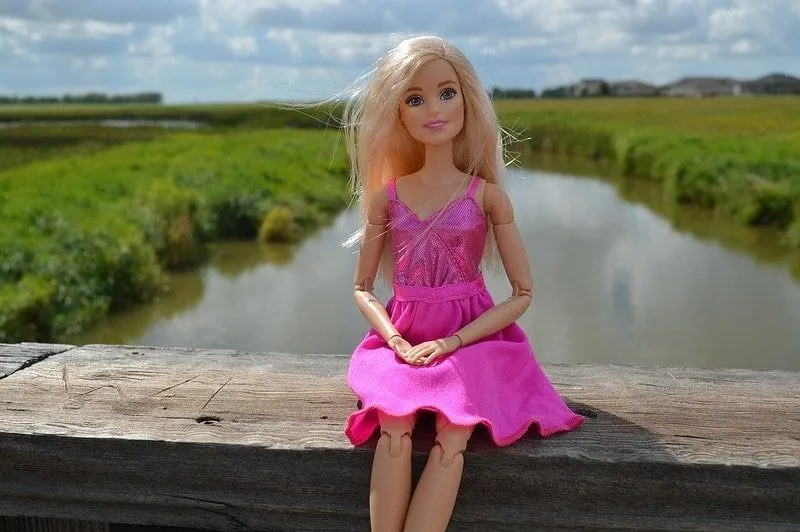
Image © Wallpaperflare.
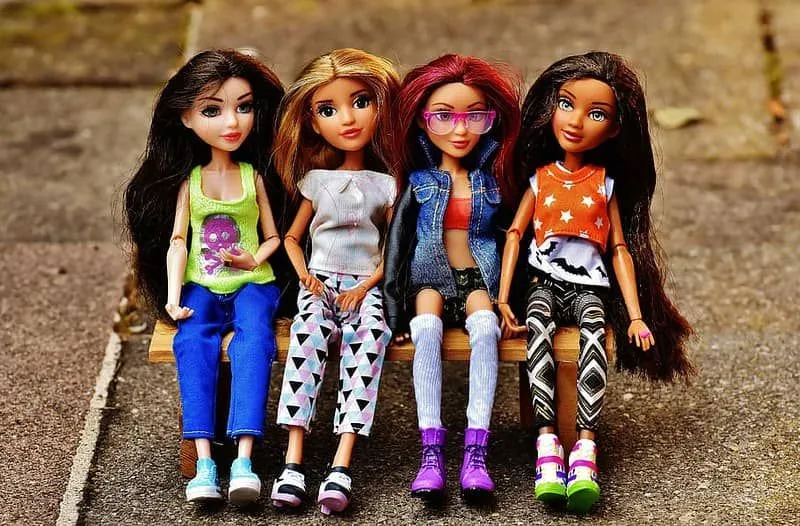
For parents of kids with a variation of Barbie and other fashion dolls in their household, you'll know that the need for new outfits is essential.
Why spend lots of money on the Barbie t-shirt here and the Barbie top there when you can make your own? Making doll clothes is a creative, convenient and quick activity for kids to get involved in - and it saves money!
Perfect for the budding fashion designer, making DIY Barbie clothes is a great way for kids to learn about how clothes are made. They're also great fun because kids can use the materials they have at home and have full creative freedom with colours and fabrics! Plus, the little ones aren't too young to learn - we've got some fantastic clothes patterns for Barbie that you can make without a sewing machine.
For the traditional Barbie, outfits consisted of the most stylish skirts, dresses, and blouses. They varied in style and were flattering and elegant - with lots of pink! A more modern Barbie can be found in jeans and shorts too. Take a look at these easy skirts tops to sew, plus plenty of no-sew options.
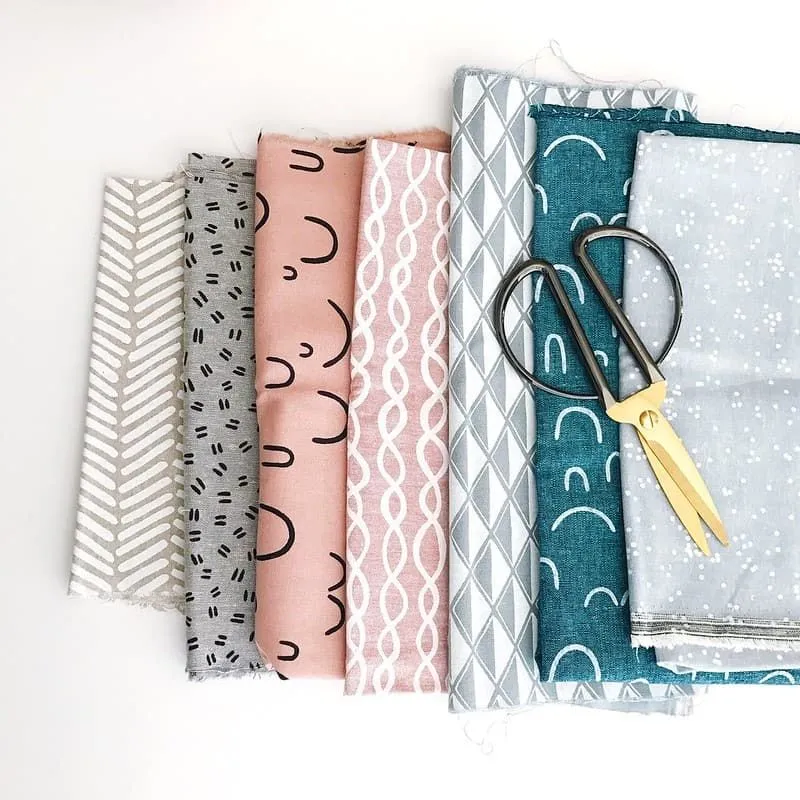
With sewing patterns for doll clothes in abundance on the web, there are many easy tops and skirts to sew for Barbie. However, it's even easier to make Barbie doll outfits without a sewing machine, just grab some fabric scraps and with a few cuts and folds, your fashion doll will have a stylish new outfit in no time. Plus, there's more opportunity for under-10s to lend a hand with Barbie doll clothes when there isn't a machine.

The first of our Barbie clothes patterns is a simple no-sew crop top and skirt pattern. Have kids choose their favourite stretch colour and enjoy creating this stylish top and skirt pattern!
Ages: 5+
Materials Needed:
-Stretching, non-frying fabric.
-Scissors.
Method:
For the skirt:
-Draw a large circle on the fabric using a plate.
-Fold the fabric into quarters.
-Snip 1cm off the tip so that the circle has a tiny hole in the middle. Or, snip a larger hole and sew on some elastic for a pleated skirt!
For the crop top:
-Cut a thin strip of fabric, about an inch wide, and wrap it around Barbie's bust for the top. Tie the fabric at the back and cut off any excess fabric, or sew the ends together using the zigzag pattern, for a cleaner finish.
This super Barbie doll swimsuit is an easy addition to the collection of Barbie clothes, requiring no sewing or Barbie dolls' clothes patterns at all!
Ages: 7+
Materials Needed:
-Stretchy fabric.
-Scissors.
Method:
-Cut out a rectangle of fabric, the length of Barbie's lower body and about 4cm in width.
-Lay Barbie on a flat surface and lay the fabric strip over her vertically: the top of her fabric should be on her forehead, then it should cover her whole torso, and flow down under between her legs and behind her so that the bottom of the fabric is in the middle of her back.
-Pinch the fabric where it begins to curve behind Barbie, then remove Barbie and fold the fabric vertically from where you've pinched it so that it hangs vertically, but is shorter on one side in length.
-Fold the fabric in half this time, the vertical line of symmetry.
-Keeping the folded edge on the left, take a pair of scissors and cut a diagonal line: starting half a centimetre from the bottom-left corner, then cutting diagonally upwards about 2 centimetres, ending half a centimetre away from the right vertical edge of the fabric.
-After cutting diagonally upwards 2cm, use the scissors again to make a steeper diagonal cut, starting where you left off and gradually working your way to the top-right corner of the fabric.
-Put the fabric on Barbie in the same way as before, observing how the cuts made the fabric fit between Barbie's legs.
-Now to make the neckline: with the fabric still on Barbie's body, pinch where the v-neckline would end on the middle of the fabric (in the middle of her chest, about 1cm below her armpit).
-Holding on to where you've pinched the fabric, fold all of the fabric horizontally and remove from Barbie's body, still holding on to the pinched point.
-Pick up the scissors again and cut the fabric, starting from the folded edge where it's being pinched, continuing diagonally upwards, ending half a centimetre away from the vertical edge. You've now created the straps and a v-neckline. When the fabric is folded, you're cutting half a 'v' out of the fabric, so that what's left are two straps.
-Put the fabric back on Barbie's body and see how it is beginning to look like a bikini top on the front.
-Turn both Barbie and the fabric over.
-Pinch the fabric between Barbie's waist and hips to mark where the bikini bottoms will end then, keeping your thumb on this area, lift the fabric.
-Cut one thin strip, starting from the top of the fabric (the shorter end) about half a centimetre from the edge. Cut the strip from the bottom until you line up with where your finger is. Repeat on the other edge of the fabric, so that you have two thin strips, a short distance apart, that both end where Barbie's waist will be.
-Since the two strips are separated by a thick bit of fabric in-between, cut the fabric off so that there is a gap between the two thin strips.
-Put the swimsuit back around Barbie's body, in the right place. Tie the two strips around Barbie's waist, wrapping around the front and finishing with a knot or bow behind.
-Tie the two shoulder straps near Barbie's shoulder's behind her neck, to create a halterneck jumpsuit.
-Adjust if necessary, then your Barbie swimsuit will be complete!
For some more modern Barbie clothes, you'll need some stylish trousers! Keep this among your patterns for Barbie that you can use again and again.
Ages: 7+
Materials Needed:
-An old, stretchy children's sock mid-calf height, in your favourite colour.
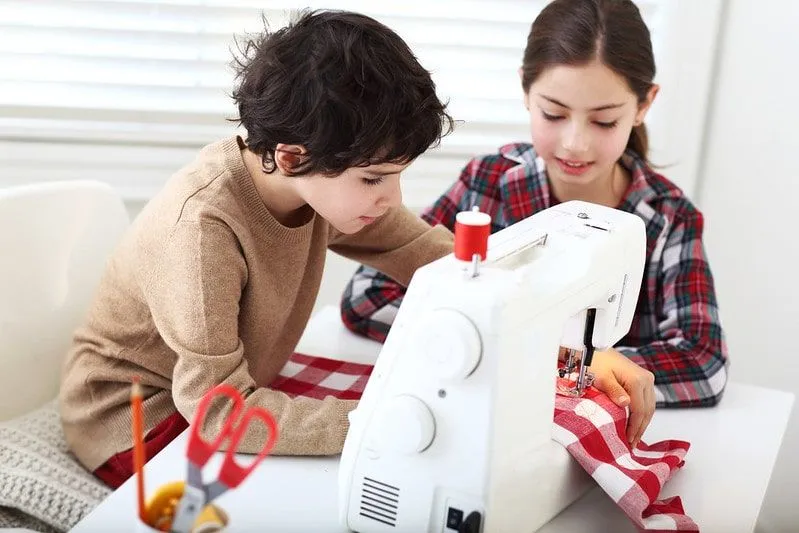
-Needles and thread, or a sewing machine.
-Scissors.
Method:
-Cut the foot part of the sock off, from the ankle downwards.
-Turn the rest of the sock inside-out.
-Starting in the middle of the bottom, cut up the sock and stop when you're about an inch and a half from the top.
-The seams created by the incision now need to be sewn, so that the trouser legs can be formed. Feel free to hand-stitch or use a machine, set to the zig-zag pattern.
-Turn the trousers inside-out and you're done!
Doll dress patterns can be easy to follow, but nothing says easy like a dress that only requires a sock and some scissors to make!
Ages: 5+
Materials Needed:
-Kids' socks (aged 2-4 as they fit quite nicely).
-Scissors.
Method:
-Take one of the socks and lay it flat and upside-down, so that the opening is at the bottom.
-Take some scissors and cut a small horizontal slit (around 1cm in length) below the horizontal seam near the top. Cut another slit from the other side, so that the sock has two horizontal slits in line with each other - one on the left and one on the right
-Cut a vertical slit, starting from the top of the sock and ending where one of the horizontal slits ends, cutting a chunk off the corner of the sock. Do the same on the other side of the sock, so that what's left above is a thick strip of fabric.
-Make two slits: one, half a centimetre from the right edge of the thick strip, the same length, and the other, the same but on the left side of the strip.
-Cut out the fabric in-between, leaving only the two strips.
-Your sock dress is ready for wearing! The middle gap between the strips will be where Barbie's head goes, and the gaps either side of the strips will be for Barbie's arms. Adjust if necessary, then you're done!
Barbie dresses come in all colours and styles to be admired. Here's a simple dress pattern for beginners to enjoy.
Ages: 8+
Materials Needed:
-Old shirt (or t-shirt) sleeve in a fabric and colour of your choice cut off from where it meets the body.
-Scissors.
-A strip of elastic.
-Needle and thread, or a sewing machine.
-Measuring tape.
Method:
-Place the folded shirt sleeve on a flat surface and turn inside-out. This will make the dress, with its existing seams.
-Cut off the diagonal part of the sleeve (or any excess) so that the horizontal and vertical edges of the sleeve are parallel to each other. Three of the four sides should have neat edges, while one should be rough, as this was where the sleeve was cut.
-Check the length of the dress is right but laying Barbie under it - if her legs disappear, it's too long.
-Use the measuring tape to measure the width of Barbie's waist before sewing elastic to the dress. You'll want the length of the band to be about a centimetre shorter than the width of Barbie's waist.
-Sew a band of elastic to the rough edge, about half an inch down from the edge for a more fitting dress. Your dress is now complete!

Temitope is a Fine Art student in London who loves to learn and loves to express herself creatively. A Private Tutor also, she enjoys the opportunity to share her knowledge with children from Primary School all the way up to Sixth Form and finds it incredibly rewarding. When she isn’t writing or tutoring, you could find her painting, editing photos, baking or building Lego with her nephew.
Read The Disclaimer
At Kidadl we pride ourselves on offering families original ideas to make the most of time spent together at home or out and about, wherever you are in the world. We strive to recommend the very best things that are suggested by our community and are things we would do ourselves - our aim is to be the trusted friend to parents.
We try our very best, but cannot guarantee perfection. We will always aim to give you accurate information at the date of publication - however, information does change, so it’s important you do your own research, double-check and make the decision that is right for your family.
Kidadl provides inspiration to entertain and educate your children. We recognise that not all activities and ideas are appropriate and suitable for all children and families or in all circumstances. Our recommended activities are based on age but these are a guide. We recommend that these ideas are used as inspiration, that ideas are undertaken with appropriate adult supervision, and that each adult uses their own discretion and knowledge of their children to consider the safety and suitability.
Kidadl cannot accept liability for the execution of these ideas, and parental supervision is advised at all times, as safety is paramount. Anyone using the information provided by Kidadl does so at their own risk and we can not accept liability if things go wrong.
Kidadl is independent and to make our service free to you the reader we are supported by advertising.
We hope you love our recommendations for products and services! What we suggest is selected independently by the Kidadl team. If you purchase using the buy now button we may earn a small commission. This does not influence our choices. Please note: prices are correct and items are available at the time the article was published.
Kidadl has a number of affiliate partners that we work with including Amazon. Please note that Kidadl is a participant in the Amazon Services LLC Associates Program, an affiliate advertising program designed to provide a means for sites to earn advertising fees by advertising and linking to amazon.
We also link to other websites, but are not responsible for their content.
Was this article helpful?
Get inspiration for education!
Subscribe for virtual tools, STEM-inspired play, creative tips and more


Browse Category
·
September 06, 2021


We’ll send you tons of inspiration to help you find a hidden gem in your local area or plan a big day out.


Check your inbox for your latest news from us. You have subscribed to:
Remember that you can always manage your preferences or unsubscribe through the link at the foot of each newsletter.