FOR ALL AGES
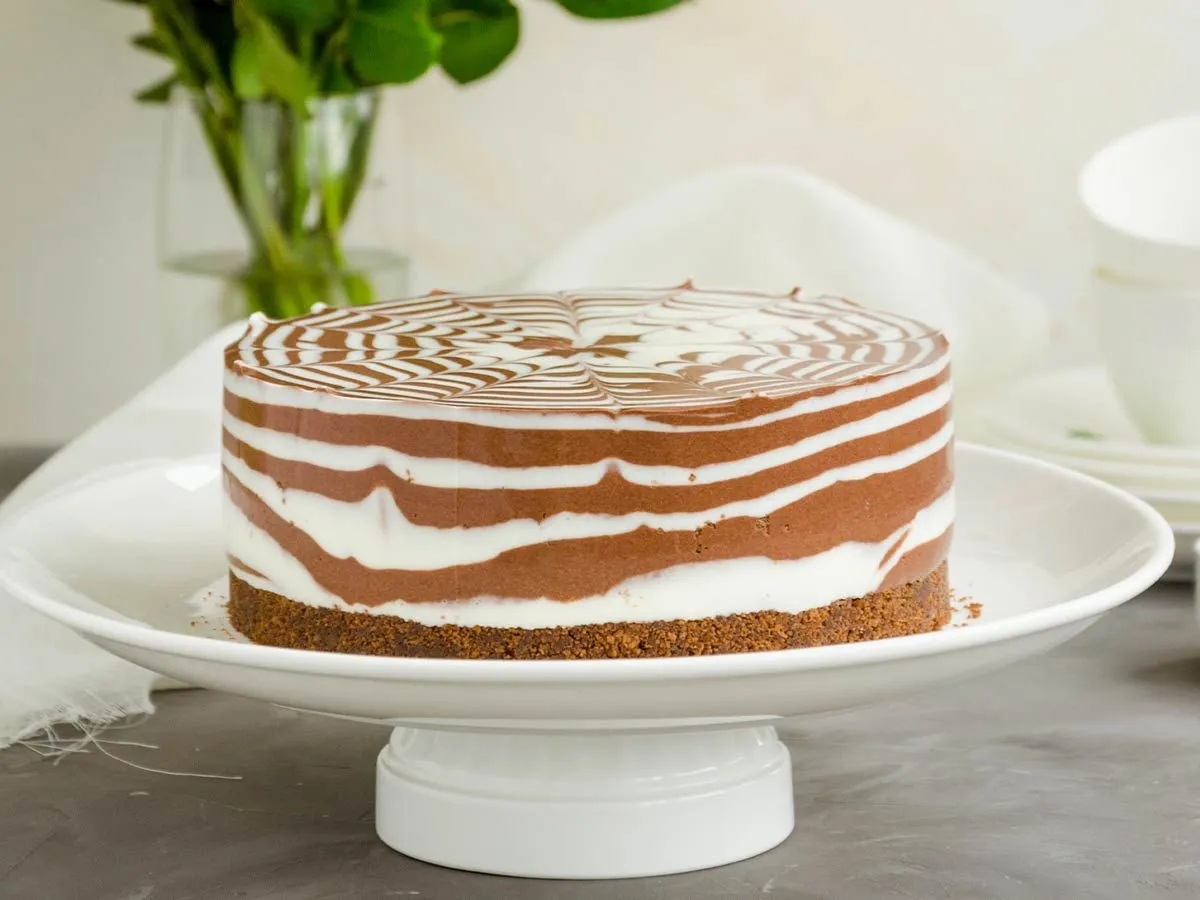
Image © andriimoniuk, under a Creative Commons license.
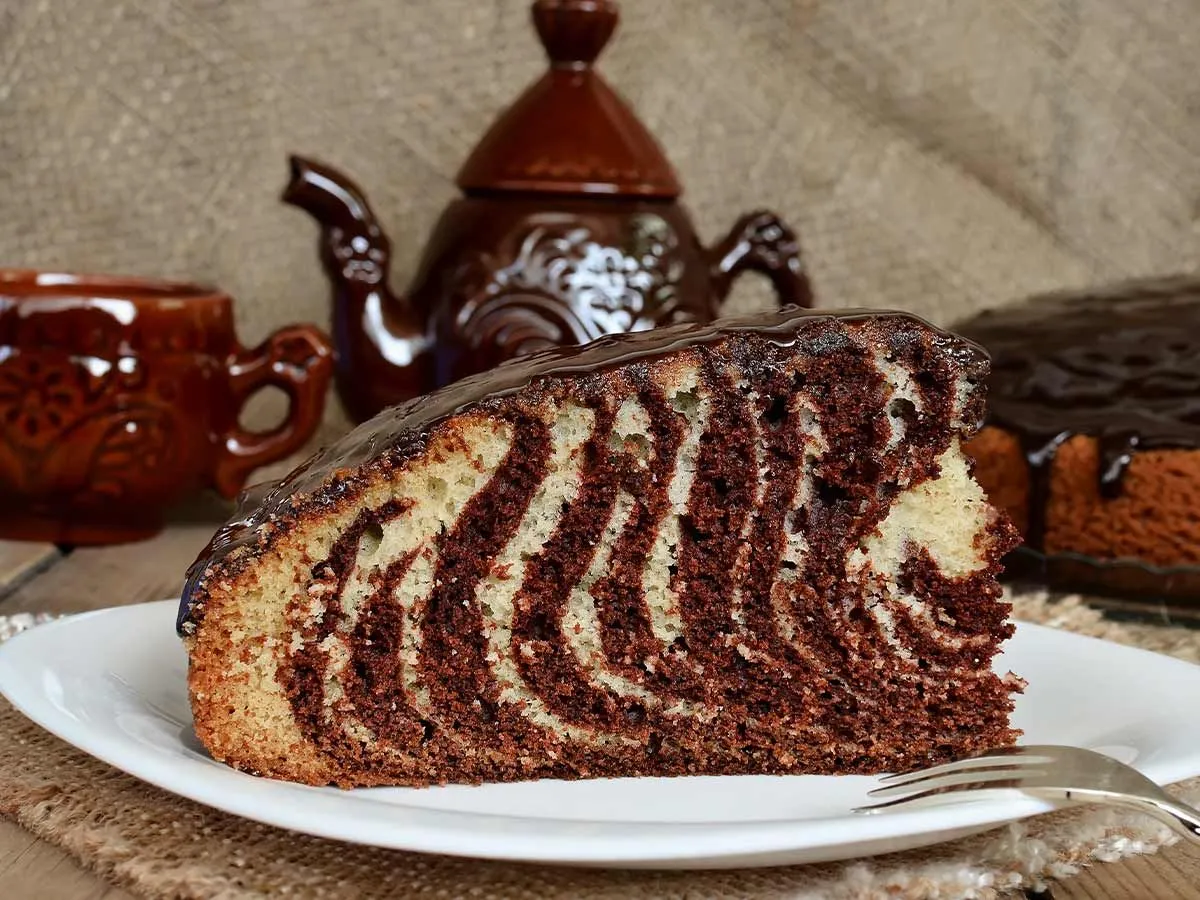
A zebra cake is a bit like a marble cake, in that it has two contrasting flavours and colours: usually chocolate and vanilla.
This zebra cake recipe makes a show-stopping centrepiece for a birthday or any other sort of party. You can be sure everyone will want a slice of this impressive swirling cake.
Children love to be part of whatever you're doing and you can get your child involved with this recipe from as young as two. Let them help pour, measure and stir. Cooking is a wonderful science lesson whatever their age, and a great shared experience too. Just be sure you're the one who puts the cake in the oven and takes it out again.
If you've been looking for zebra cake recipes, you can stop now and start baking: this one's terrific!
For The Vanilla Cake Batter: 375g flour; 1/4tsp salt; 1tbsp baking powder; 200g butter softened to room temperature; 200g caster sugar; 240ml milk; 4 eggs; 1tsp vanilla extract.
For The Chocolate Cake Batter: 3tbsp cocoa powder; 50ml milk; 1tbsp caster sugar.
Plus: Extra butter for greasing.
Equipment: Baking parchment, 1 x deep-sided 24cm/9in round cake tin, mixing bowls, spoons, a knife, a cooling rack.

Prep time: 20 minutes Cooking time: 50 minutes Serves: 10
1) Preheat the oven to 180°C/350°F/gas mark 4.
2) Grease and line with parchment paper the round baking tin.
3) In a large bowl, beat together the flour, salt and baking powder. Set aside.
4) In another bowl, beat together the cocoa powder, 50ml of milk and 1tbsp of caster sugar.
5) In a third bowl, beat together the 200g of room temperature butter and the 200g of caster sugar until smooth and creamy. Next add the eggs, one at a time, mixing until each one is incorporated before adding the next. Finally, add the vanilla extract.
6) Remove 475ml of the vanilla batter and add it to the chocolate batter. Beat until the two batters are completely mixed in.
7) Using two separate tablespoons, so they don't contaminate the different mixes, alternate spooning one tablespoon of the chocolate batter and one tablespoon of the vanilla batter into the prepared cake tin. Start in the middle of the pan to get the best zebra cake design. However, doing it this way does take patience and a bit of time. If you're short of either, you can simply pour first one and then the other colour on top, then use a knife to create the swirl effect. Bear in mind that you want to fill the cake tin to about 2/3 of the way up so it has room to rise.

8) Place the cake on the centre rack of your preheated oven and bake for 50 minutes. Check if it is done with a wooden toothpick or skewer. If it comes out clean it's ready. If not, give it a few more minutes, but continue to check every so often so it doesn't dry out. It's very unlikely to need to cook for longer than 60 minutes in total.
9) Remove from the oven and allow to cool completely in the cake tin on a wire rack.
10) When it's completely cooled, place a plate on top of the cake, hold both sides of the cake tin and give it a firm downward shake. The cake should come out. Put another plate on the bottom and flip it over so it's right-side up.
1) You can serve this zebra cake as it is, or give it a chocolate glaze. To make a chocolate glaze, you will need: 2tbsp unsalted butter; 50g unsweetened chocolate, chopped; 120g icing sugar and 2tbsp boiling water.
Put the butter and chocolate in a small saucepan over a low heat. Stir continuously until melted and mixed together. Remove from the heat and stir in the icing sugar. Next, add drops of the boiling water until the mixture gets to the right consistency. You'll want it fairly runny, so that it will dribble all down the sides of your zebra cake. After you've poured it over the top of your cake, you can spread it around with a palette knife. Allow it to cool, as it will harden as it does so.
You can also melt the butter and chocolate together in a microwave oven. Put the two ingredients in a microwave-safe bowl and cook on a medium heat for 60 seconds. Stir, then continue to cook in roughly 15-second intervals, stirring each time you stop until both the chocolate and butter are melted, smooth and completely mixed in together. Continue from stirring in the icing sugar as above.

2) If you want more colourful zebra cake ideas, instead of adding cocoa powder to the second batch of cake batter, add your choice of food colouring. You can take this zebra cake idea one step further and add a different food colouring to the vanilla flour batter too so you could end up with, say, a pink and blue zebra cake!
3) If your zebra cake recipe needs to be gluten or dairy-free, switch to a gluten-free flour and vegan butter and milk.
This cake will keep in an air-tight container, such as a cake tin, at room temperature for up to five days.
If you want to make this cake in advance, you can freeze it for a later date. Just don't glaze it first. Wrap the zebra cake tightly in Clingfilm or plastic wrap. It will keep for up to two months in most freezers. You can still glaze it before eating. Just allow it to defrost completely at room temperature first.
Alternatively, if you don't finish the cake off in one sitting, you can freeze the leftovers as above. Put it in the freezer uncovered for an hour first so that the glaze sets hard, before wrapping it tightly in Clingfilm or plastic wrap.
Read The Disclaimer
At Kidadl we pride ourselves on offering families original ideas to make the most of time spent together at home or out and about, wherever you are in the world. We strive to recommend the very best things that are suggested by our community and are things we would do ourselves - our aim is to be the trusted friend to parents.
We try our very best, but cannot guarantee perfection. We will always aim to give you accurate information at the date of publication - however, information does change, so it’s important you do your own research, double-check and make the decision that is right for your family.
Kidadl provides inspiration to entertain and educate your children. We recognise that not all activities and ideas are appropriate and suitable for all children and families or in all circumstances. Our recommended activities are based on age but these are a guide. We recommend that these ideas are used as inspiration, that ideas are undertaken with appropriate adult supervision, and that each adult uses their own discretion and knowledge of their children to consider the safety and suitability.
Kidadl cannot accept liability for the execution of these ideas, and parental supervision is advised at all times, as safety is paramount. Anyone using the information provided by Kidadl does so at their own risk and we can not accept liability if things go wrong.
Kidadl is independent and to make our service free to you the reader we are supported by advertising.
We hope you love our recommendations for products and services! What we suggest is selected independently by the Kidadl team. If you purchase using the buy now button we may earn a small commission. This does not influence our choices. Please note: prices are correct and items are available at the time the article was published.
Kidadl has a number of affiliate partners that we work with including Amazon. Please note that Kidadl is a participant in the Amazon Services LLC Associates Program, an affiliate advertising program designed to provide a means for sites to earn advertising fees by advertising and linking to amazon.
We also link to other websites, but are not responsible for their content.
Was this article helpful?


Browse Category


We’ll send you tons of inspiration to help you find a hidden gem in your local area or plan a big day out.


Check your inbox for your latest news from us. You have subscribed to:
Remember that you can always manage your preferences or unsubscribe through the link at the foot of each newsletter.