FOR AGES 7 YEARS TO 11 YEARS
Image © freepik, under a Creative Commons license.
The Second World War lasted from 1939 to 1945 and is one of the most important historical events your child will learn about at school
Primary school children in KS2 (Year 3, Year 4, Year 5 and Year 6) will learn about the period in various different lessons, not just history. It could also crop up in design and technology, maths, geography, English, physical education and art lessons.
This fascinating subject is a great way to combine your child's creative side with history. So, we've come up with lots of WW2 art ideas to bring the powerful events of the period to life, and to help you to provide brilliant homework help on the topic.
British artists produced more than 6,000 pieces of war-related artworks. These were often influenced by their own first hand experiences, as, during the war, these artists were forced out of the comfort of their studios to don military uniforms, with some even experiencing life on the front line. These powerful experiences influenced their work, which was often produced in very difficult circumstances - if shells were flying then artists would inevitably have to put their sketchbooks down!
Children will also be taught about WW2 artists' intent. Much of the artwork produced during the Second World War was actually propaganda - this is art that was produced with the aim of spreading a message, often for political gain. One of the most famous propaganda posters read "Better pot luck with Churchill today than humble pie with Hitler tomorrow. Don't waste food!" and was designed to ensure people stuck to their food rations. During the war, there were shortages in food due to various factors including a lack of people able to work on farms and German blockades stopping imports of food.
Another theme of WW2 art, particularly common in Blitz art, was the use of the silhouette. Artists found that a black silhouette really stood out against a bright background, such as the Blitz bombings, and the end result is often very powerful and striking pieces of art.
Established in 1939, The War Artists Advisory Committee (WAAC) was made up of the country's most talented artists. Each artist was tasked to create propaganda imagery, but the committee understood that their talents should not be limited by the creation of mass-produced posters. They were keen to preserve the talents of the artists for the future and knew that their artwork would be a historical record of the atrocities faced at home and abroad, for years to come.
In total, more than 300 artists were commissioned by the WAAC, including the likes of Henry Moore, Graham Sutherland and Paul Nash.
After the war had ended, one third of the artworks were given to the Imperial War Museum while the rest were distributed to museums across Britain and the Commonwealth.
Art is a great way of teaching and exploring the World War 2 topic with children. Why don't you try out these World War 2 craft ideas to continue your child's KS2 learning?
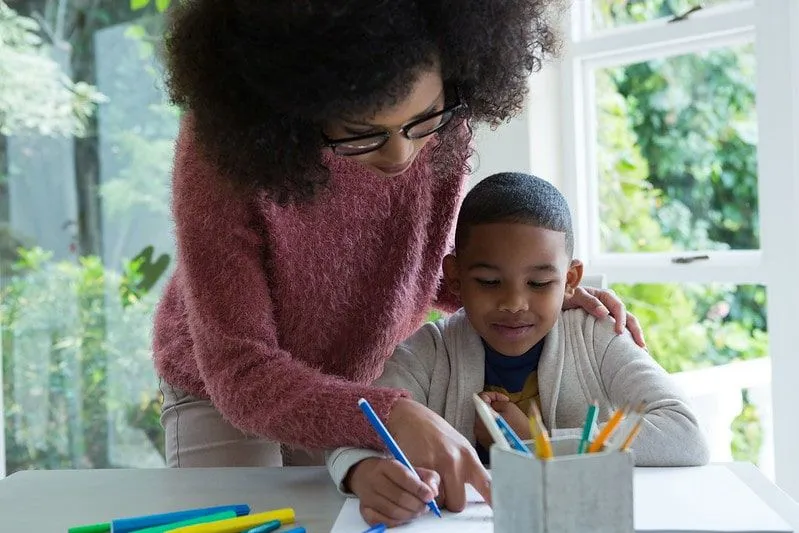
Image © Pikwizard
Create Propaganda Posters:
Firstly, decide with your child which campaign you want to recreate (perhaps rationing or morale would be a good place to start).
Next, come up with slogans to include on your poster. This is a great way to practice your child's creative language skills and use of figurative language tools such as alliteration. Try to encourage them to keep the slogans short and simple, to make them as catchy as possible.
Then decide where the slogans should appear on your WW2 posters, and the type of imagery you want to use alongside them. Ask your child to think about the tone of the World War 2 slogans and how this should be reflected in the images on the posters.
Think about the use of colour. The pictures should stand out but not detract from the important messages in the slogans.
Go ahead and draw, colour in and paint your posters. Make sure your child takes them into school once dry to show their masterpieces to their teacher. We have no doubt that they will be really proud of these World War 2 school projects done at home!
Experiment With The Use Of Silhouettes:
Silhouettes were widely used by artists in WW2 and this technique might seem a bit technical at first. But don't fret if you're worried about teaching this, as it's a lot easier than it sounds.
To begin, encourage your child to paint with solid bright colours onto a sheet of paper. In order to keep it WW2 themed, we suggest using oranges and reds to create a replica of the famous examples of Blitz art.
Using a black piece of paper or card, draw the outline of a building or buildings that you want to use and carefully cut it out to create the silhouette.
Once the painted background is dry, stick the silhouette on top to complete your replica Blitz artwork!
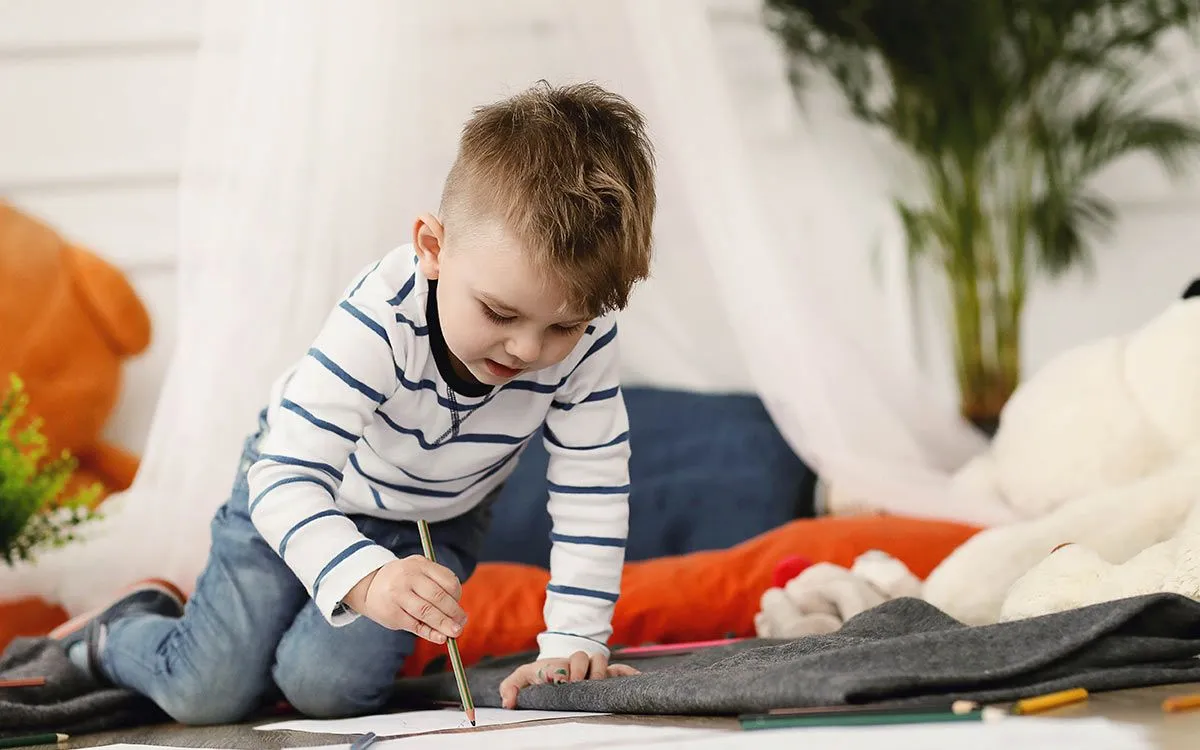
Image © Racool_studio, under a Creative Commons license.
Create A Bomb Shelter:
If you're struggling to come up with WW2 craft ideas, how about creating your own bomb shelter? This activity would probably be best for older children in KS2 (Year 5 and Year 6 pupils will love this), and we think it's a great way to introduce models to primary school children.
Essentially, your shelter should be made of card or other materials and then painted accordingly - it could be painted silver to represent a metal colour, or you could use other materials to camouflage it, as shelters were often kept hidden from view during the war. Get creative and build your shelter using whichever materials you have to hand and, when it is complete, you could ask your child to make sure it passes the following tests:
1. Can a Lego man (or one of your child's favourite toys) sit inside?
2. Can a heavy-ish weight (like a bag of sugar) sit on the top of it?
3. Can it survive being drenched? Make sure it's waterproof!
Focus On One Of The Famous Artists:
Start a research project with your child on a WW2 artist of your choice. For example, you could look at Henry Moore's Tube shelter drawings and try to recreate them yourselves in the same style. Exploring these important artworks can inspire an inquisitive mind in children, it might even inspire a trip to see some WW2 art in real life at a museum or gallery.
Read The Disclaimer
At Kidadl we pride ourselves on offering families original ideas to make the most of time spent together at home or out and about, wherever you are in the world. We strive to recommend the very best things that are suggested by our community and are things we would do ourselves - our aim is to be the trusted friend to parents.
We try our very best, but cannot guarantee perfection. We will always aim to give you accurate information at the date of publication - however, information does change, so it’s important you do your own research, double-check and make the decision that is right for your family.
Kidadl provides inspiration to entertain and educate your children. We recognise that not all activities and ideas are appropriate and suitable for all children and families or in all circumstances. Our recommended activities are based on age but these are a guide. We recommend that these ideas are used as inspiration, that ideas are undertaken with appropriate adult supervision, and that each adult uses their own discretion and knowledge of their children to consider the safety and suitability.
Kidadl cannot accept liability for the execution of these ideas, and parental supervision is advised at all times, as safety is paramount. Anyone using the information provided by Kidadl does so at their own risk and we can not accept liability if things go wrong.
Kidadl is independent and to make our service free to you the reader we are supported by advertising.
We hope you love our recommendations for products and services! What we suggest is selected independently by the Kidadl team. If you purchase using the buy now button we may earn a small commission. This does not influence our choices. Please note: prices are correct and items are available at the time the article was published.
Kidadl has a number of affiliate partners that we work with including Amazon. Please note that Kidadl is a participant in the Amazon Services LLC Associates Program, an affiliate advertising program designed to provide a means for sites to earn advertising fees by advertising and linking to amazon.
We also link to other websites, but are not responsible for their content.
Was this article helpful?

Browse Category


We’ll send you tons of inspiration to help you find a hidden gem in your local area or plan a big day out.


Check your inbox for your latest news from us. You have subscribed to:
Remember that you can always manage your preferences or unsubscribe through the link at the foot of each newsletter.