Arts & Crafts
Learn more
Reading & Writing
Learn more
Math & Logic
Learn more
Sports & Active
Learn more
Music & Dance
Learn more
Social & Community
Learn more
Mindful & Reflective
Learn more
Outdoor & Nature
Learn more
FOR ALL AGES

Image © PublicDomainPictures, under a Creative Commons license.
Colin The Caterpillar Cake celebrated his 30th birthday this year, and for many a parent, this was the go-to birthday party sweet treat.
But we think now's a great time to mix things up with a homemade chocolate caterpillar cake. Luckily whipping up your own caterpillar birthday cake is super-simple, even for novice bakers.
Not only do you get the satisfaction of making your own cake, but you can also decorate as you wish, picking a child's favourite colour or sweets for the decoration. And of course, if you're looking to feed a small army of hungry toddlers, you can extend your bug so there's enough for everyone. Our chocolate caterpillar cake recipe below shows you how to make your Swiss roll and decorate it into a cute insect, but check out the alternatives section for how to craft caterpillar cakes from bought Swiss rolls in under 10 minutes! If you're looking for more sophisticated ideas then tweenagers will go wild for a mermaid cake, while football fans will love our recipe for a 3D football cake.
Here's how to make a chocolate caterpillar cake.
For the cake: four eggs, 100g caster sugar, 80g self raising flour, 20g cocoa powder
For the filling:100g butter, 200g icing sugar, 50g melted chocolate
For the decoration: 200g dark chocolate, one tablespoon olive oil, chocolate chips, 20g orange icing, two chocolate matchmakers, black icing pen
Equipment: Swiss roll cake tin or flat, shallow tin 9 X 13 inches, clean tea towel
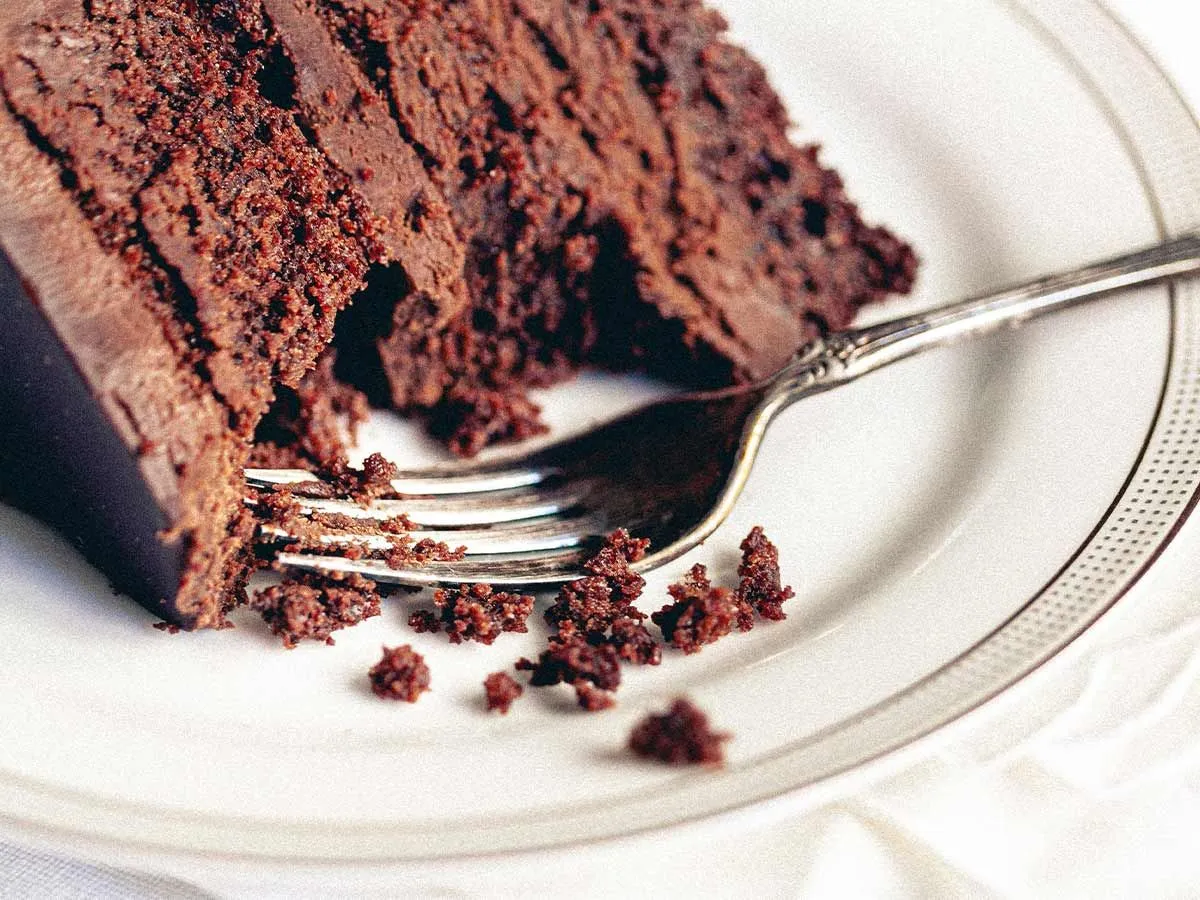
Image © Cristina Matos-Albers, under a Creative Commons license.
1) Preheat your oven to 185C/165C fan/gas mark 4. Grease and line with baking paper one cake tin.
2) Whisk four eggs in a bowl until doubled in size and your whisk leaves trails in the mixture.
3) Mix in the caster sugar a spoonful at a time and keep whisking.
4) Sieve in your flour a little bit at a time and stir in gently. Avoid mixing too much or you’ll knock the air out of the sponge. Use the same method to add the cocoa powder.
5) Pour the cake mixture into your tin and bake for 10-15 minutes. When cooked the sponge should bounce back slightly from your touch. Use the paper to remove the cake from the tin and leave to cool for a few minutes.
6) Lay out your tea towel and dust with cocoa powder. Flip your sponge onto it so the baking paper is at the top. Now carefully peel the paper off.
7) Start at a short end of the cake and roll the cake up into the tea towel to make a Swiss roll shape. Make sure it’s rolled tightly. Secure and put in the fridge to cool.
8) For the filling, you need to melt your chocolate and add to the softened butter, mixing to a smooth paste. Add the icing sugar a little at a time and combine well.
9) Remove the cake from the fridge and unroll it. Cover it carefully with the buttercream. Don’t make too thick a layer as once you roll it back up it will spill out and leave a few millimetres around the edges bare.
10) Carefully roll your sponge back up with the filling inside. Be gentle but remember any cracks of splits will be covered in the next step. Slice 1cm off one end to neaten.
11) Melt your chocolate for the decoration in a jug. Add the oil to make it pourable. Now tip over the top of the cake, working backwards and forwards to make stripes. Layer your stripes up with the mixture for texture.
12) Roll out the orange icing and cut out a circle using a glass. Use the icing pen to draw on eyes and a mouth, and place a chocolate chip for the nose.
13) Sandwich the two matchmakers between the rough end of the Swiss roll and the face for the antennae. The finishing touch is to line the edge of the cake with the chocolate chips for his feet then chill for 30 minutes.
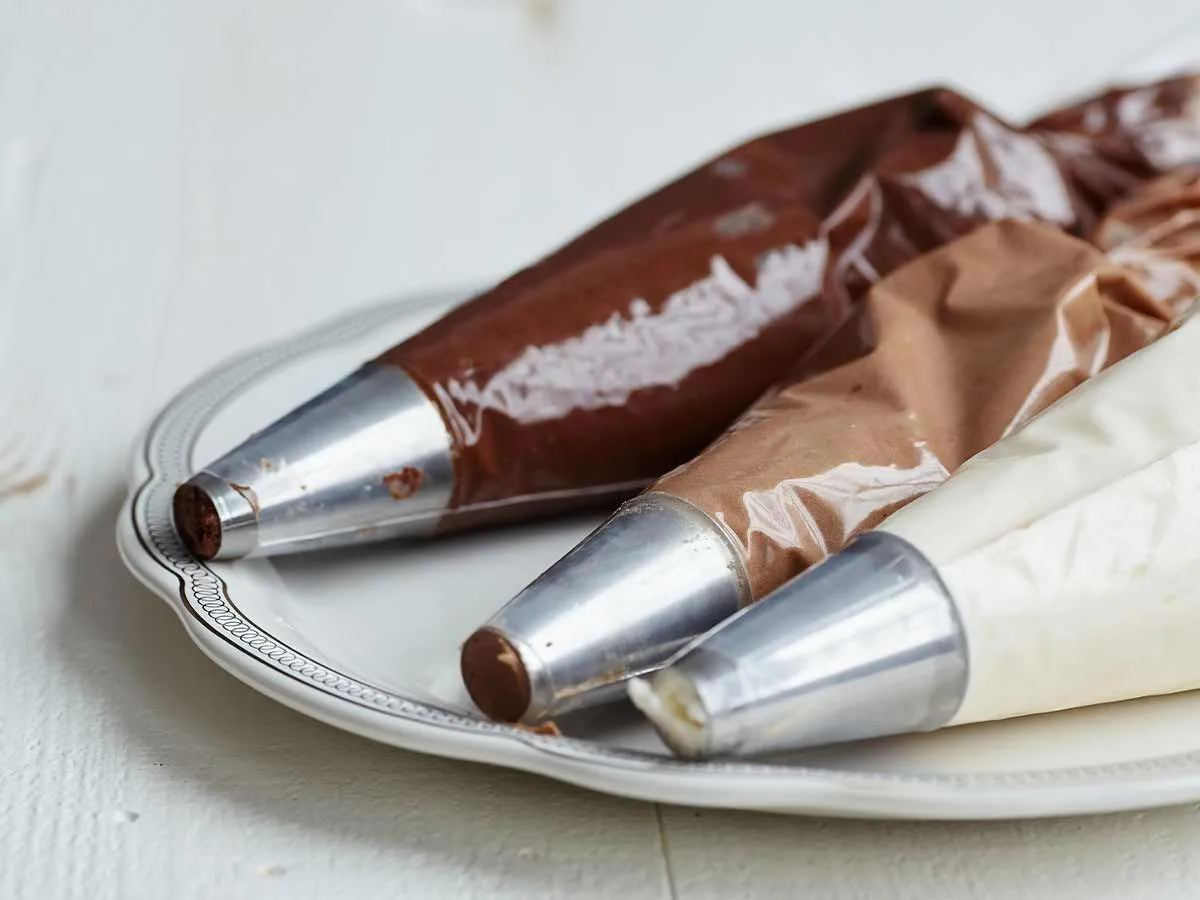
Image © American Heritage Chocolate, under a Creative Commons license.
When lining your tin ensure you leave plenty hanging over the side – this will make it easier to remove your sponge once cooked.
To help with the rolling of your Swiss roll, gently score one short side of the sponge 1cm from the edge and start from here. Make it a very shallow score – more of an indentation to ensure the cake doesn’t break.
Leave your sponge in the fridge once rolled for about an hour. This will help it retain its shape when it comes to re-rolling it with the filling. But always do your first roll while it’s still warm and at its most pliable.
If you don't have self raising flour, add one teaspoon of baking powder to plain flour instead.
Switch the flour for a gluten-free brand to make a gluten-free version of this cake.

Image © lookstudio, under a Creative Commons license.
For a spotty vanilla caterpillar cake try this: make up your cake batter and instead of the cocoa use an extra 20g flour plus a few drops of vanilla extract. Place two tablespoons in six different bowls and use food colouring to get different colours and place in piping bags. Pipe the mixes onto the lined cake tin in small dots and bake for two minutes. Now cover with the rest of the plain cake mix and cook as above.
Want to know how to make a caterpillar cake so easy even a toddler could do it? If time is tight then buy a pre-made Swiss roll and just follow the instructions from number 11 to decorate! You can use as many Swiss rolls as you need to get a big enough cake, just position them together and make sure the join is covered by the melted chocolate.
If you're not confident in Swiss roll making why not bake a batch of cupcakes? Ice with buttercream and position them in a long line for your caterpillar body. For the face, balance one cupcake on its side on top of another and use sweets to make the features (jelly tot eyes and a strawberry lace mouth).
With chilling time, it's best to set aside around two hours to create your masterpiece.
The above recipe should serve around eight people.
The cake will keep for up to five days in an air-tight container.
Leftovers can be frozen for up to two months. Slice them, wrap them in two layers of cling film, then a layer of foil.
Get kids to help to make the cake but we suggest you tackle the rolling part yourself.

Cora Lydon is a freelance journalist living in Suffolk with her husband and two children. She’s also a children’s book author who loves finding activities and place to inspire her children. Her dining table bears the scars of many craft activities attempts (many unsuccessful).
Read The Disclaimer
At Kidadl we pride ourselves on offering families original ideas to make the most of time spent together at home or out and about, wherever you are in the world. We strive to recommend the very best things that are suggested by our community and are things we would do ourselves - our aim is to be the trusted friend to parents.
We try our very best, but cannot guarantee perfection. We will always aim to give you accurate information at the date of publication - however, information does change, so it’s important you do your own research, double-check and make the decision that is right for your family.
Kidadl provides inspiration to entertain and educate your children. We recognise that not all activities and ideas are appropriate and suitable for all children and families or in all circumstances. Our recommended activities are based on age but these are a guide. We recommend that these ideas are used as inspiration, that ideas are undertaken with appropriate adult supervision, and that each adult uses their own discretion and knowledge of their children to consider the safety and suitability.
Kidadl cannot accept liability for the execution of these ideas, and parental supervision is advised at all times, as safety is paramount. Anyone using the information provided by Kidadl does so at their own risk and we can not accept liability if things go wrong.
Kidadl is independent and to make our service free to you the reader we are supported by advertising.
We hope you love our recommendations for products and services! What we suggest is selected independently by the Kidadl team. If you purchase using the buy now button we may earn a small commission. This does not influence our choices. Please note: prices are correct and items are available at the time the article was published.
Kidadl has a number of affiliate partners that we work with including Amazon. Please note that Kidadl is a participant in the Amazon Services LLC Associates Program, an affiliate advertising program designed to provide a means for sites to earn advertising fees by advertising and linking to amazon.
We also link to other websites, but are not responsible for their content.
Was this article helpful?
Get inspiration for education!
Subscribe for virtual tools, STEM-inspired play, creative tips and more


Browse Category
·
September 06, 2021

We’ll send you tons of inspiration to help you find a hidden gem in your local area or plan a big day out.


Check your inbox for your latest news from us. You have subscribed to:
Remember that you can always manage your preferences or unsubscribe through the link at the foot of each newsletter.


