Arts & Crafts
Learn more
Reading & Writing
Learn more
Math & Logic
Learn more
Sports & Active
Learn more
Music & Dance
Learn more
Social & Community
Learn more
Mindful & Reflective
Learn more
Outdoor & Nature
Learn more
FOR ALL AGES
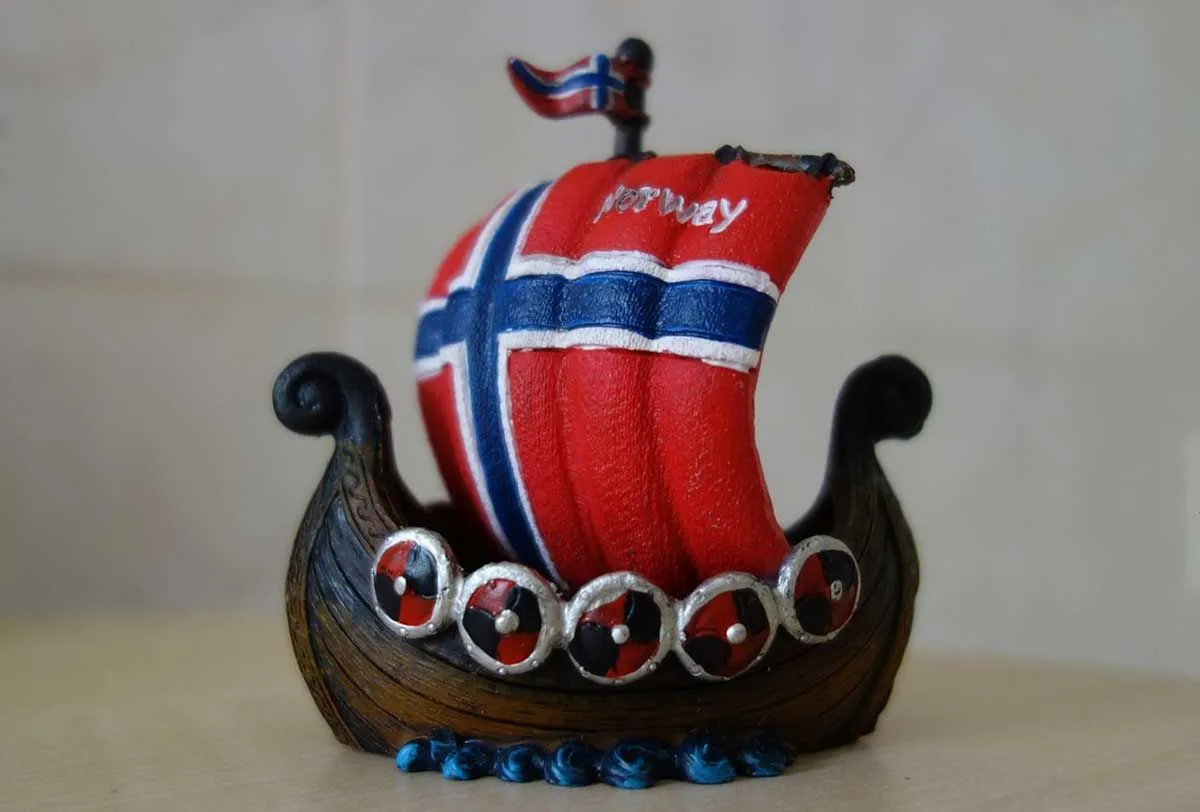
Image © dassel, under a Creative Commons license.
If your kids are learning all about the Vikings this term and you're keen to get involved, Kidadl are here to help.
Perhaps start with a basic Viking timeline and then jump into one of the most iconic parts of the period - the Viking longboats. Viking longships were an incredible feat of design and engineering: they were double-ended for manoeuvrability, utilised both oarsmen and sails for speed and easy navigation and, most famously, displayed a decorative head piece to strike fear into the hearts of their enemies.
Why not bring this amazing Viking longboat to life with our easy guide to cut and construct a Viking ship model? Learning how to make a Viking ship will develop kids' creative talents whilst sparking fascinating discussions about the Viking period in history - what's not to love?
Image © melly17, under a Creative Commons license.
To make a Viking boat, the perfect school project, you will need:
Scissors, craft knife.
Glue, tape.
Cardboard or cereal box.
Coloured card or felt.
Split pins.
Cocktail sticks.
A bamboo kebab skewer.
Paint or felt tips.
First, you'll need to cut sections out of cardboard to make a Viking ship. You can find some great templates online that will allow you to print or trace the shapes you'll need and help you get the right sizes and proportions. But as a guide, you'll need:
A long, thin-ish rectangular base with a pointed triangle at each end.
Two long strips of card, roughly as wide as your base, which will form the sides - don't forget to make them long enough to fold around the pointed ends.
Cardboard strips a few centimetres wider then the base to make the seats (the amount you need will vary depending on how long you've made your boat).
Cardboard paddle shapes to make the oars (the amount you need will vary depending on how long you've made your boat).
Now you have the basic cardboard elements you need, it's time to make a Viking ship! It's easier to use tape for the construction, but we recommend a sturdy tape like duct tape, rather than the normal clear sellotape you'd use for wrapping presents. If you can get hold of a patterned or coloured duct tape, even better.
Take each side piece, and make a fold at each end - you want both pieces to be the same. When the folded sections on each side meet each other, it will make the triangular pointed ends of the Viking boat. Once you have them aligned, stick them together with duct tape (you'll probably need more than one pair of hands for this!)
Then stick the base to the bottom, using duct tape along the edges to secure.
Image © pressfoto, freepik.com, under a Creative Commons license.
Now it's time to make the intimidating dragon head!
Draw the outline of a head from the side onto cardboard: it needs an ear, large snout and long neck. You also need to include a bit of chest and body, enough to create a tab which you can secure to the ship. Then carefully cut the shape out. You can use scissors, but as it has some fiddly elements, it may be easier to use a craft knife (make sure an adult does this part). Then trace around it onto another piece of card and cut out to create two identical dragon heads.
Repeat the process to make the tail. Draw an outline, you could make it curled or pointy, and cut it out, remembering again to leave an extra tab to allow you to secure the tail to the ship. Trace and cut the second tail.
Now glue the two head pieces together, and the two tail pieces together, leaving the tabs at the bottom unglued.
Finally, glue the head to the front of the Viking ship, and tail to the back, using the tabs.
Take your cardboard seat strips and fold each end to make a tab. Put some glue onto each tab and secure them inside the Viking ship. Make sure you space the seats out evenly all the way down the length of the boat.
You can use coloured card or felt to make the sail. Cut a large rectangle of your chosen material and ask kids to decorate it. They could choose the famous red and white stripes, or use their imaginations to create a pattern of their choice.
Once the sail is ready, poke a small hole on each side and push the kebab skewer through them. Push the sides towards each other a little to give the sail shape, like it's catching the wind, and secure with tape.
Poke another small hole through the middle seat inside the ship, and push the skewer through. Secure either with a strong glue (like superglue or using a glue gun) or with some more tape.

Image © bearfotos, freepik.com, under a Creative Commons license.
Cut some circles of coloured card, a little smaller than the depth of the side of your Viking longship. These will be the shields which kids can decorate, either by looking up pictures of traditional Viking shields and copying them, or just by using their imaginations.
Poke a hole in the middle of the first shield and poke a corresponding hole in the side of the ship. Fasten the shield to the side using a split pin. Repeat all the way down each side of the Viking longship.
Glue or tape a cocktail stick onto each cardboard paddle shape to create an oar (if you're using thick corrugated cardboard instead of a cereal box, you might even just be able to poke the stick inside).
Then poke each stick into your Viking boat, making sure they're evenly spaced down each side.
Let kids add those all-important final details to their Viking longship. They can use pens or paints to give the dragon some character, and decorate the sides of the ship to create a longboat Vikings would be proud of.
Top tip: Why not challenge yourself to make your longship float on water? Cover the base with duct tape to make it a little more waterproof, then secure some floats (you could try corks or empty water bottles) and you're ready to sail!
Jo is a work-from-home mum to two boys. They can often be found mooching around their local castle, museum or gallery. She has a degree in Film and English and a personal interest in mental health and well being, as well as food and drink, photography, history, and art, and likes to write about all of these interests on her blog. She is also passionate about passing on her love for knowledge to her sons through learning and having adventure. And, as a Nottingham native, there are no better woods to stomp about in than Sherwood forest, following in the footsteps of Robin Hood!
Read The Disclaimer
At Kidadl we pride ourselves on offering families original ideas to make the most of time spent together at home or out and about, wherever you are in the world. We strive to recommend the very best things that are suggested by our community and are things we would do ourselves - our aim is to be the trusted friend to parents.
We try our very best, but cannot guarantee perfection. We will always aim to give you accurate information at the date of publication - however, information does change, so it’s important you do your own research, double-check and make the decision that is right for your family.
Kidadl provides inspiration to entertain and educate your children. We recognise that not all activities and ideas are appropriate and suitable for all children and families or in all circumstances. Our recommended activities are based on age but these are a guide. We recommend that these ideas are used as inspiration, that ideas are undertaken with appropriate adult supervision, and that each adult uses their own discretion and knowledge of their children to consider the safety and suitability.
Kidadl cannot accept liability for the execution of these ideas, and parental supervision is advised at all times, as safety is paramount. Anyone using the information provided by Kidadl does so at their own risk and we can not accept liability if things go wrong.
Kidadl is independent and to make our service free to you the reader we are supported by advertising.
We hope you love our recommendations for products and services! What we suggest is selected independently by the Kidadl team. If you purchase using the buy now button we may earn a small commission. This does not influence our choices. Please note: prices are correct and items are available at the time the article was published.
Kidadl has a number of affiliate partners that we work with including Amazon. Please note that Kidadl is a participant in the Amazon Services LLC Associates Program, an affiliate advertising program designed to provide a means for sites to earn advertising fees by advertising and linking to amazon.
We also link to other websites, but are not responsible for their content.
Was this article helpful?
Get inspiration for education!
Subscribe for virtual tools, STEM-inspired play, creative tips and more

Browse Category
·
September 06, 2021

We’ll send you tons of inspiration to help you find a hidden gem in your local area or plan a big day out.


Check your inbox for your latest news from us. You have subscribed to:
Remember that you can always manage your preferences or unsubscribe through the link at the foot of each newsletter.